Clicking each blue bar will open a new guide. Each guide can be closed by clicking the blue bar again, or the "close" button at the end of the guide.
Have a suggestion? Want a specific guide? Please email me at ben@completelymiller.com and let me know what you'd like to see here!
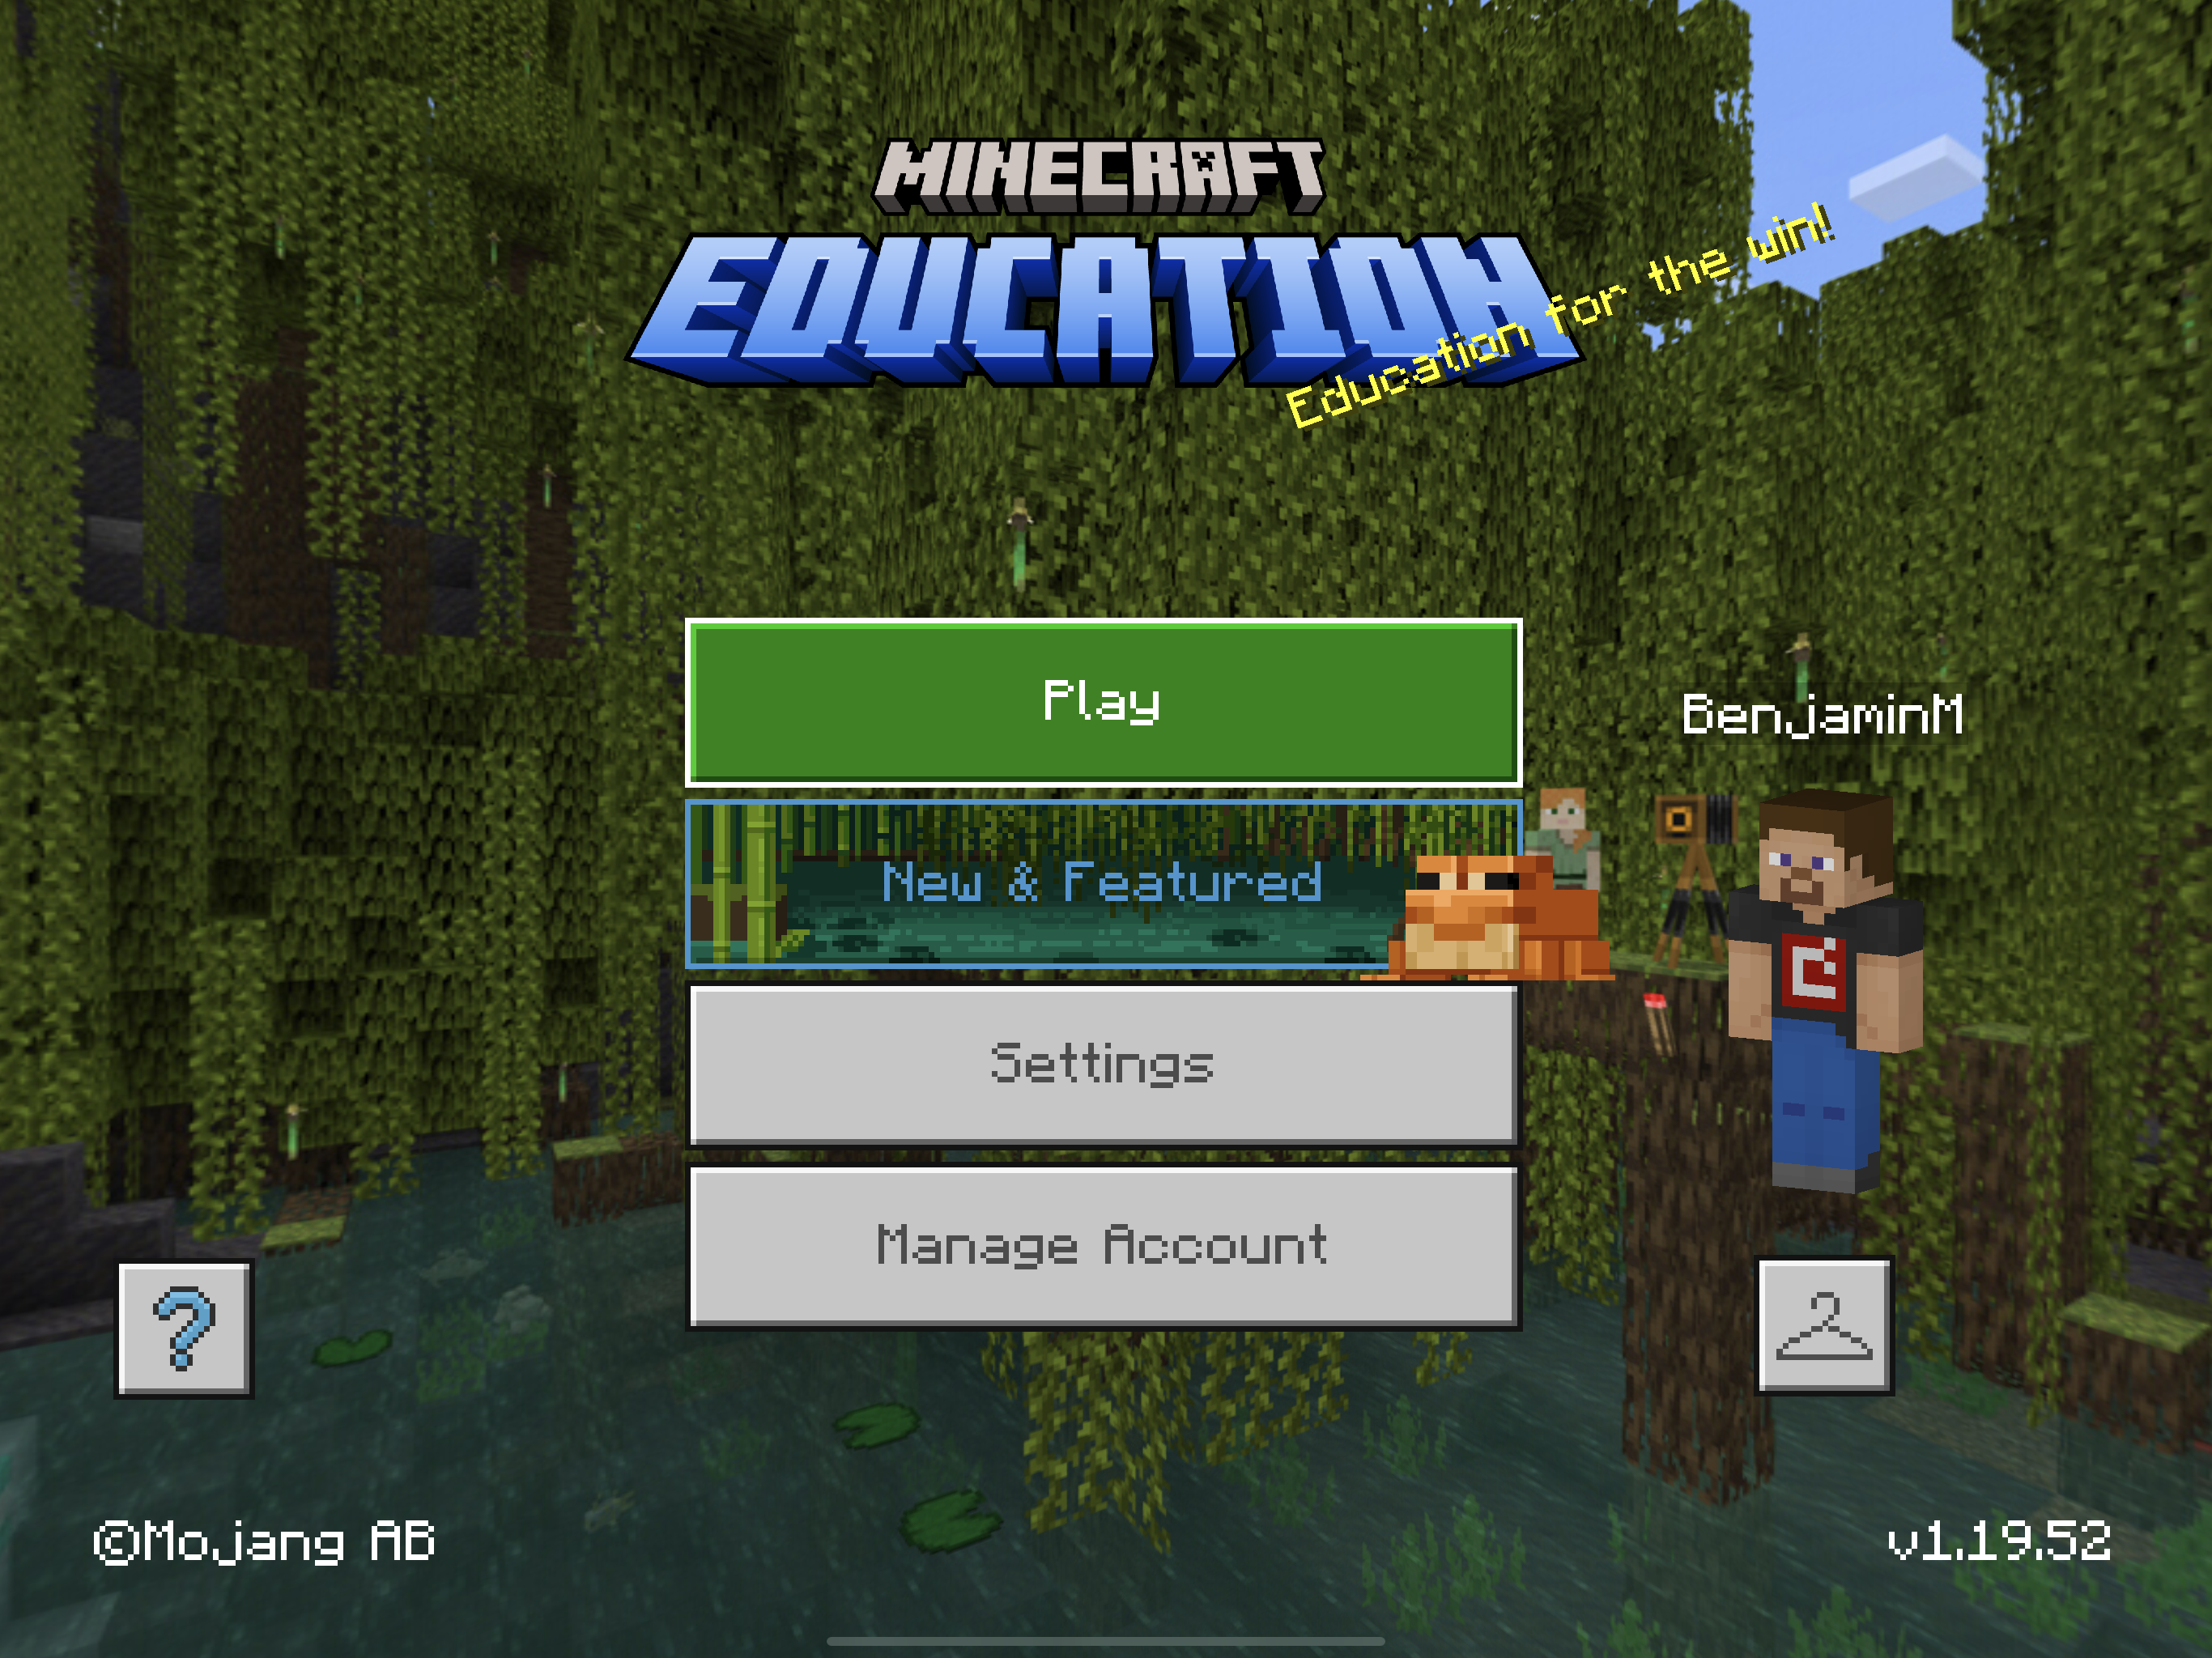
Step 1: Download Google Drive on to your iPad from the app store and sign in with your (school) credentials. You will need to use your school email address and password. Your school credentials should be available through the parent portal for Columbia Public School students. After downloading and opening Google Drive, tap the home button to switch apps. Now open Minecraft Education on your iPad and click PLAY.
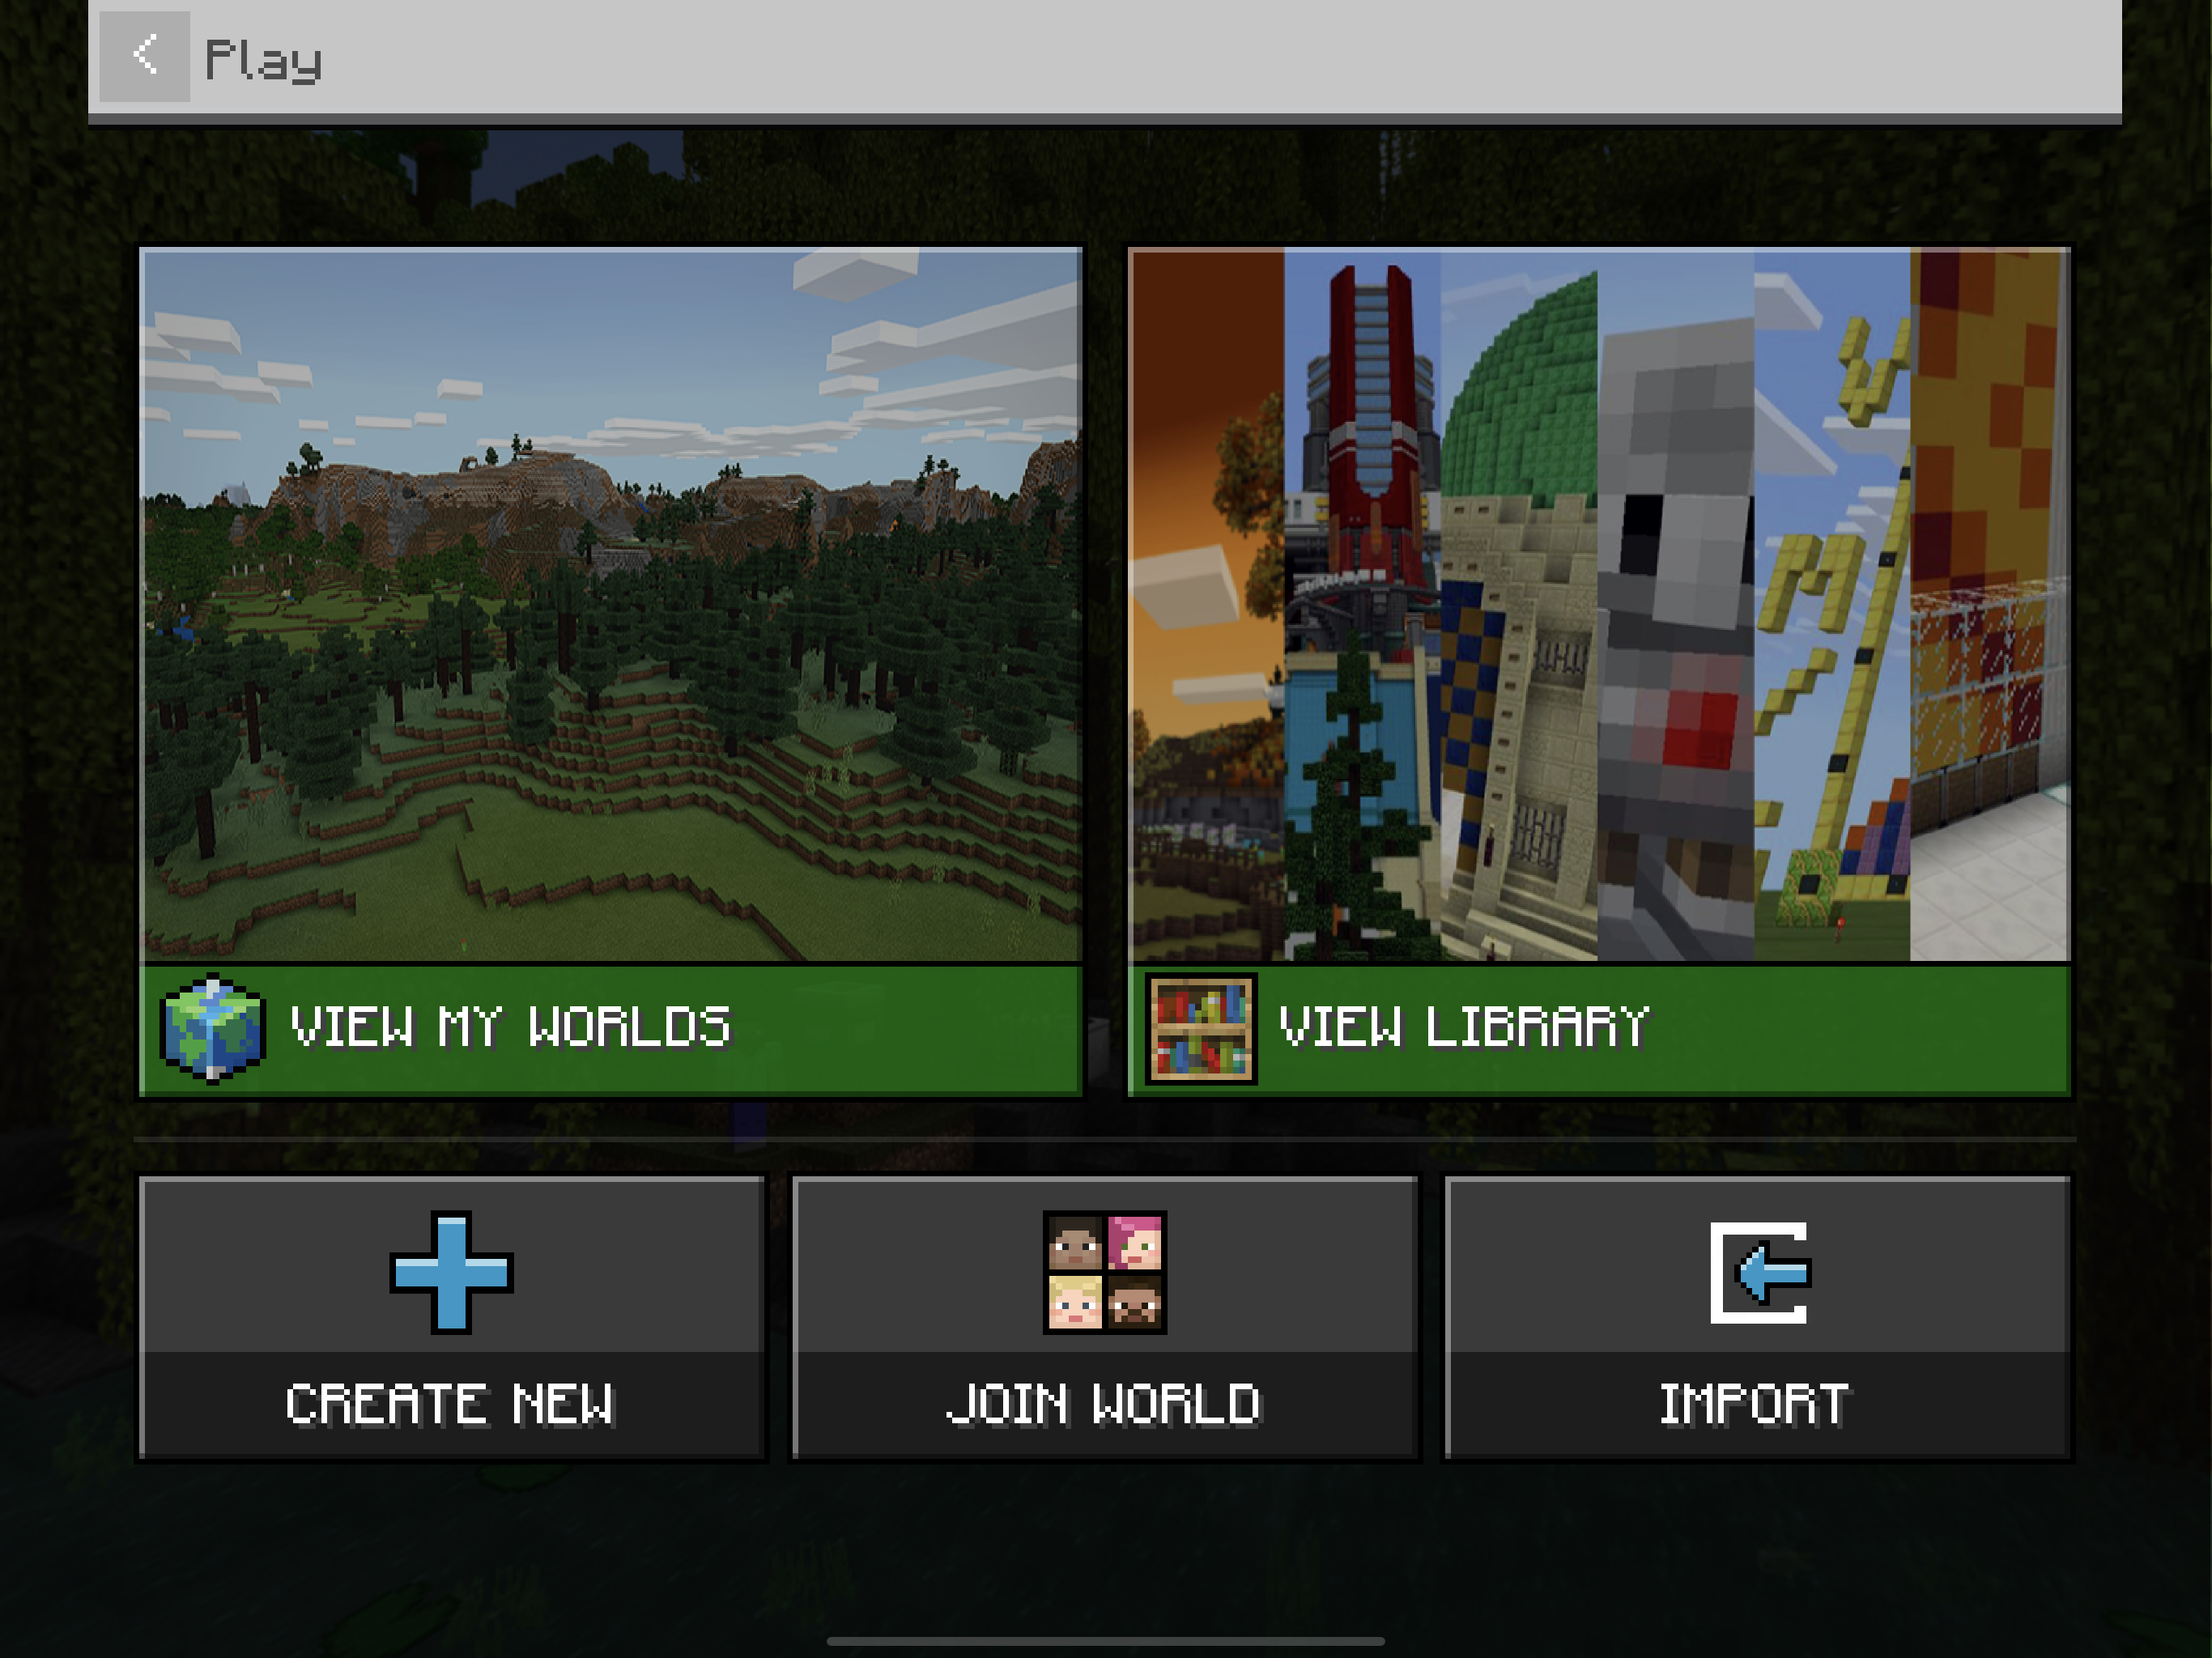
Step 2: Click "View My Worlds"
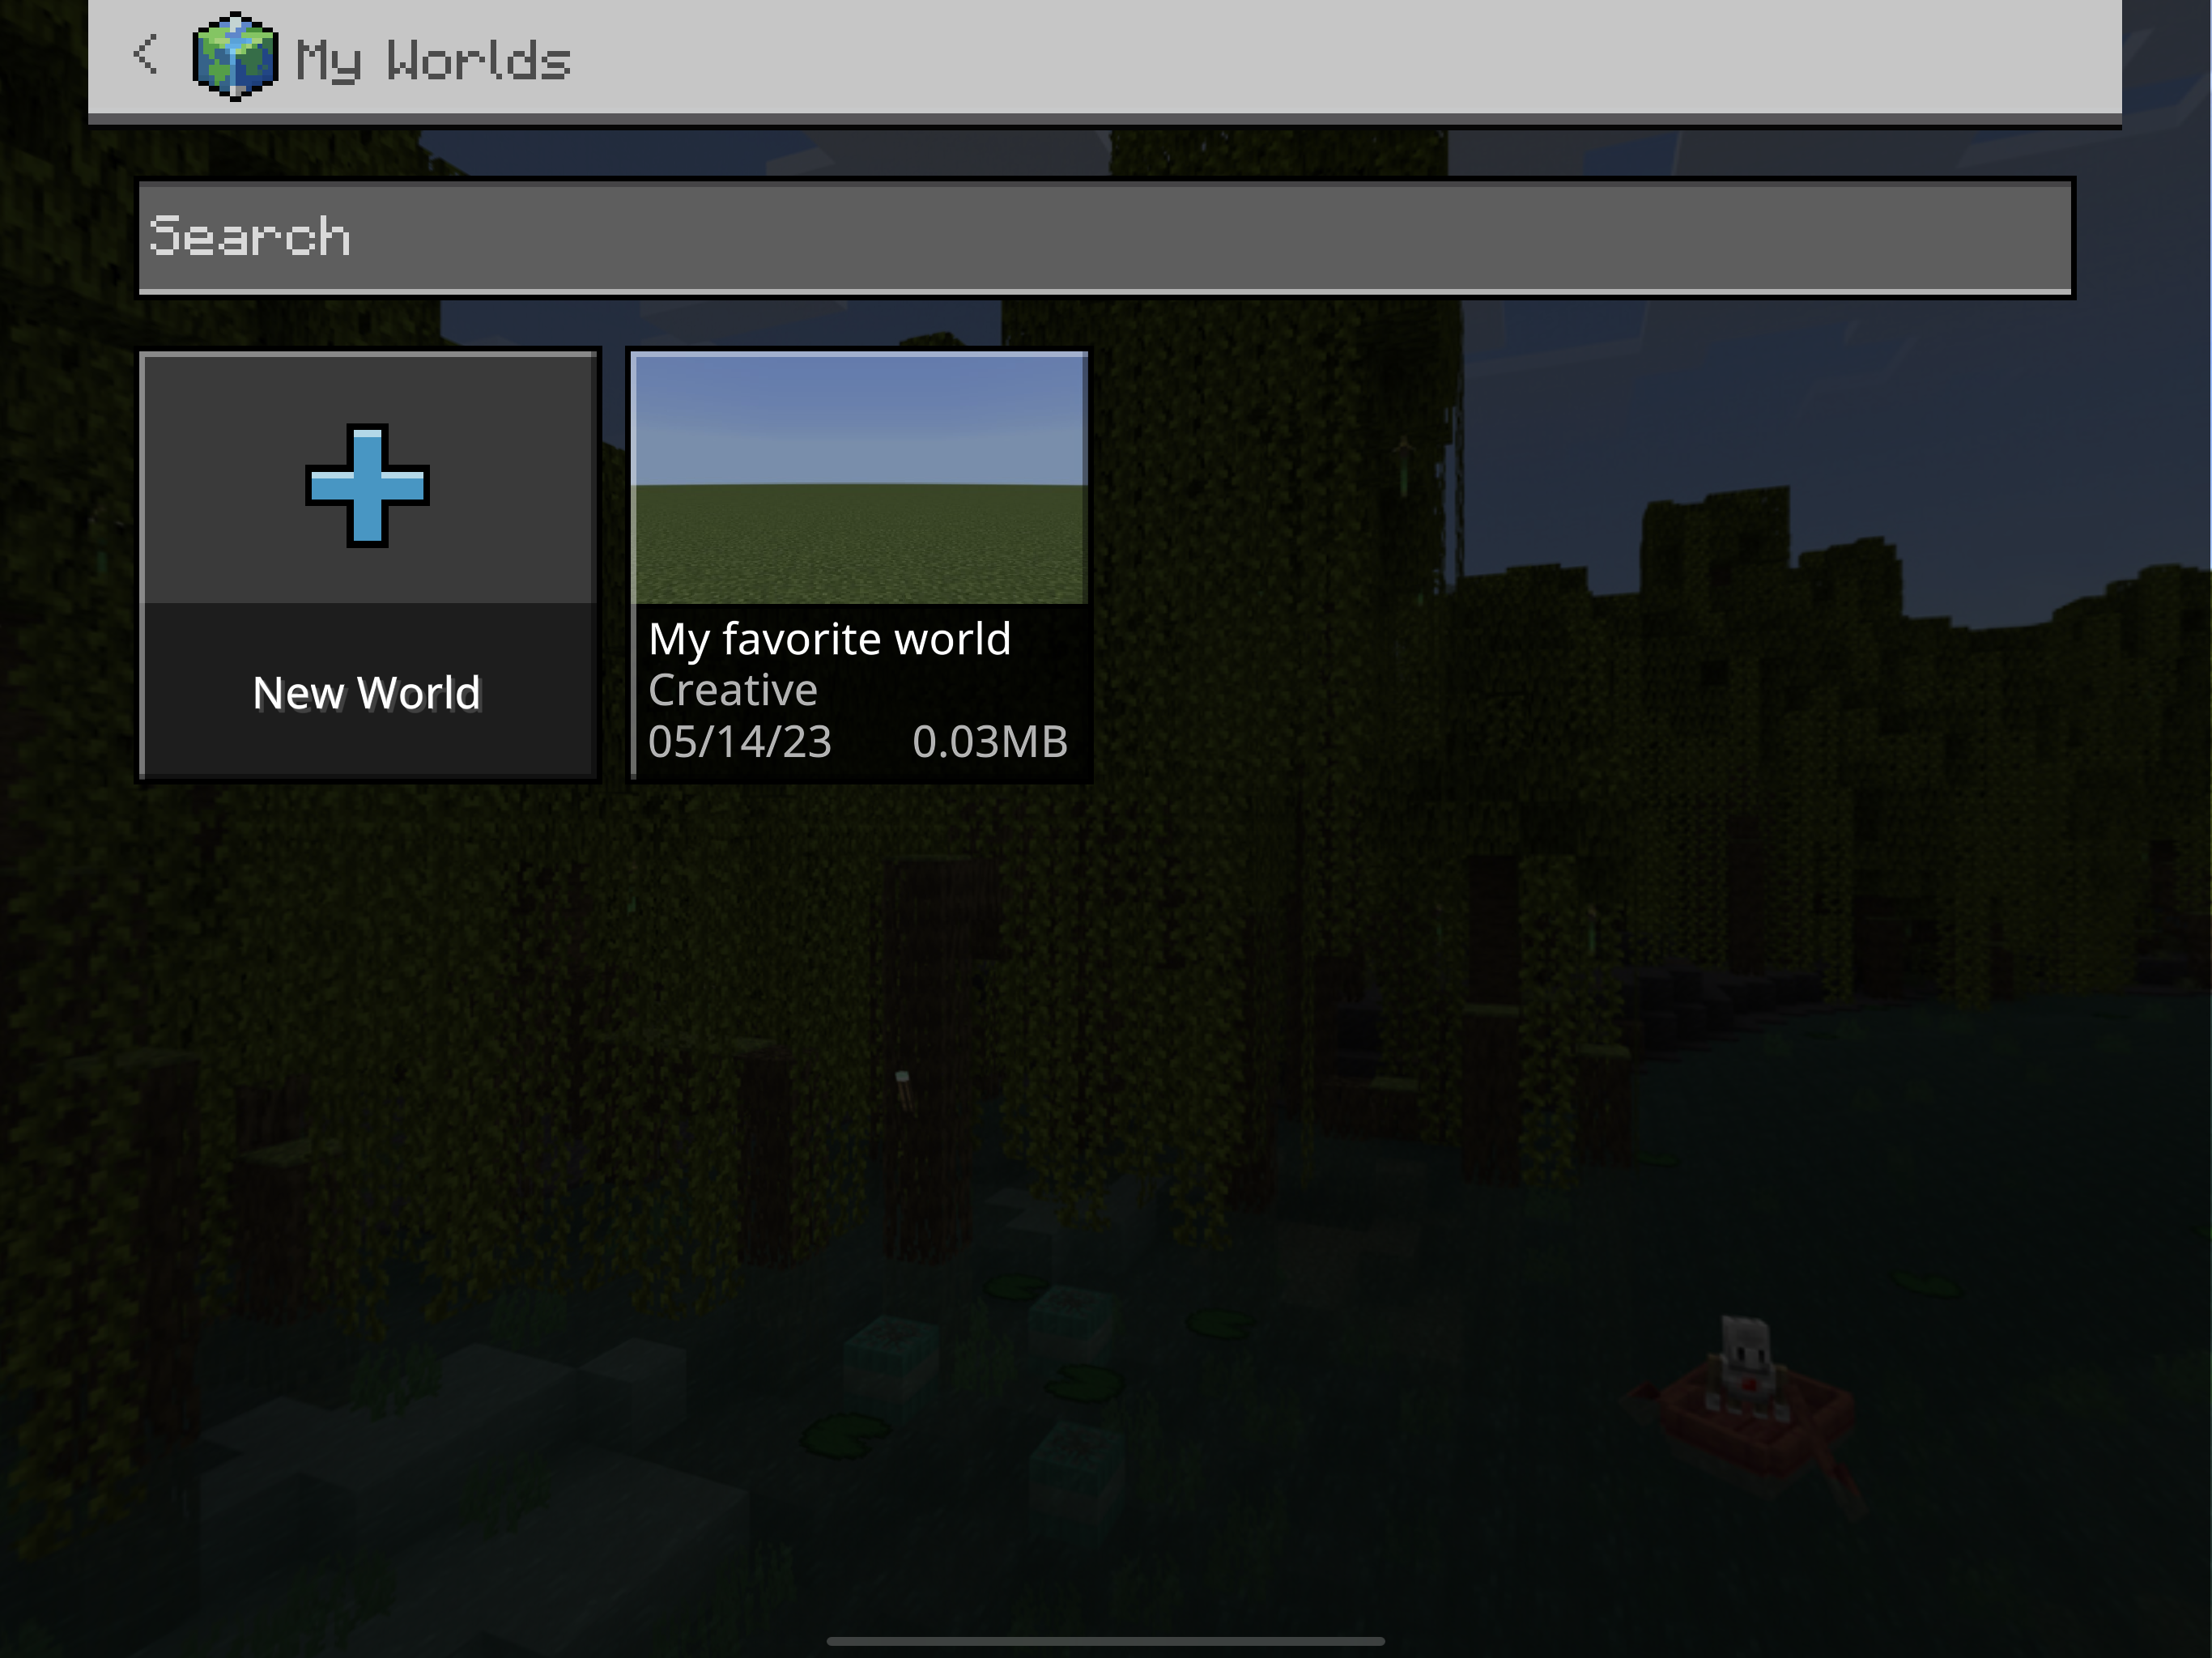
Step 3: Tap once on the world you want to save
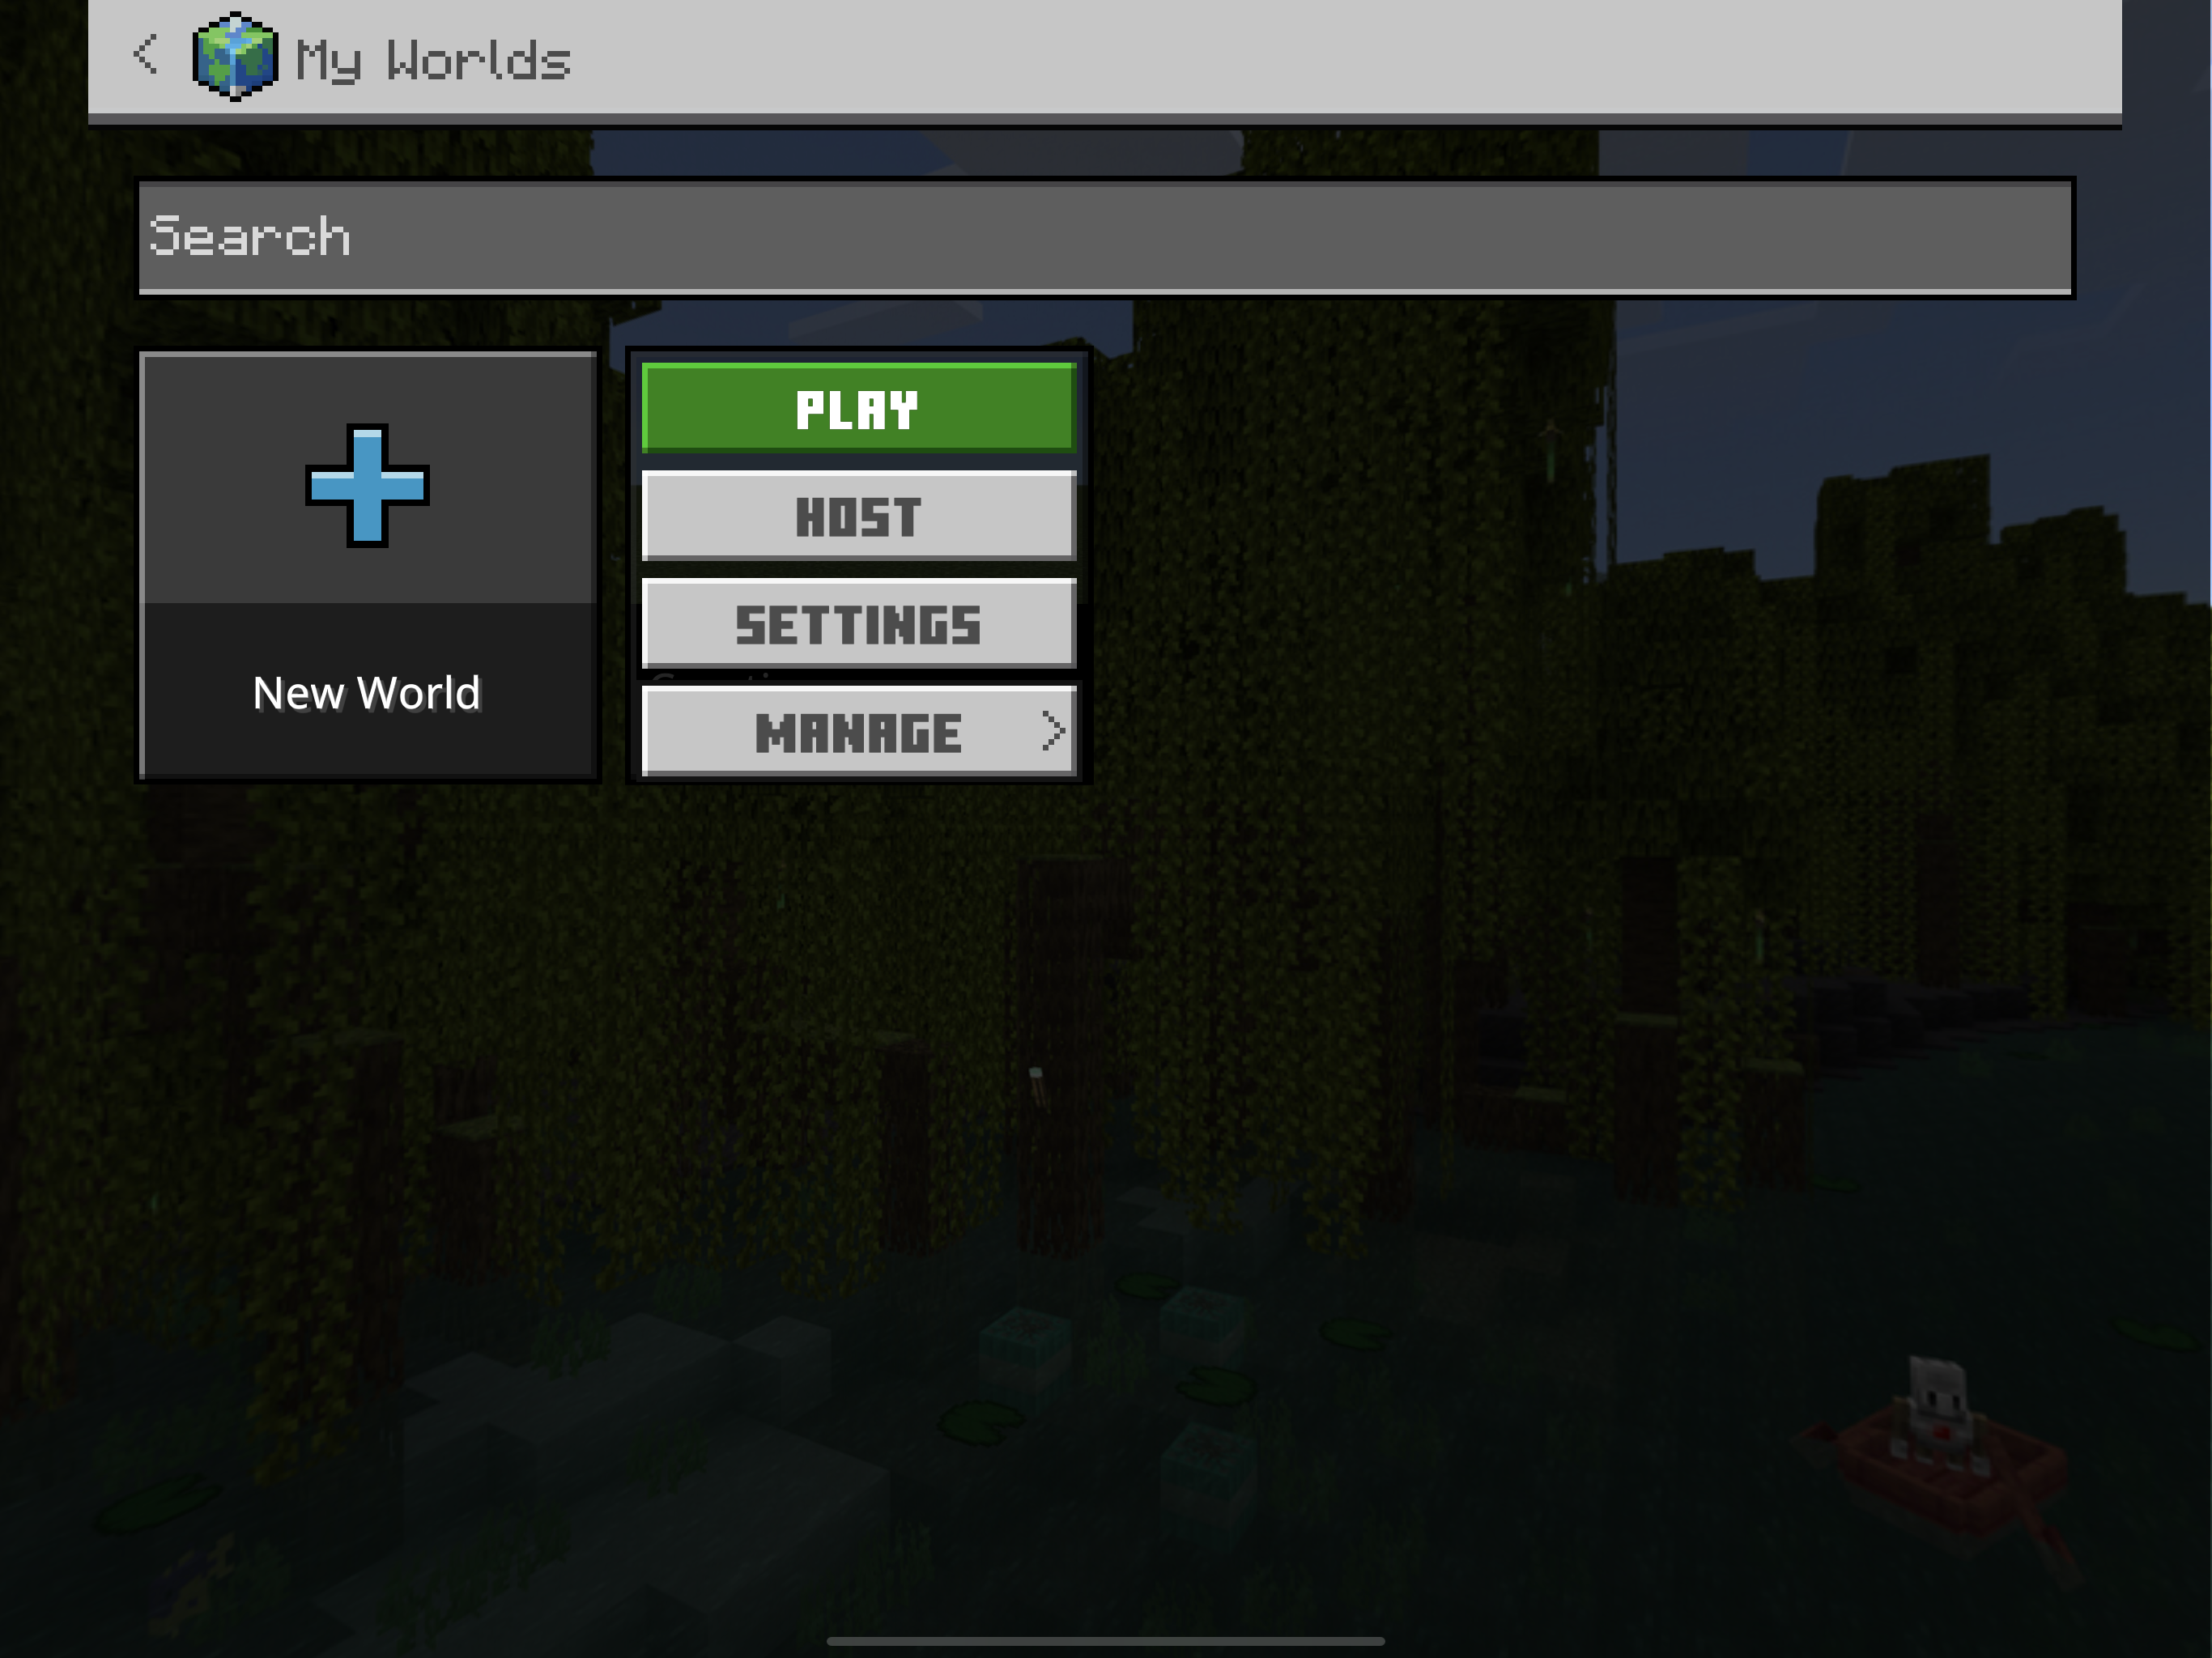
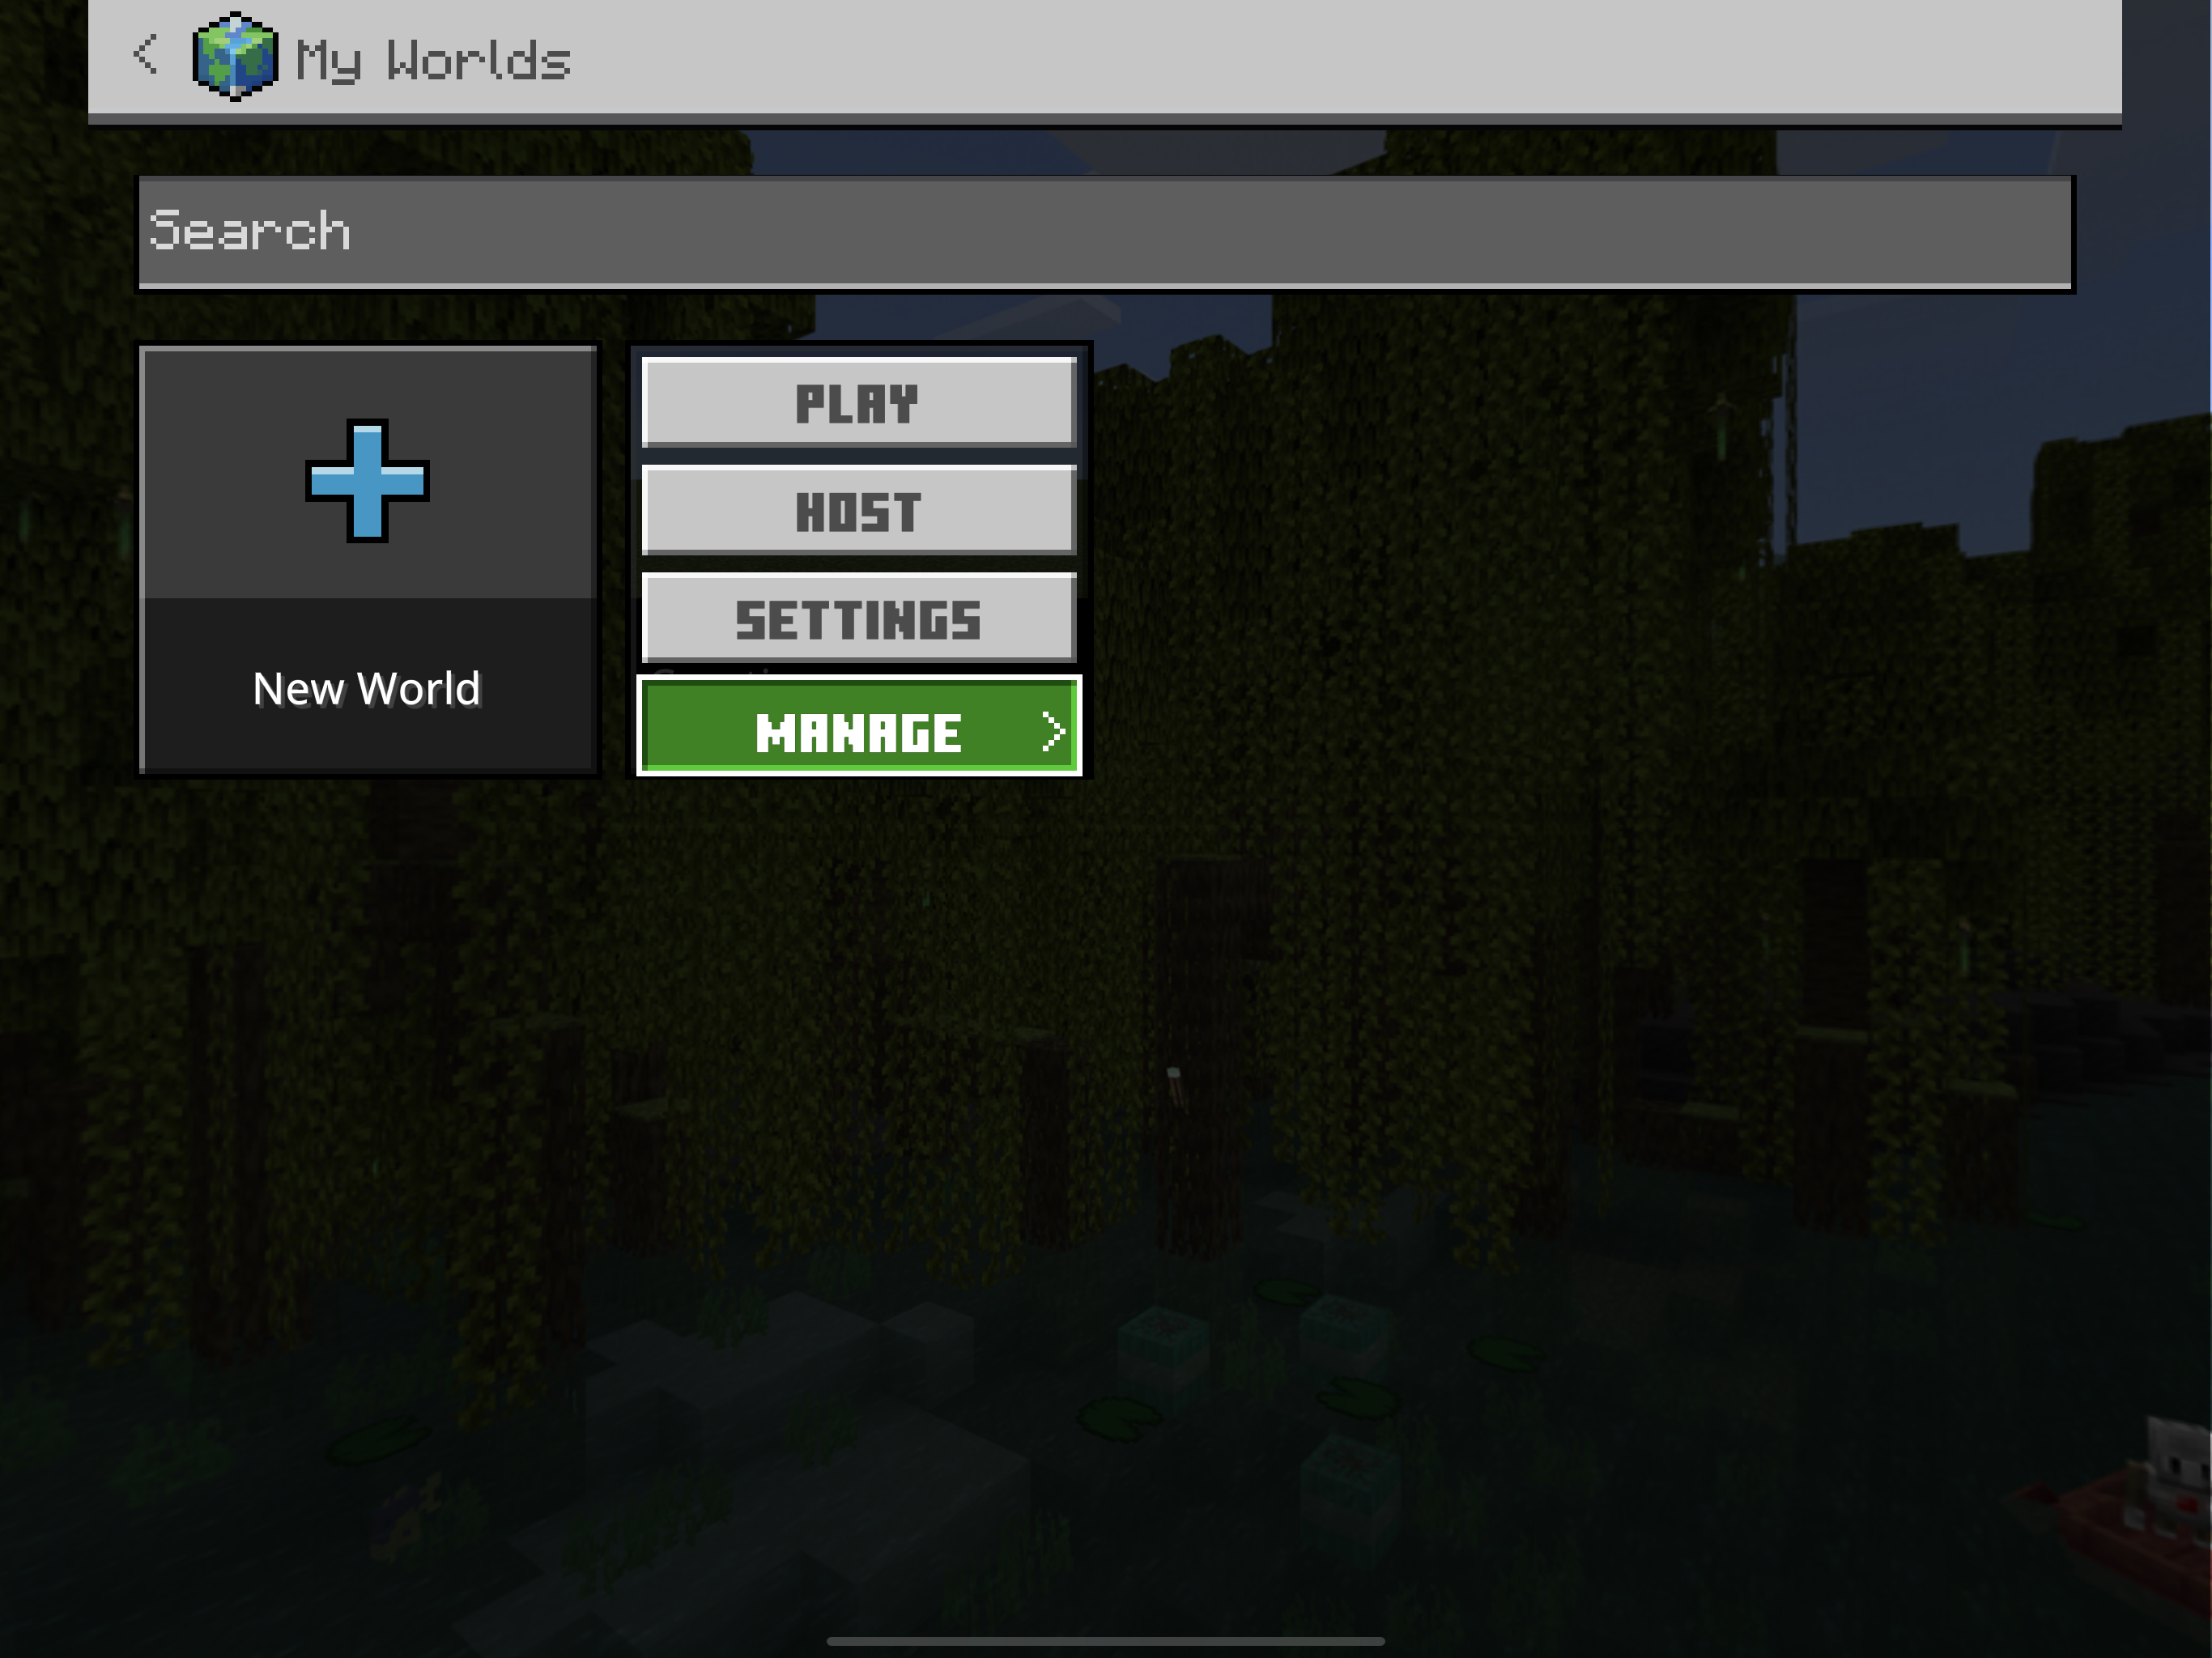
Step 4: After tapping once, you'll see this menu:
Step 5: Tap on "Manage"
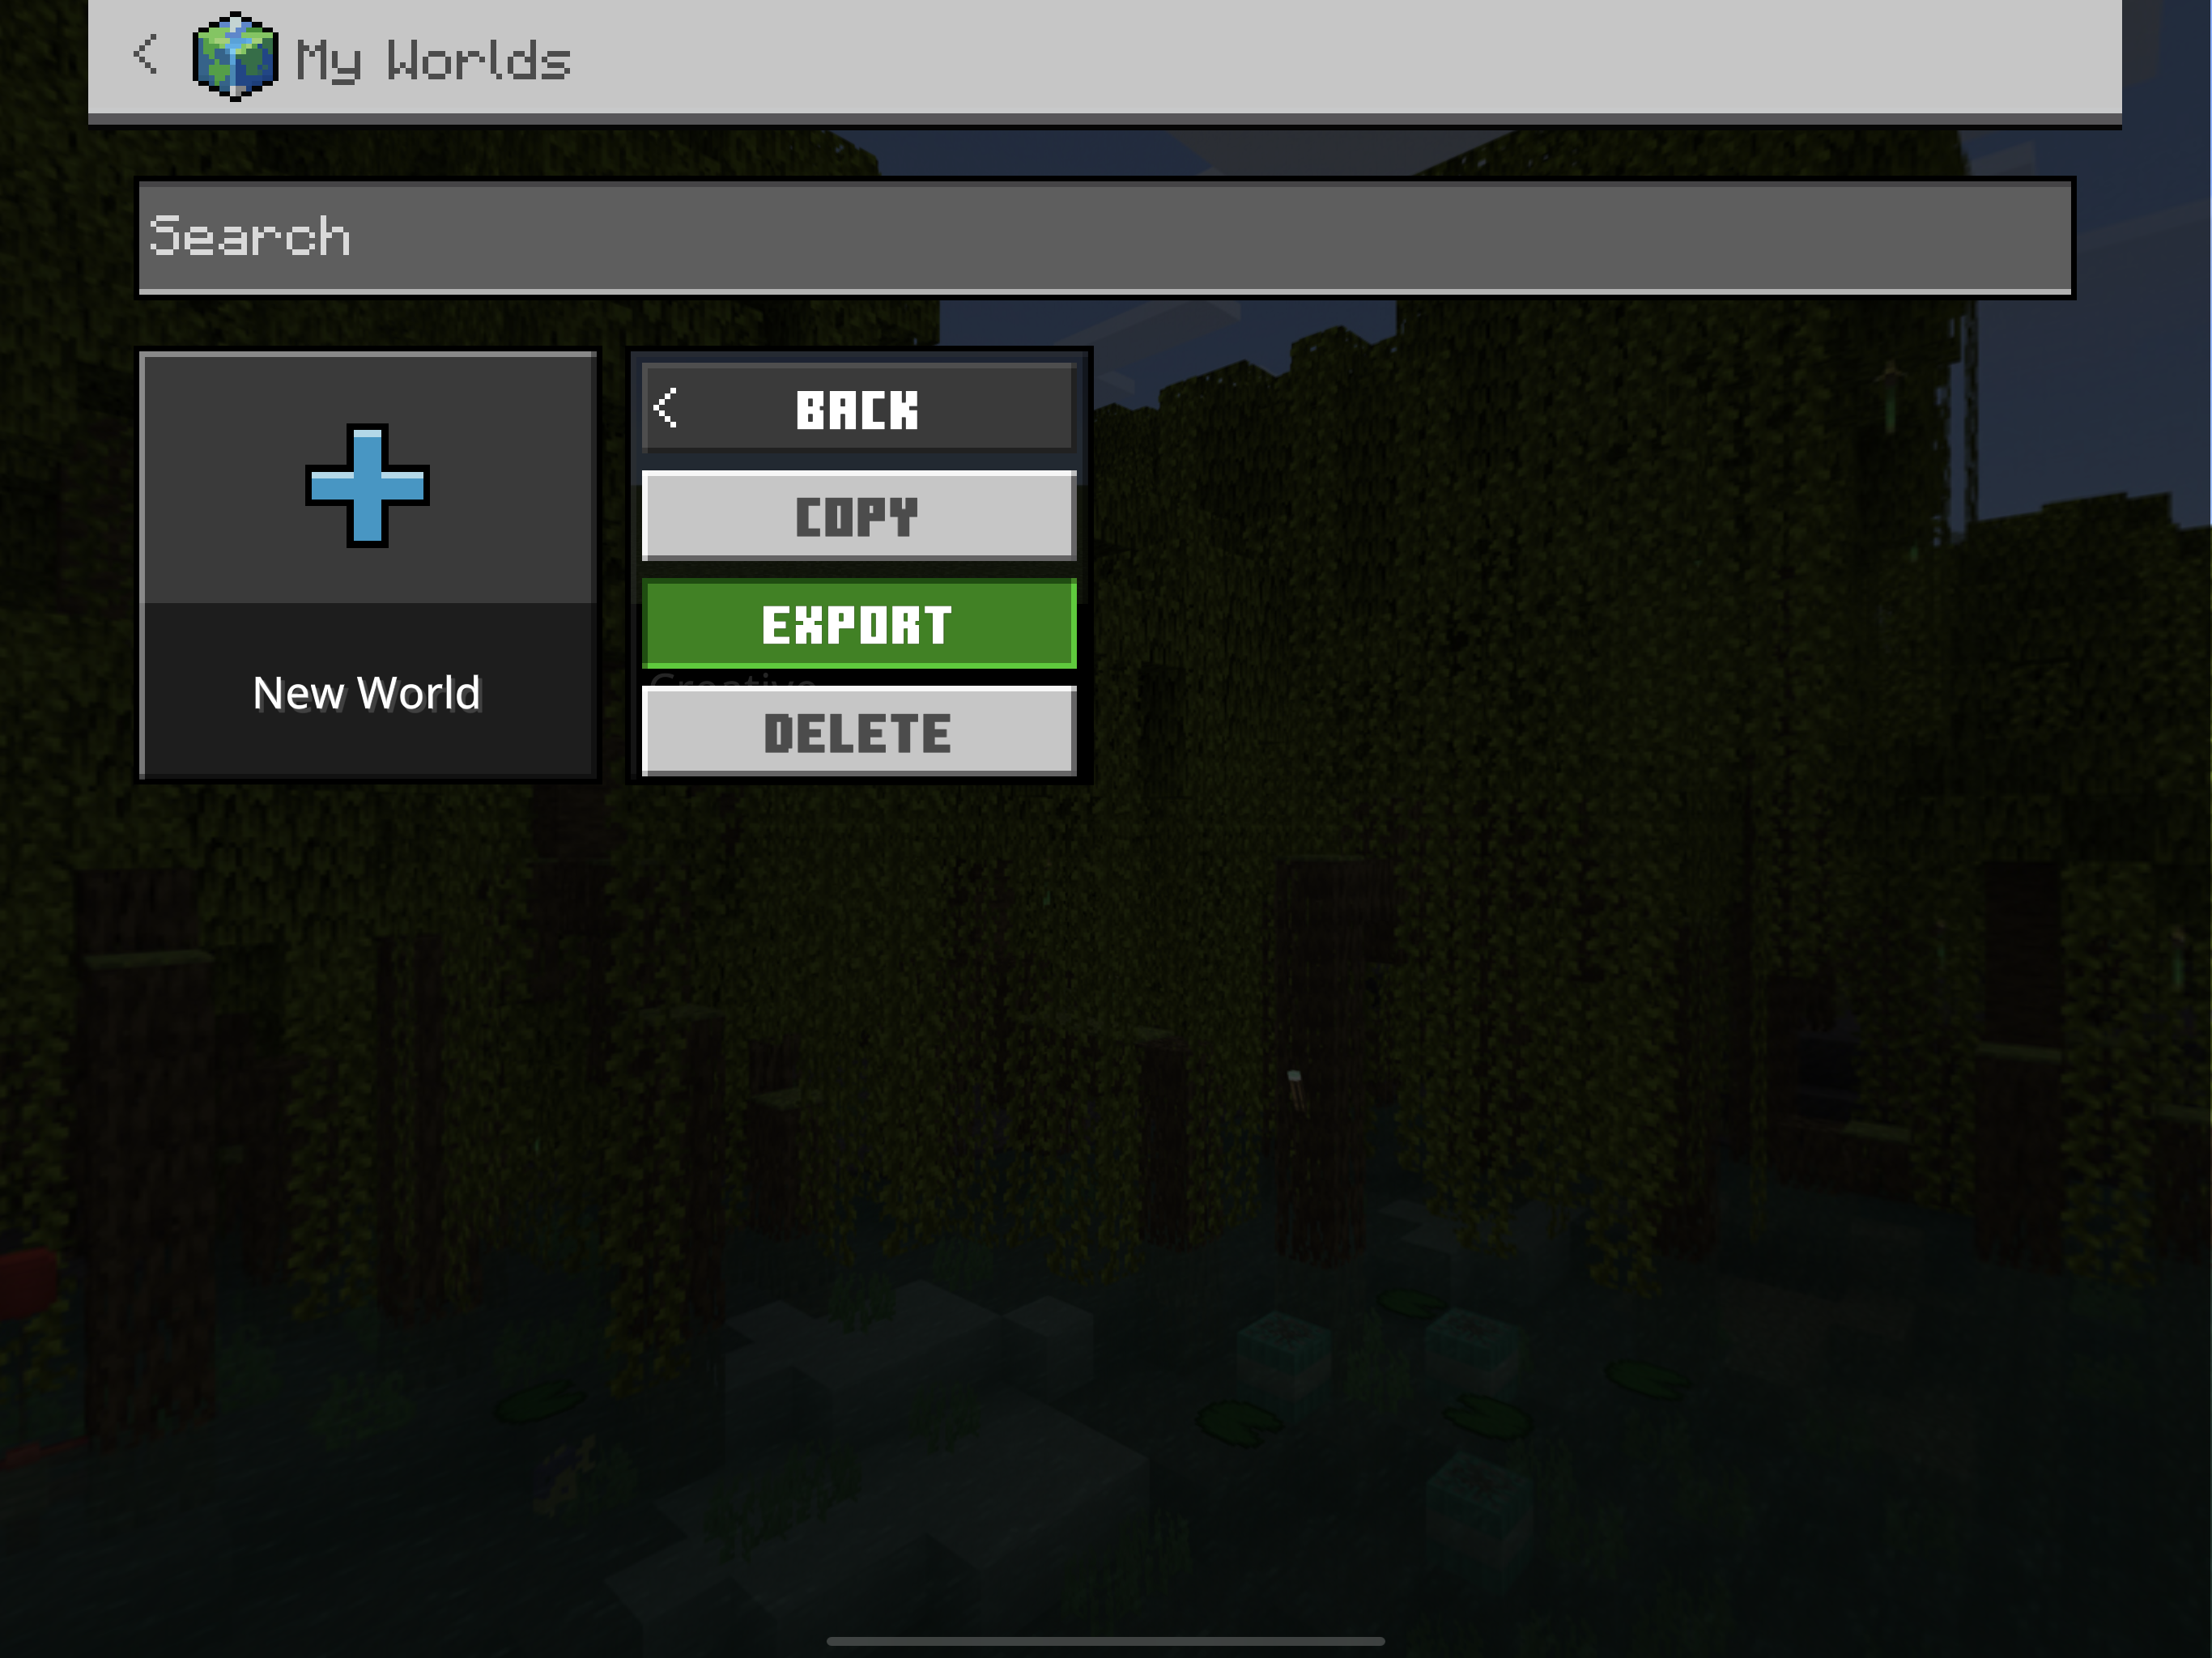
Step 6: Tap on "Export"
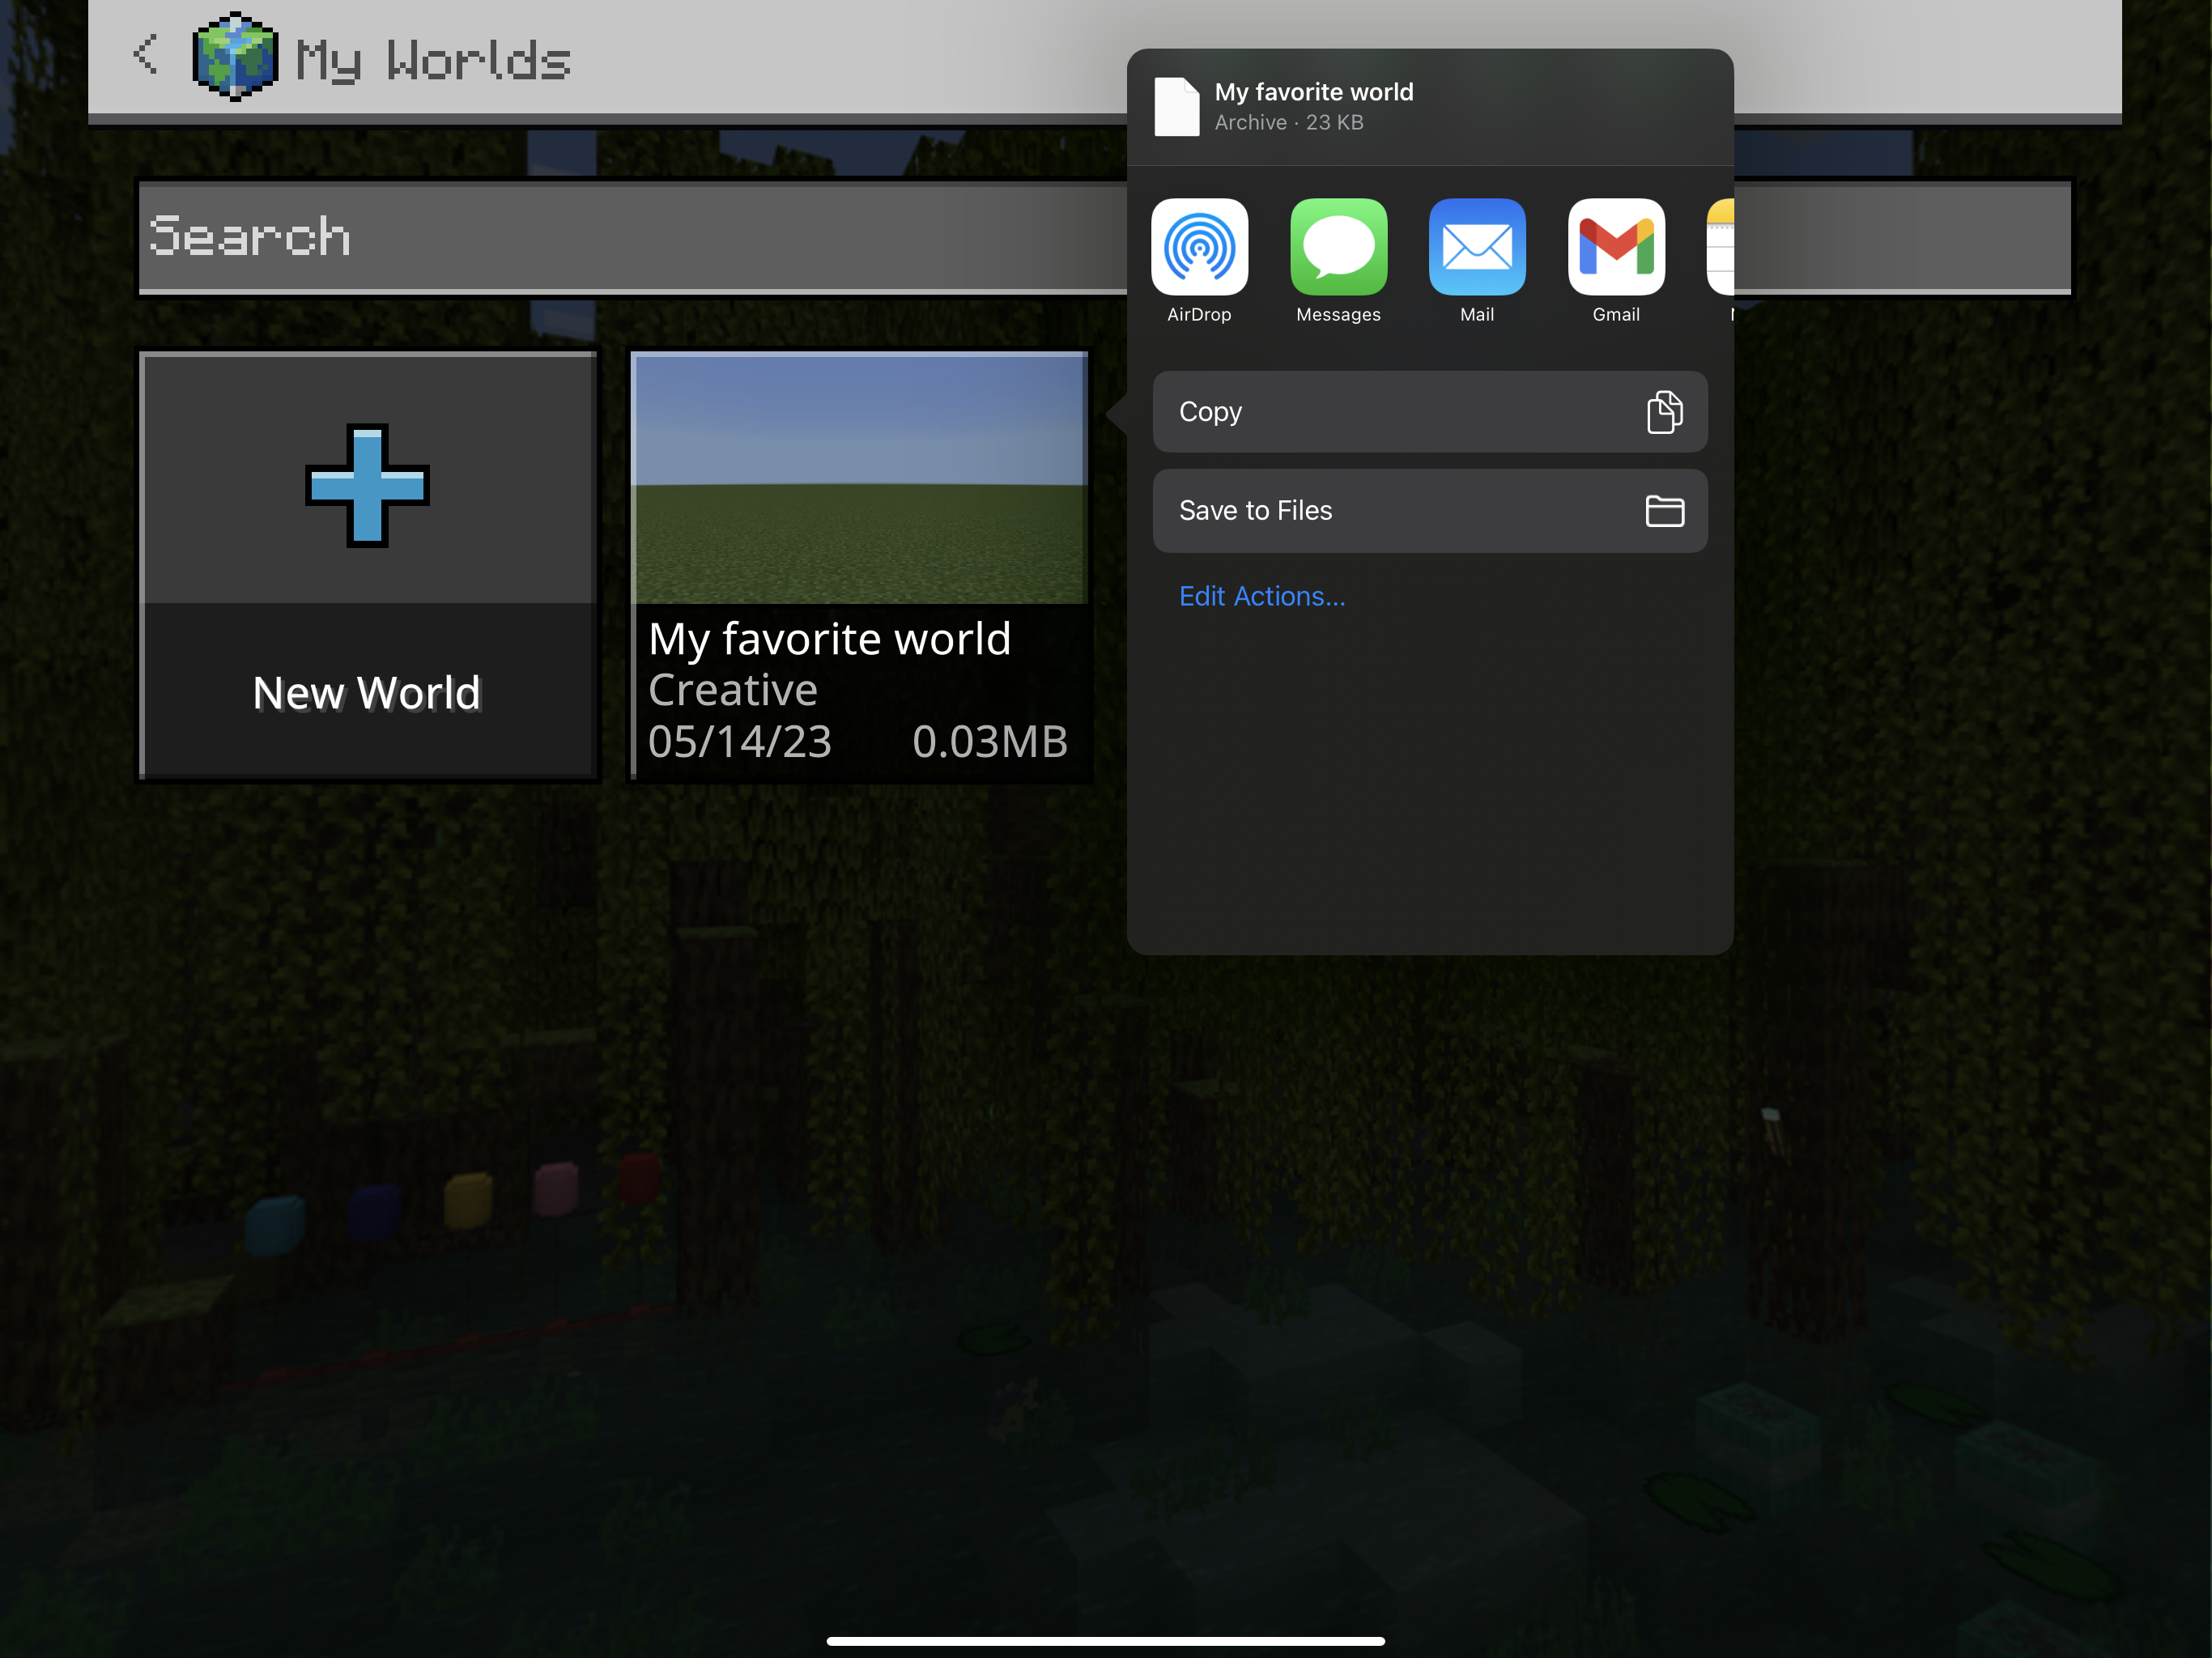
Step 7: After tapping on "Export", this menu will pop up.
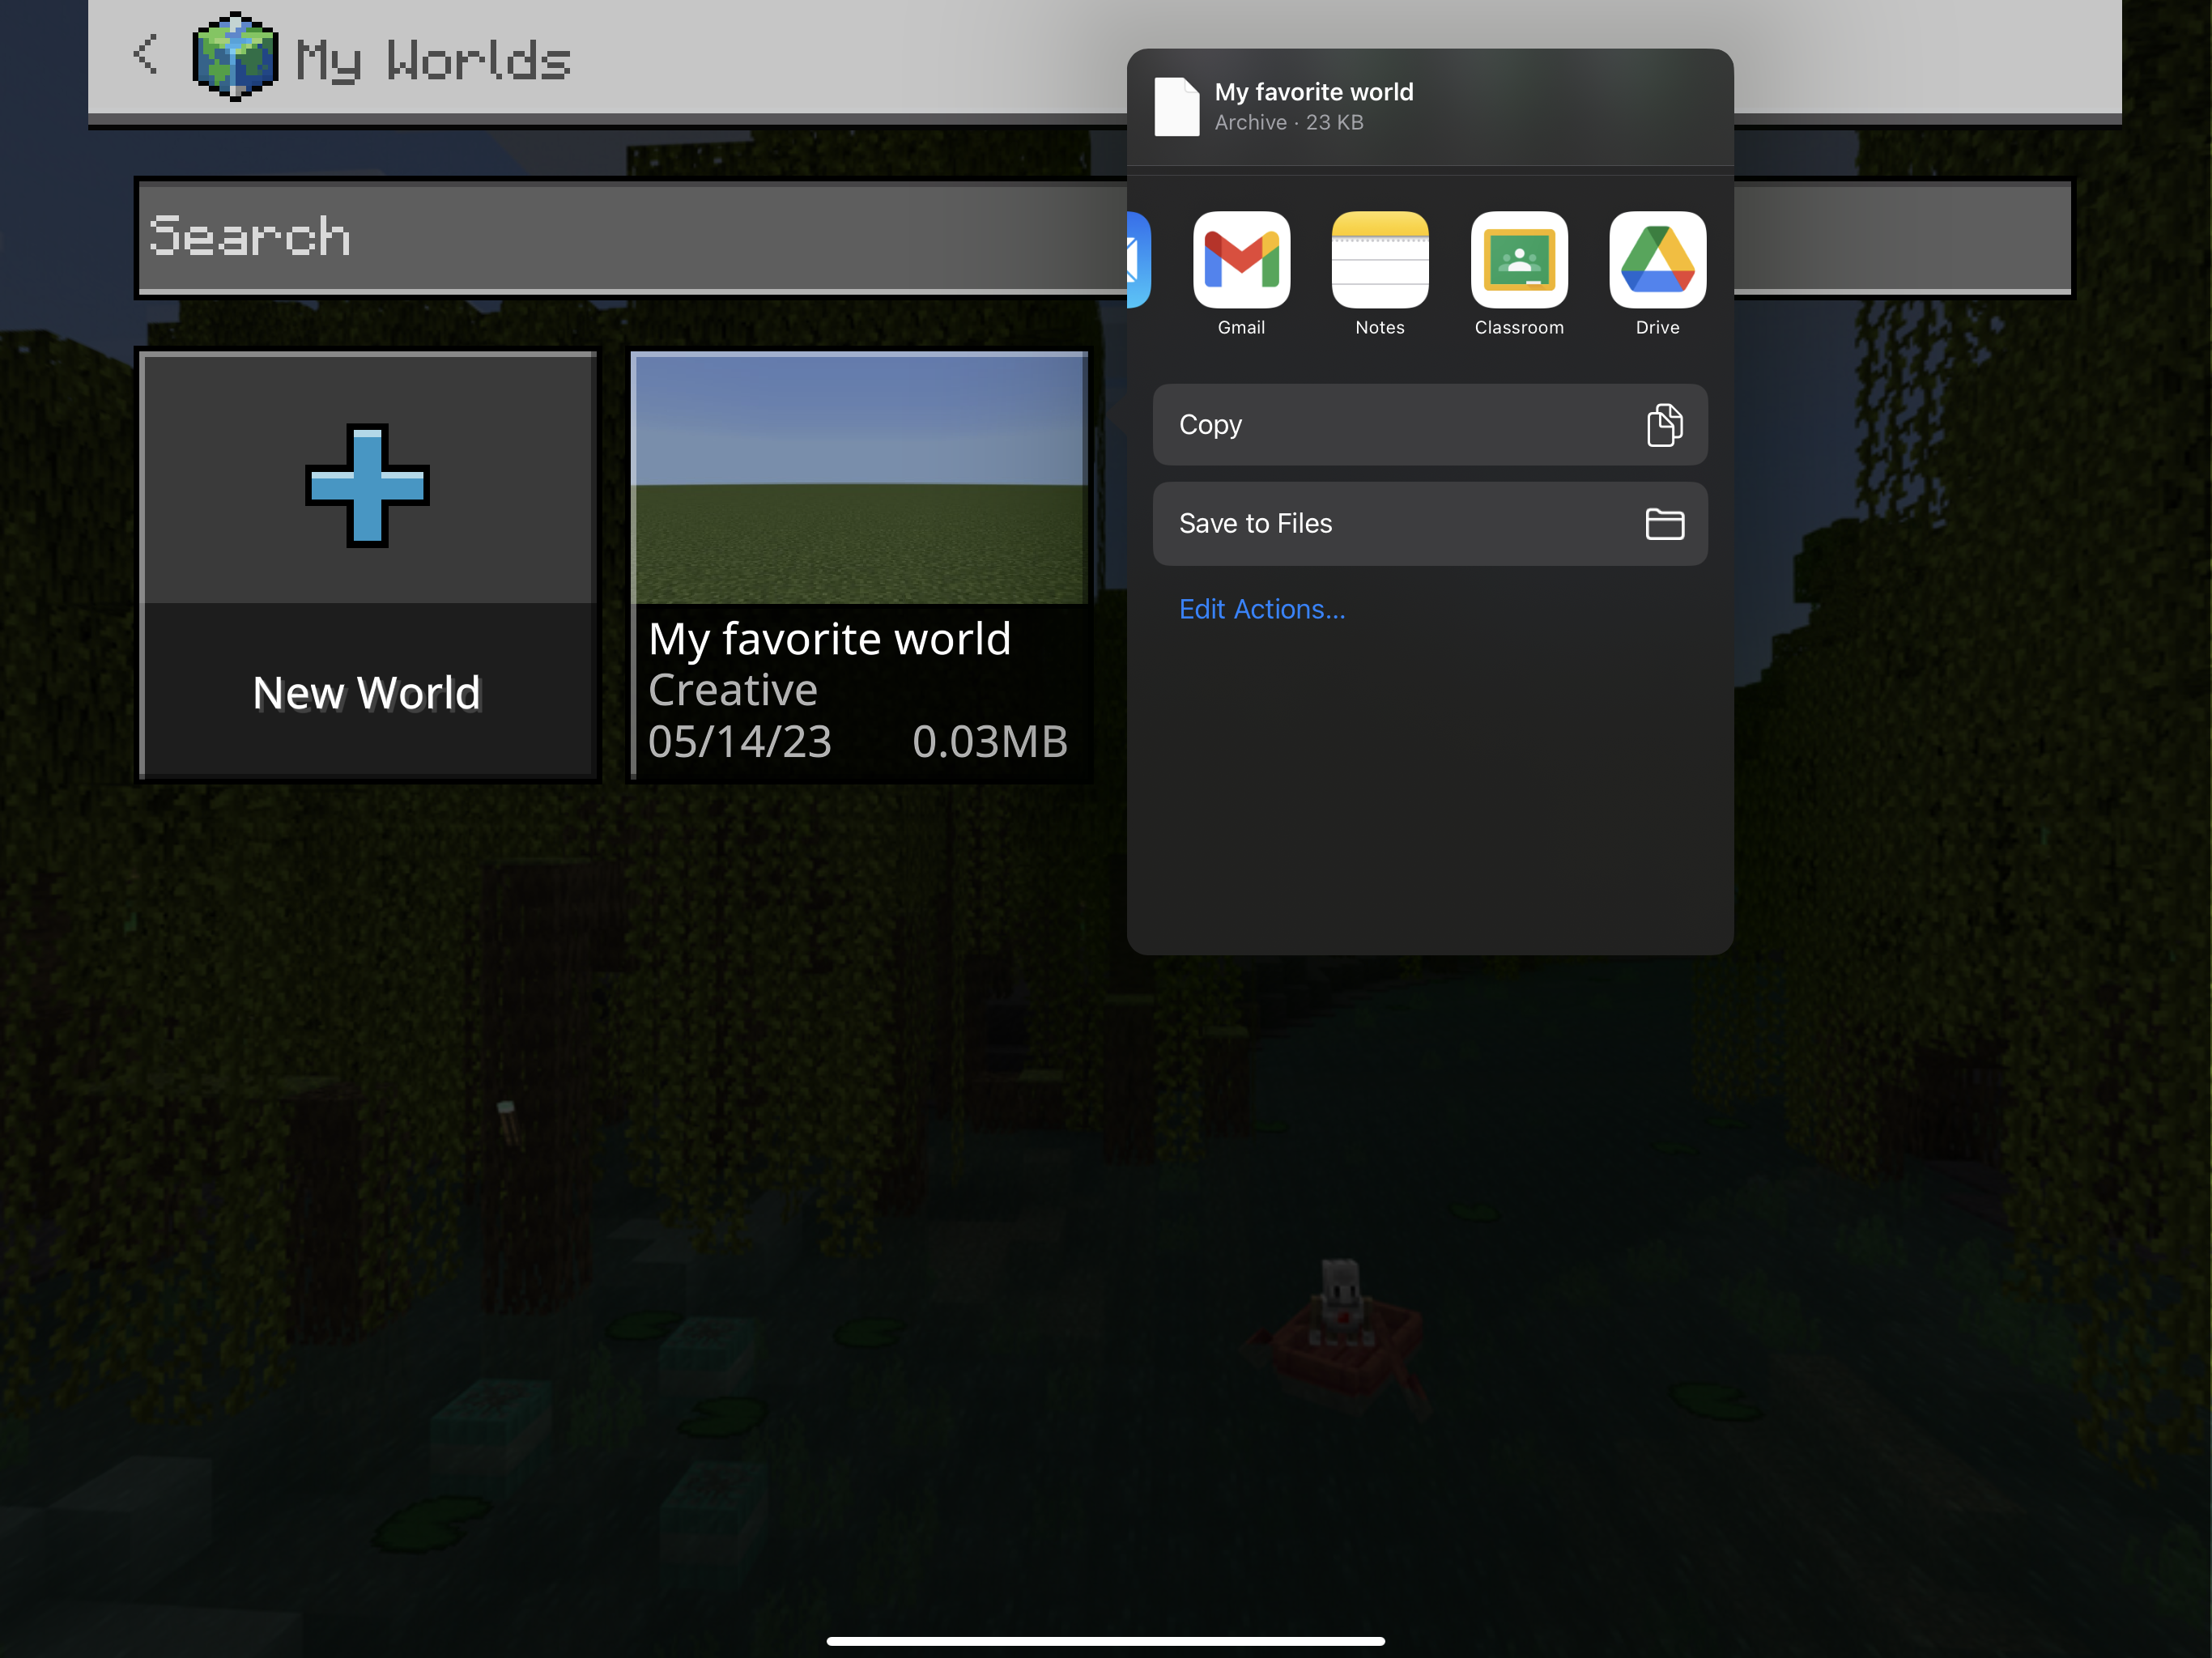
Step 8: Drag the (app) icons from right to left until you see Google Drive ("Drive"), and tap on Drive.
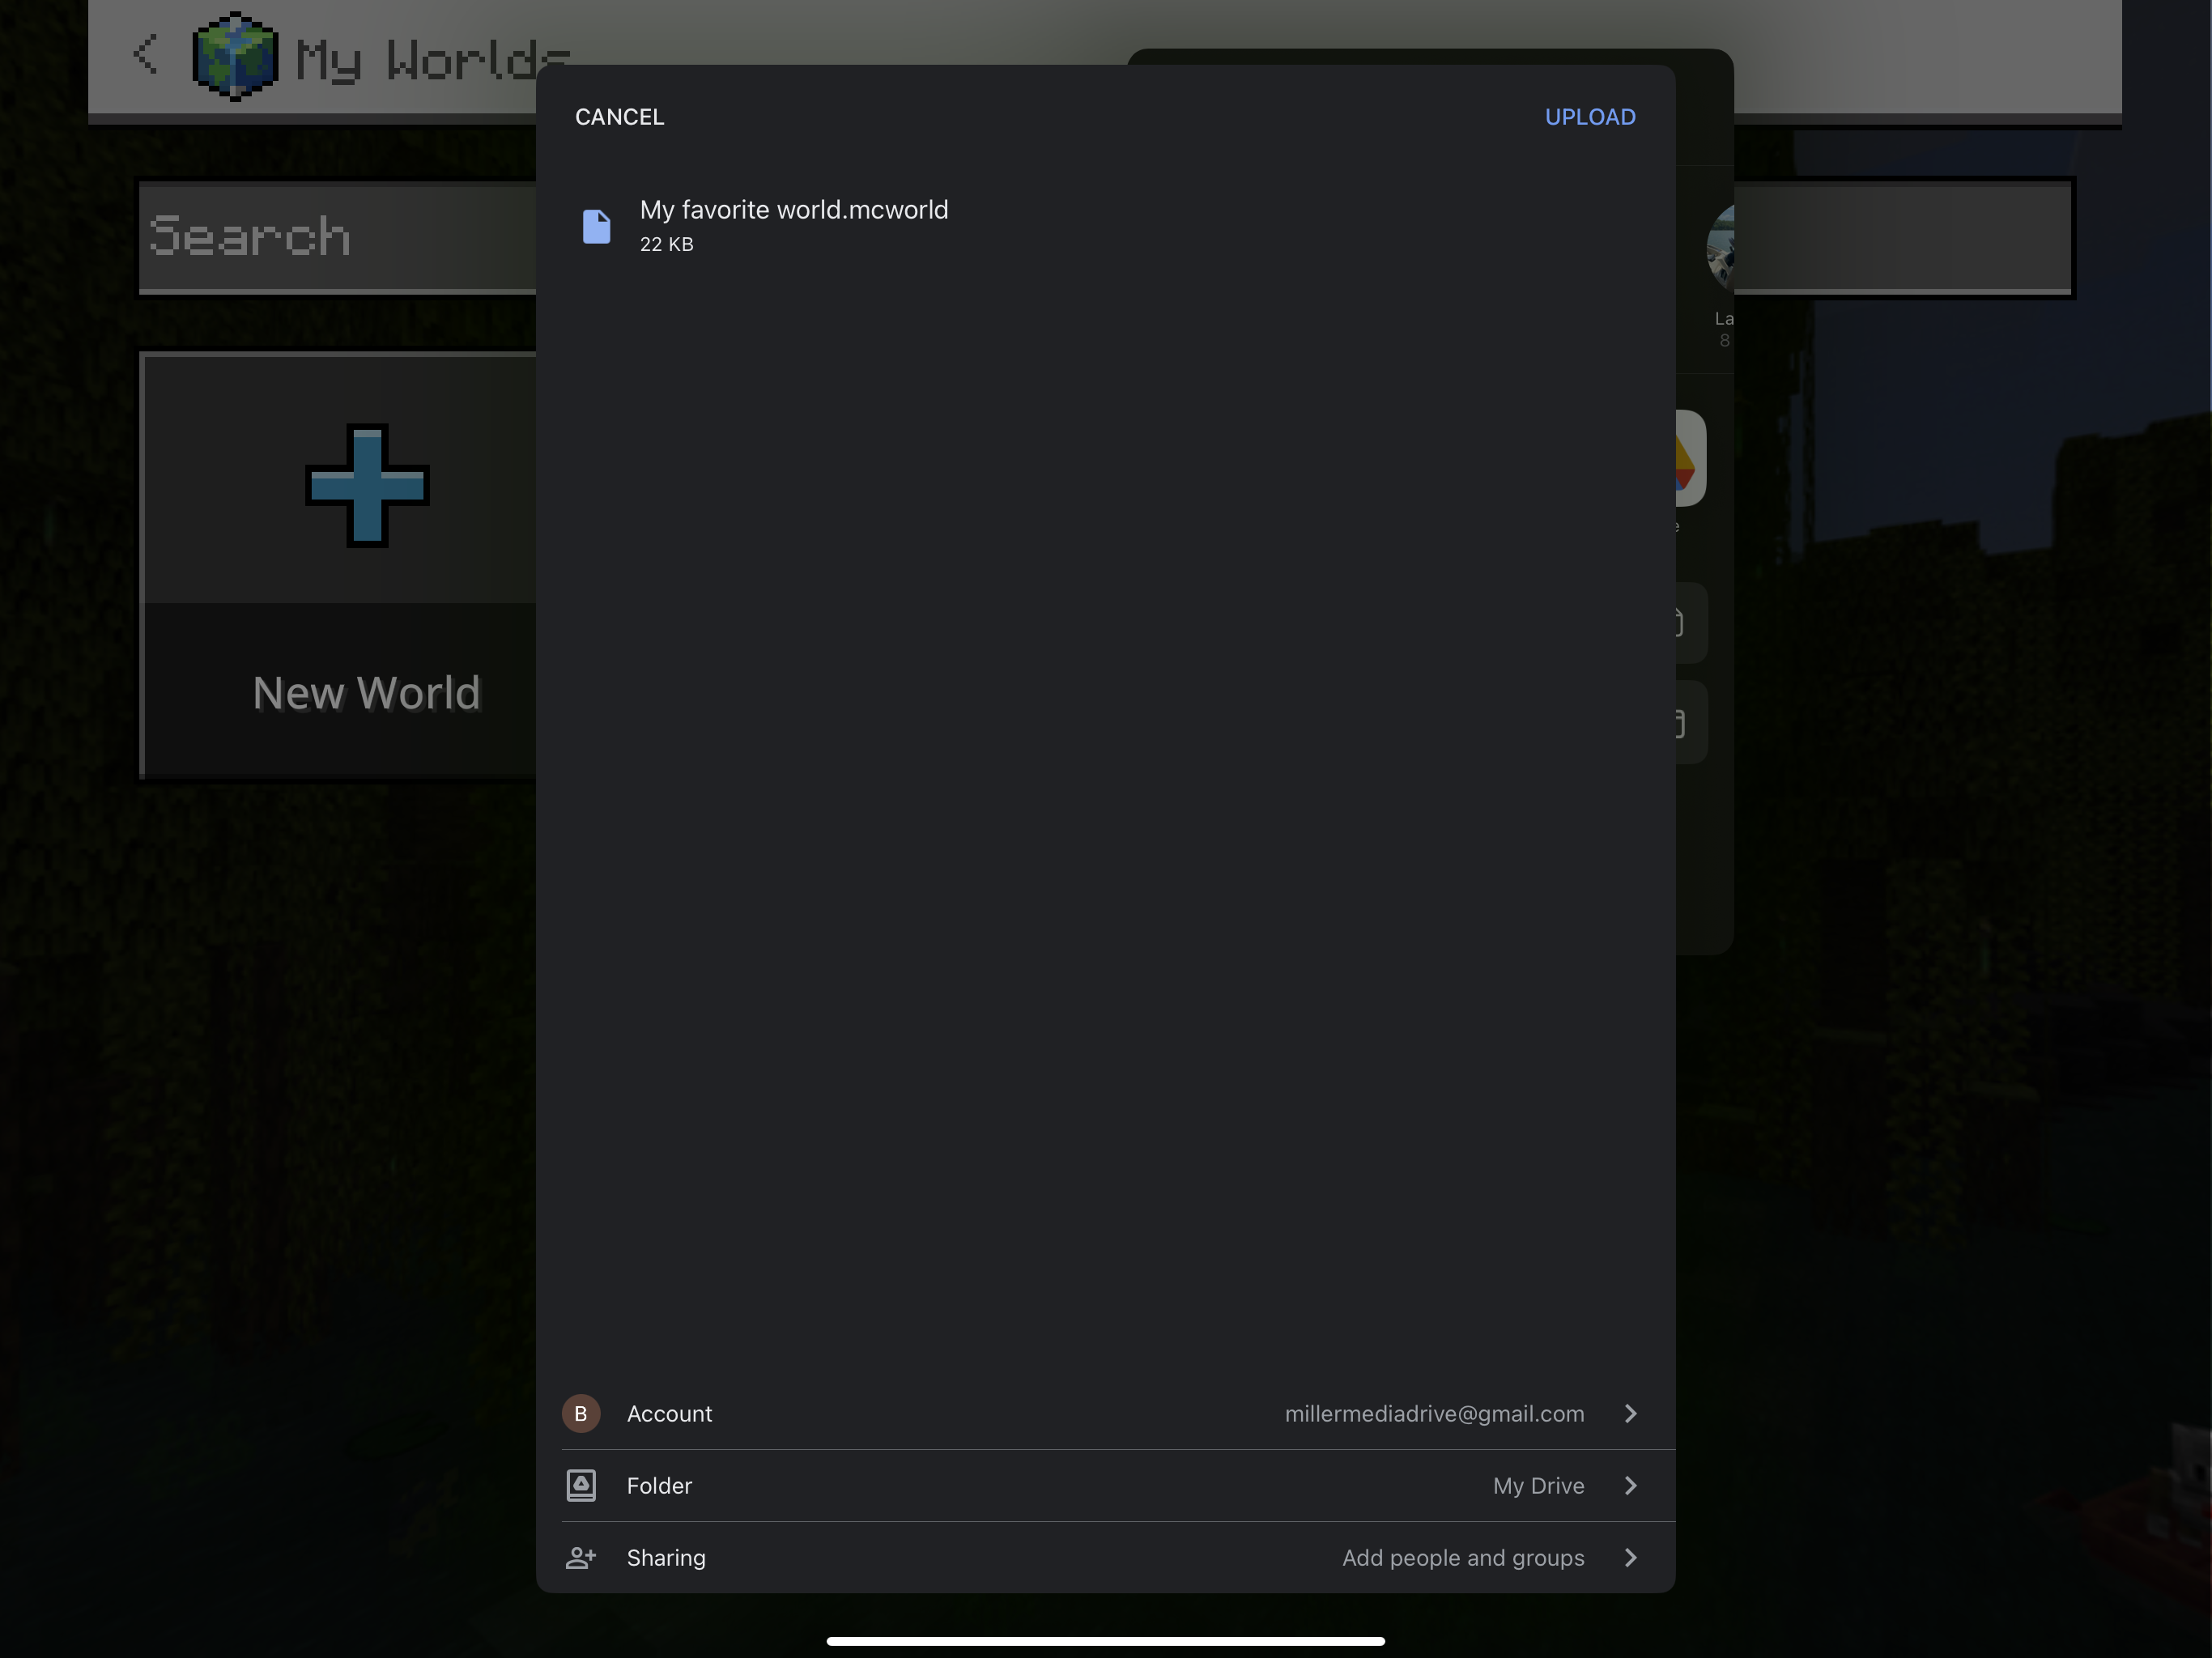
Step 9: When the Google Drive menu opens, select "Upload" in the top right corner.
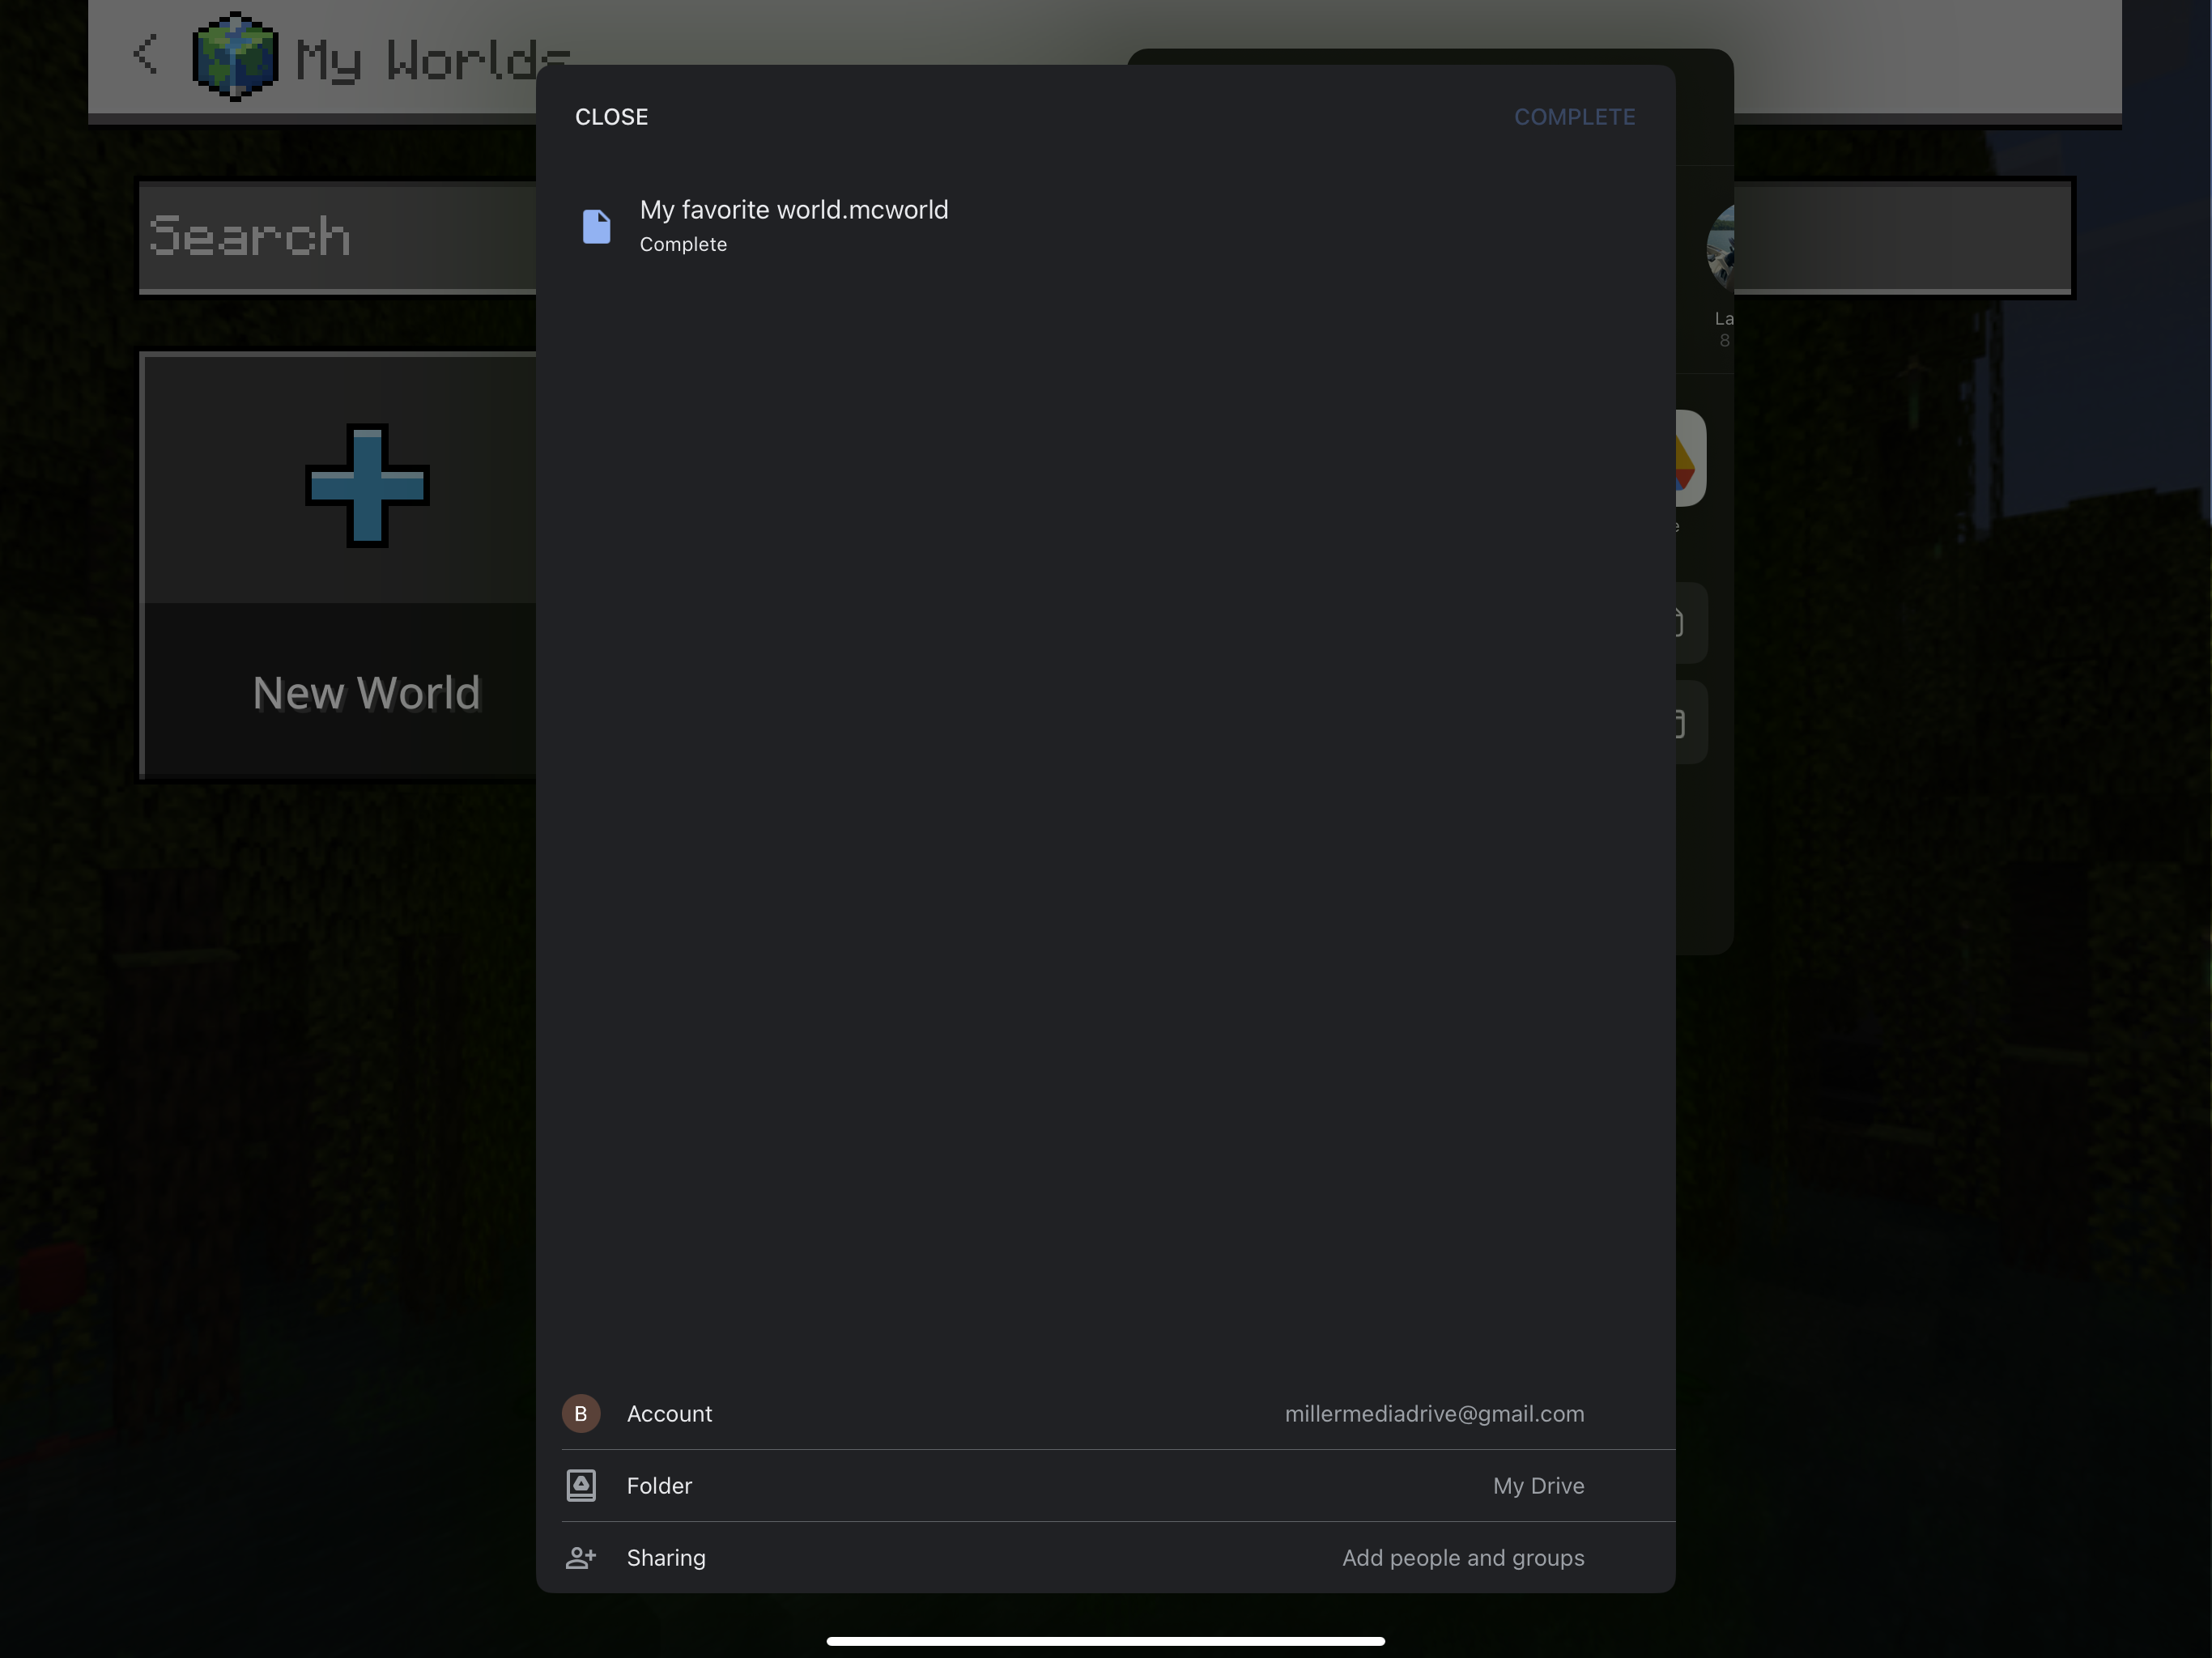
Step 10: A loading bar will quickly flash across the top of this menu, followed by the word "COMPLETE" where the word "'"Upload" had been.
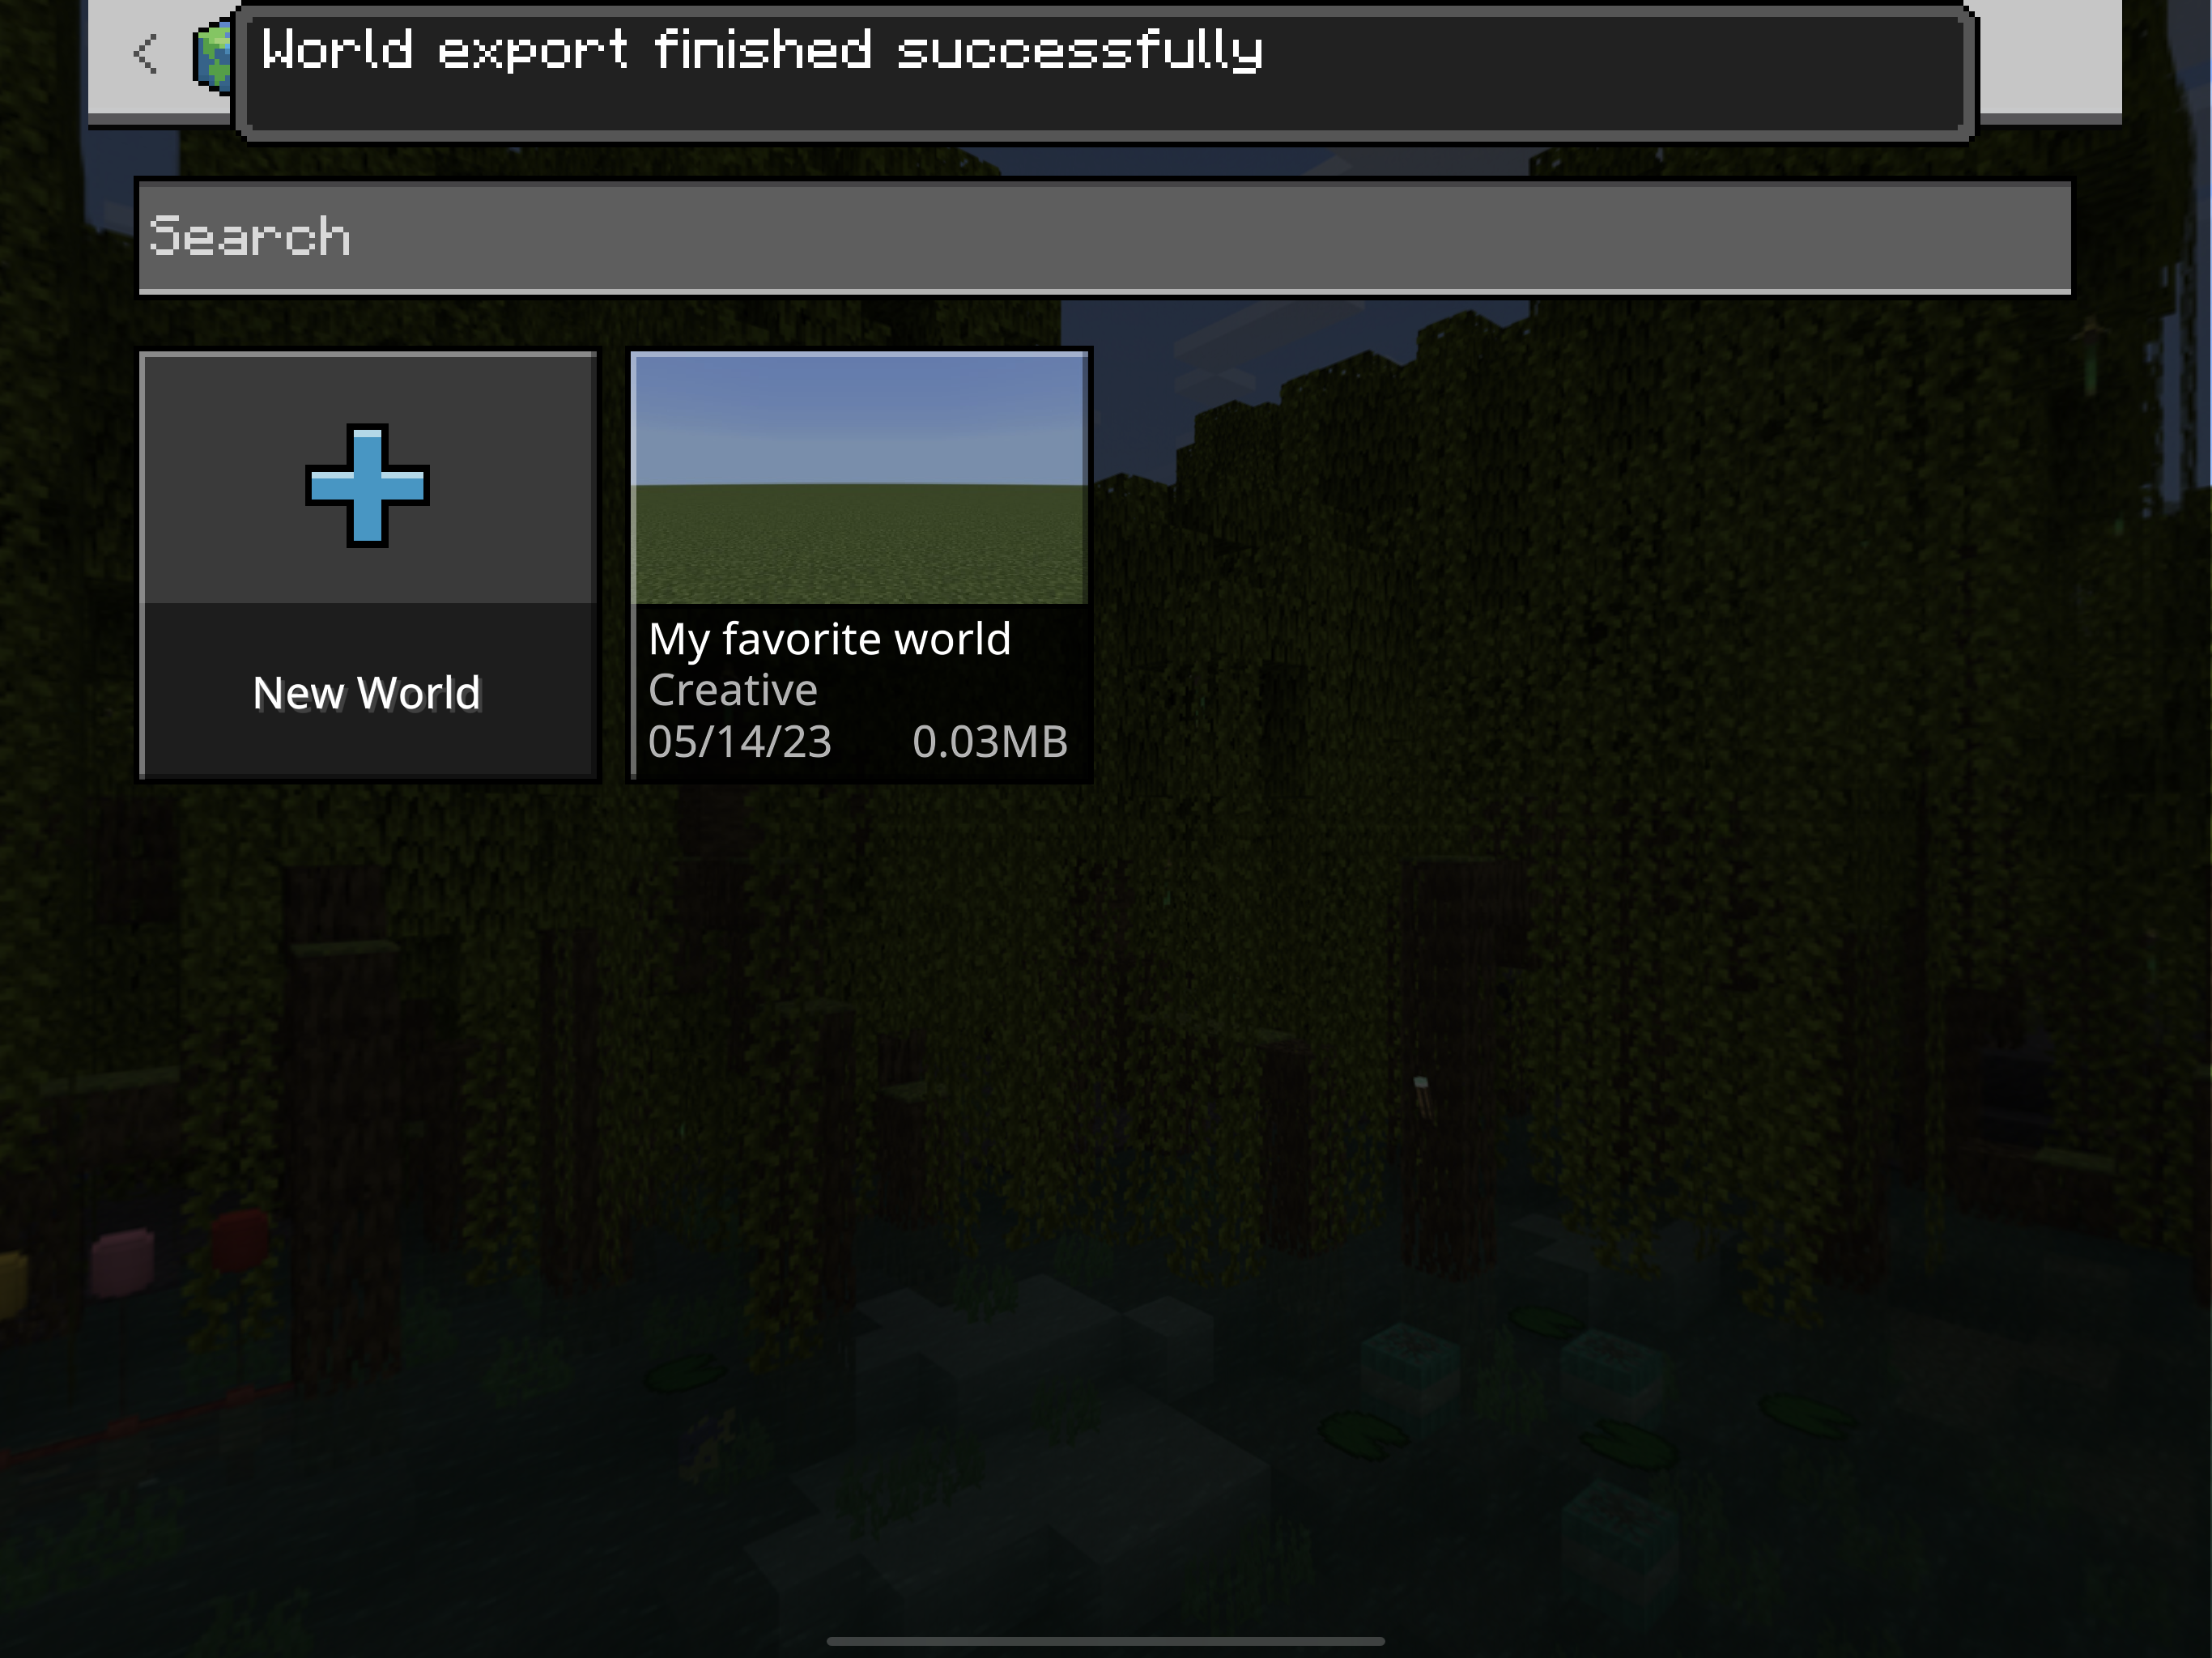
Step 11: The upload menu will (or at least should) automatically close and you will see a message at the top of the screen that says "World export finished successfully"
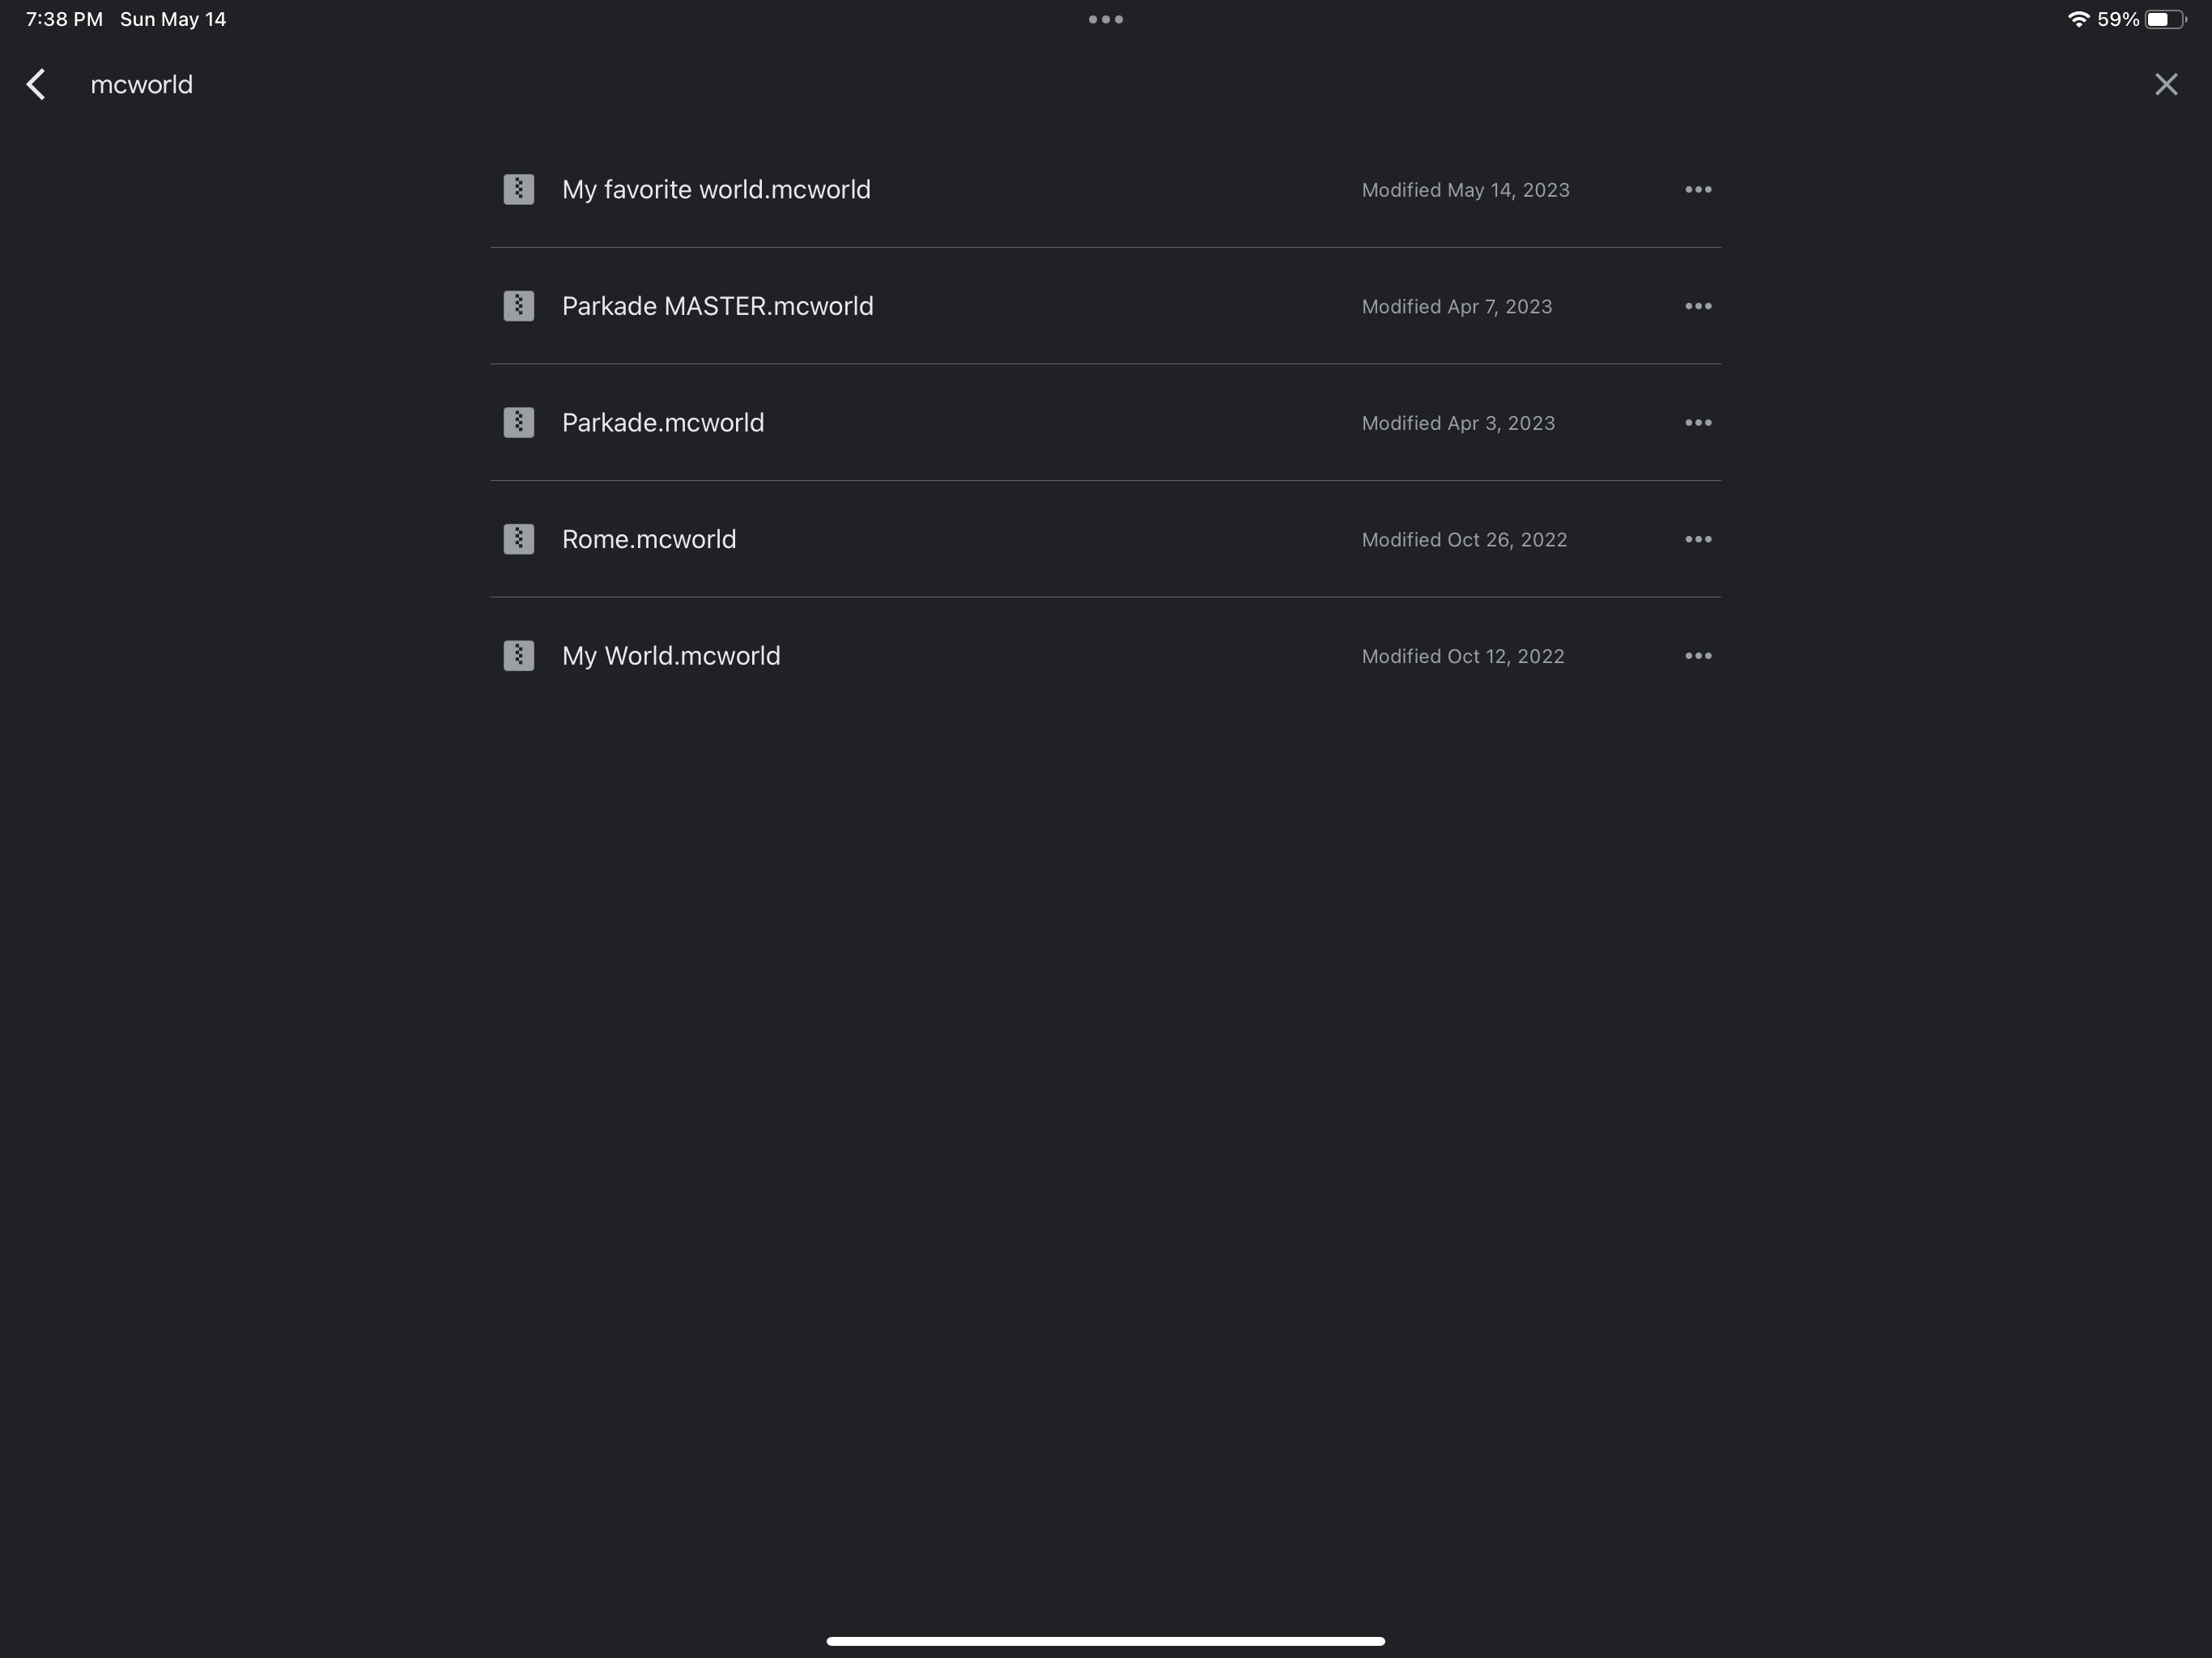
Step 12: Always double check that your world is uploaded to Google Drive by reopening the Google Drive app and finding your world. It might be helpful to search inside Google Drive for the phrase "mcworld" which is the file extension for all Minecraft Education Edition worlds.
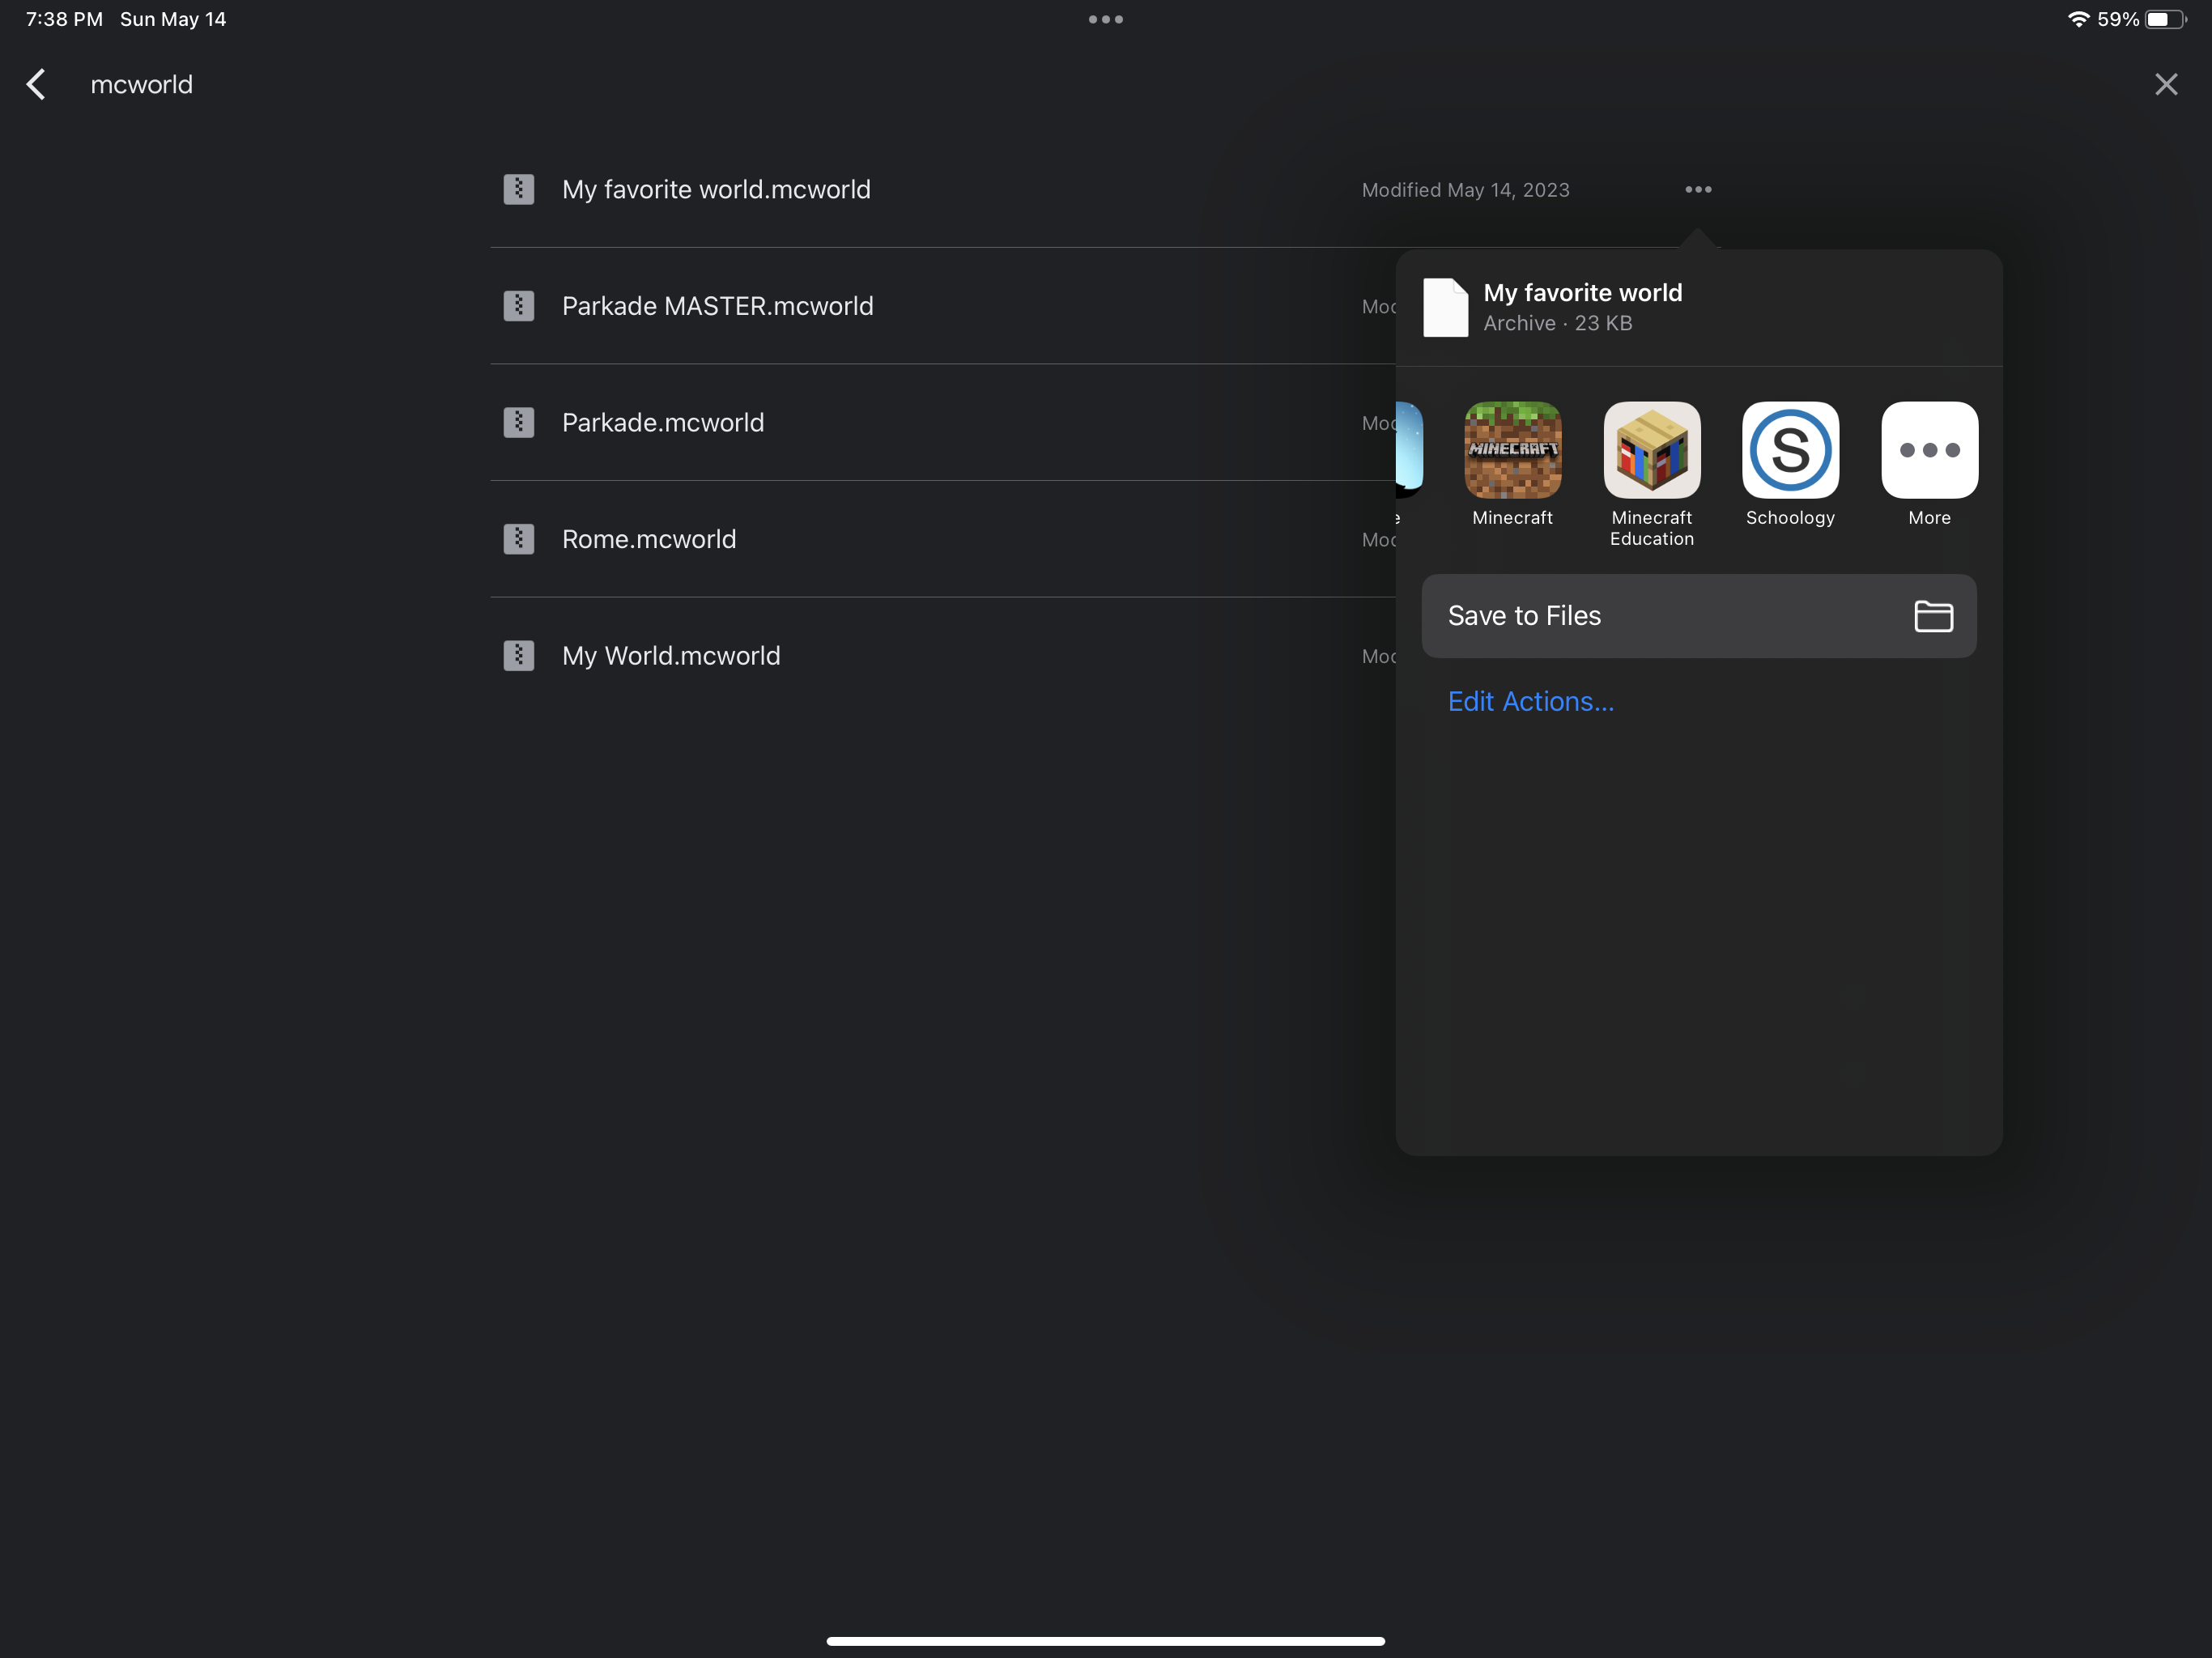
Step 1: To download your worlds from Google Drive back to your iPad, first open the Google Drive App and find your world by searching for "mcworld" in the search bar.
Step 2: After finding the .mcworld file that you want to download, select the three dots (...) at the end of the filename. This brings up pop-up box. where you can click to open the file in Minecraft Education. If you do not see the Minecraft Education App icon, use your finger to scroll from right to left until you see the icon. (Remember - you must have Minecraft Education downloaded on this iPad before trying any of this).
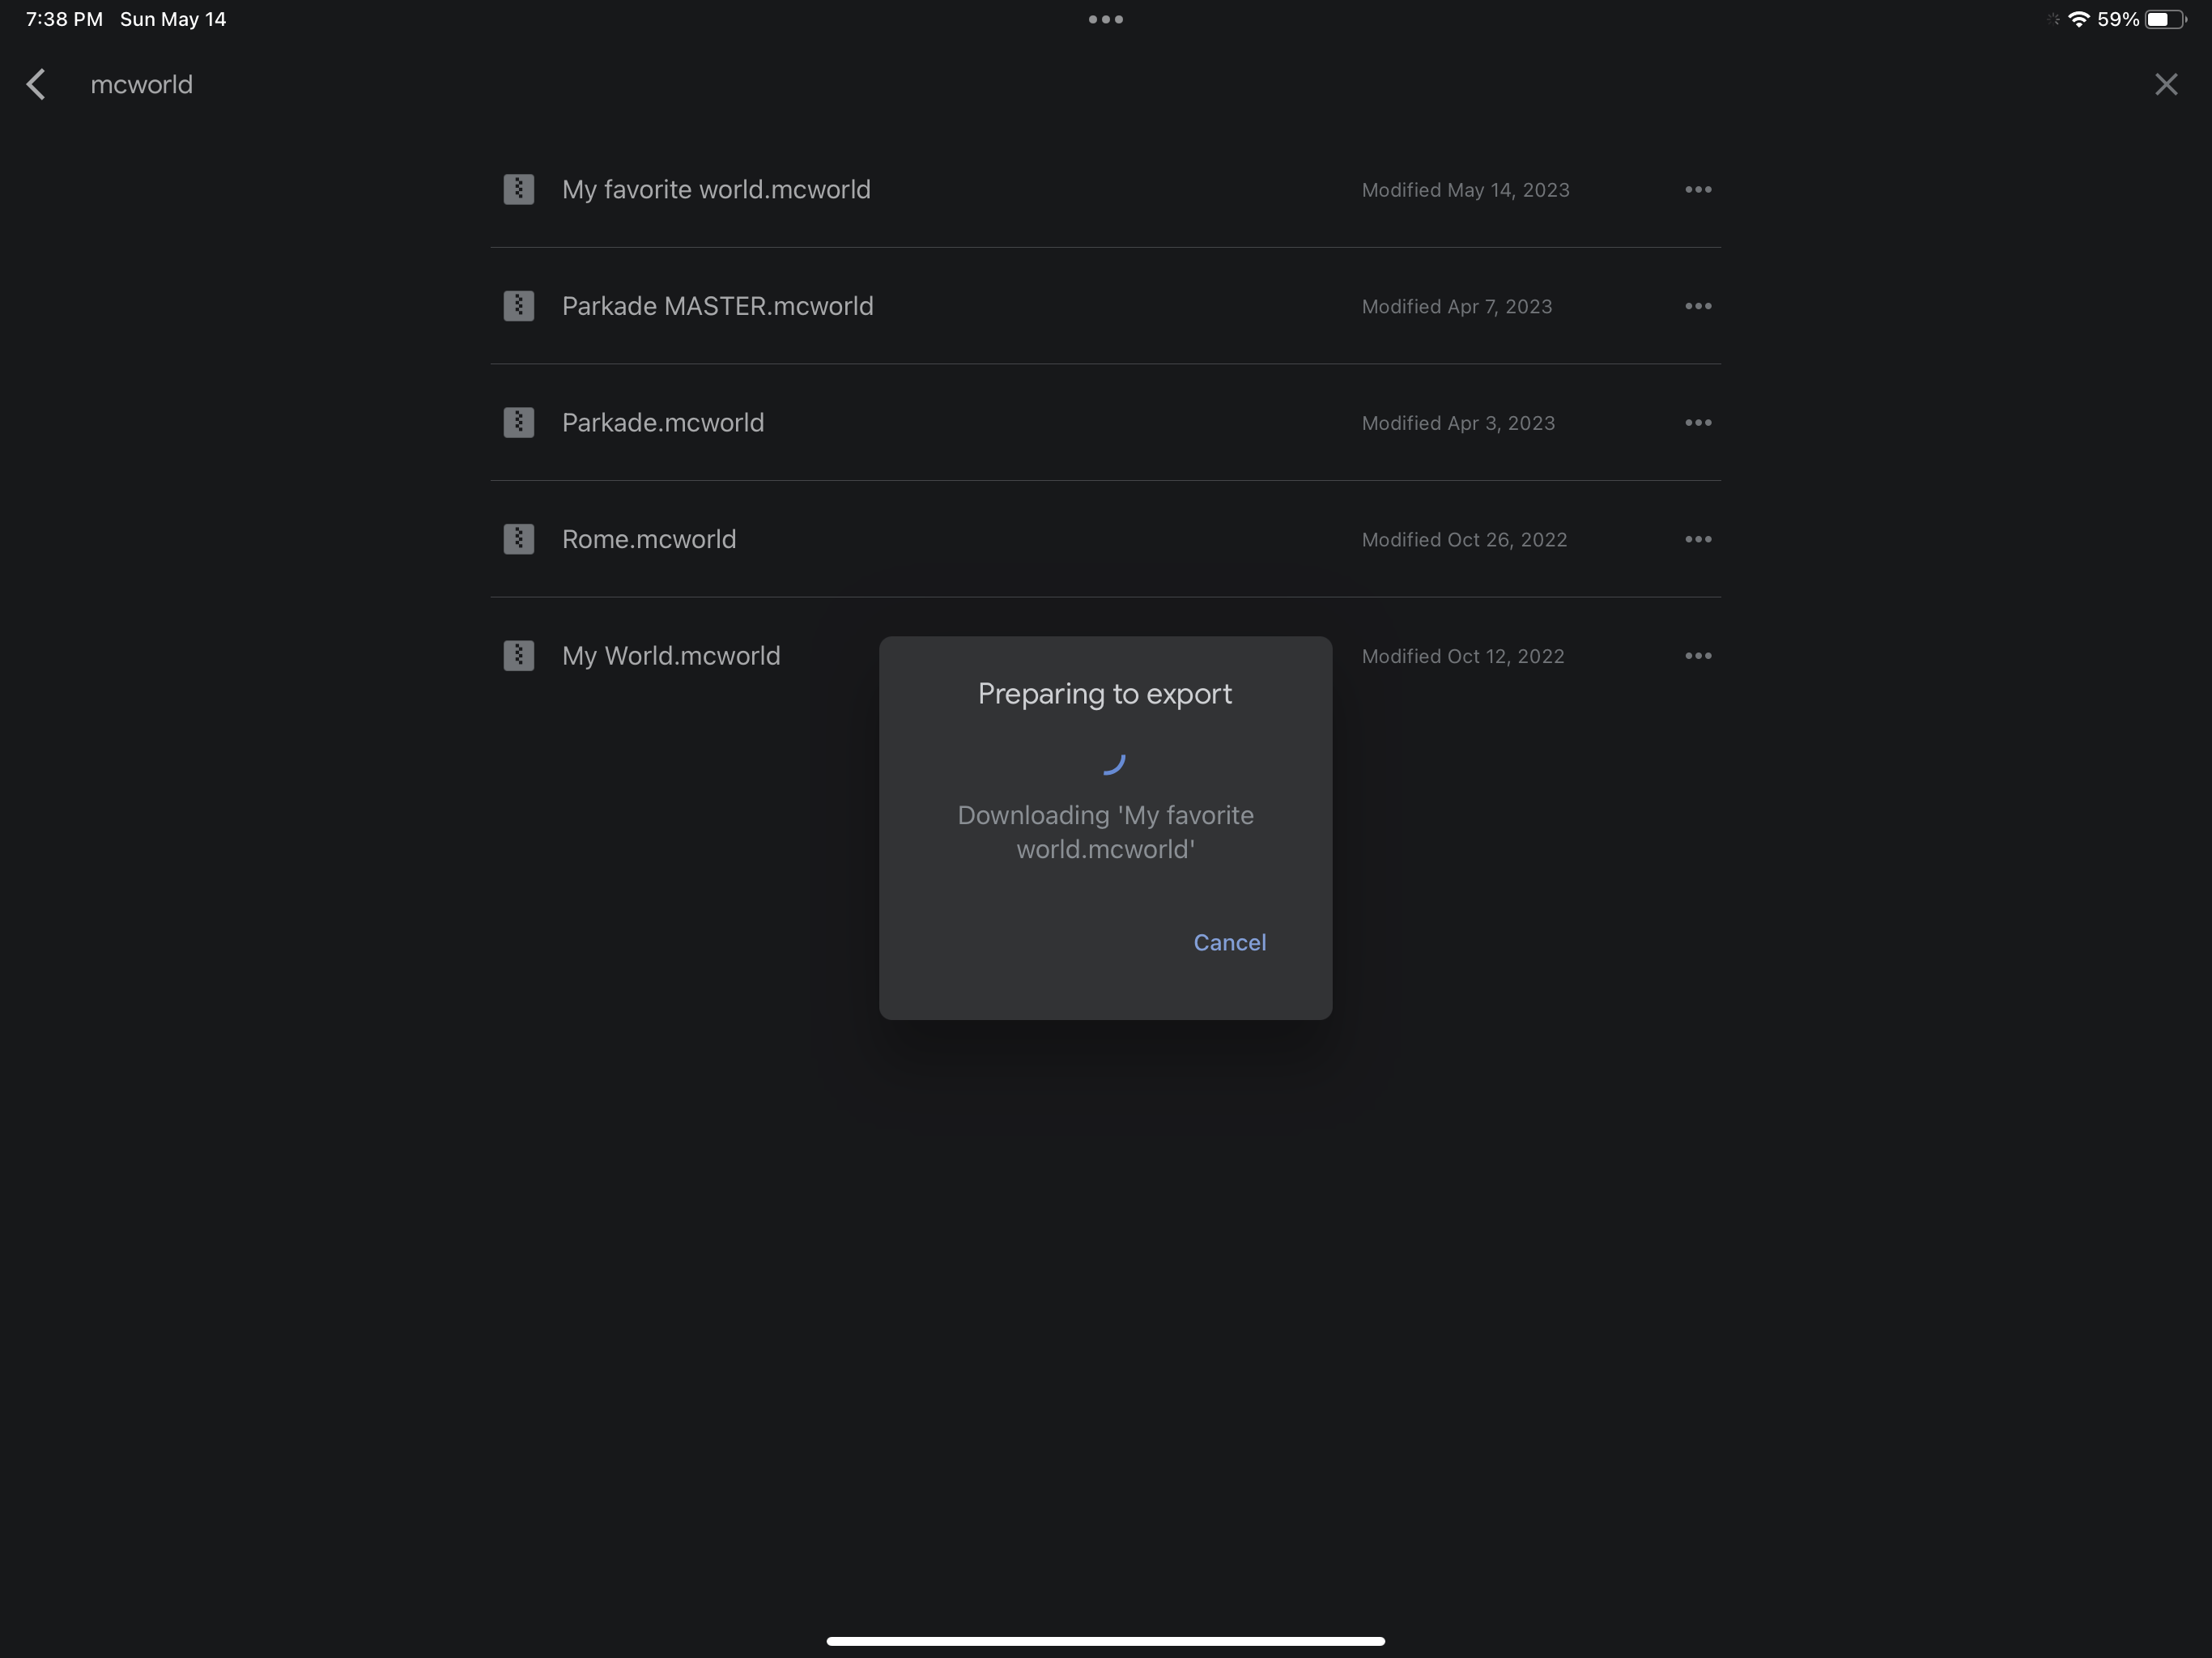
Step 3: After you click on the Minecraft Education app to open your world, you'll see a brief pop-up that says "preparing to export"
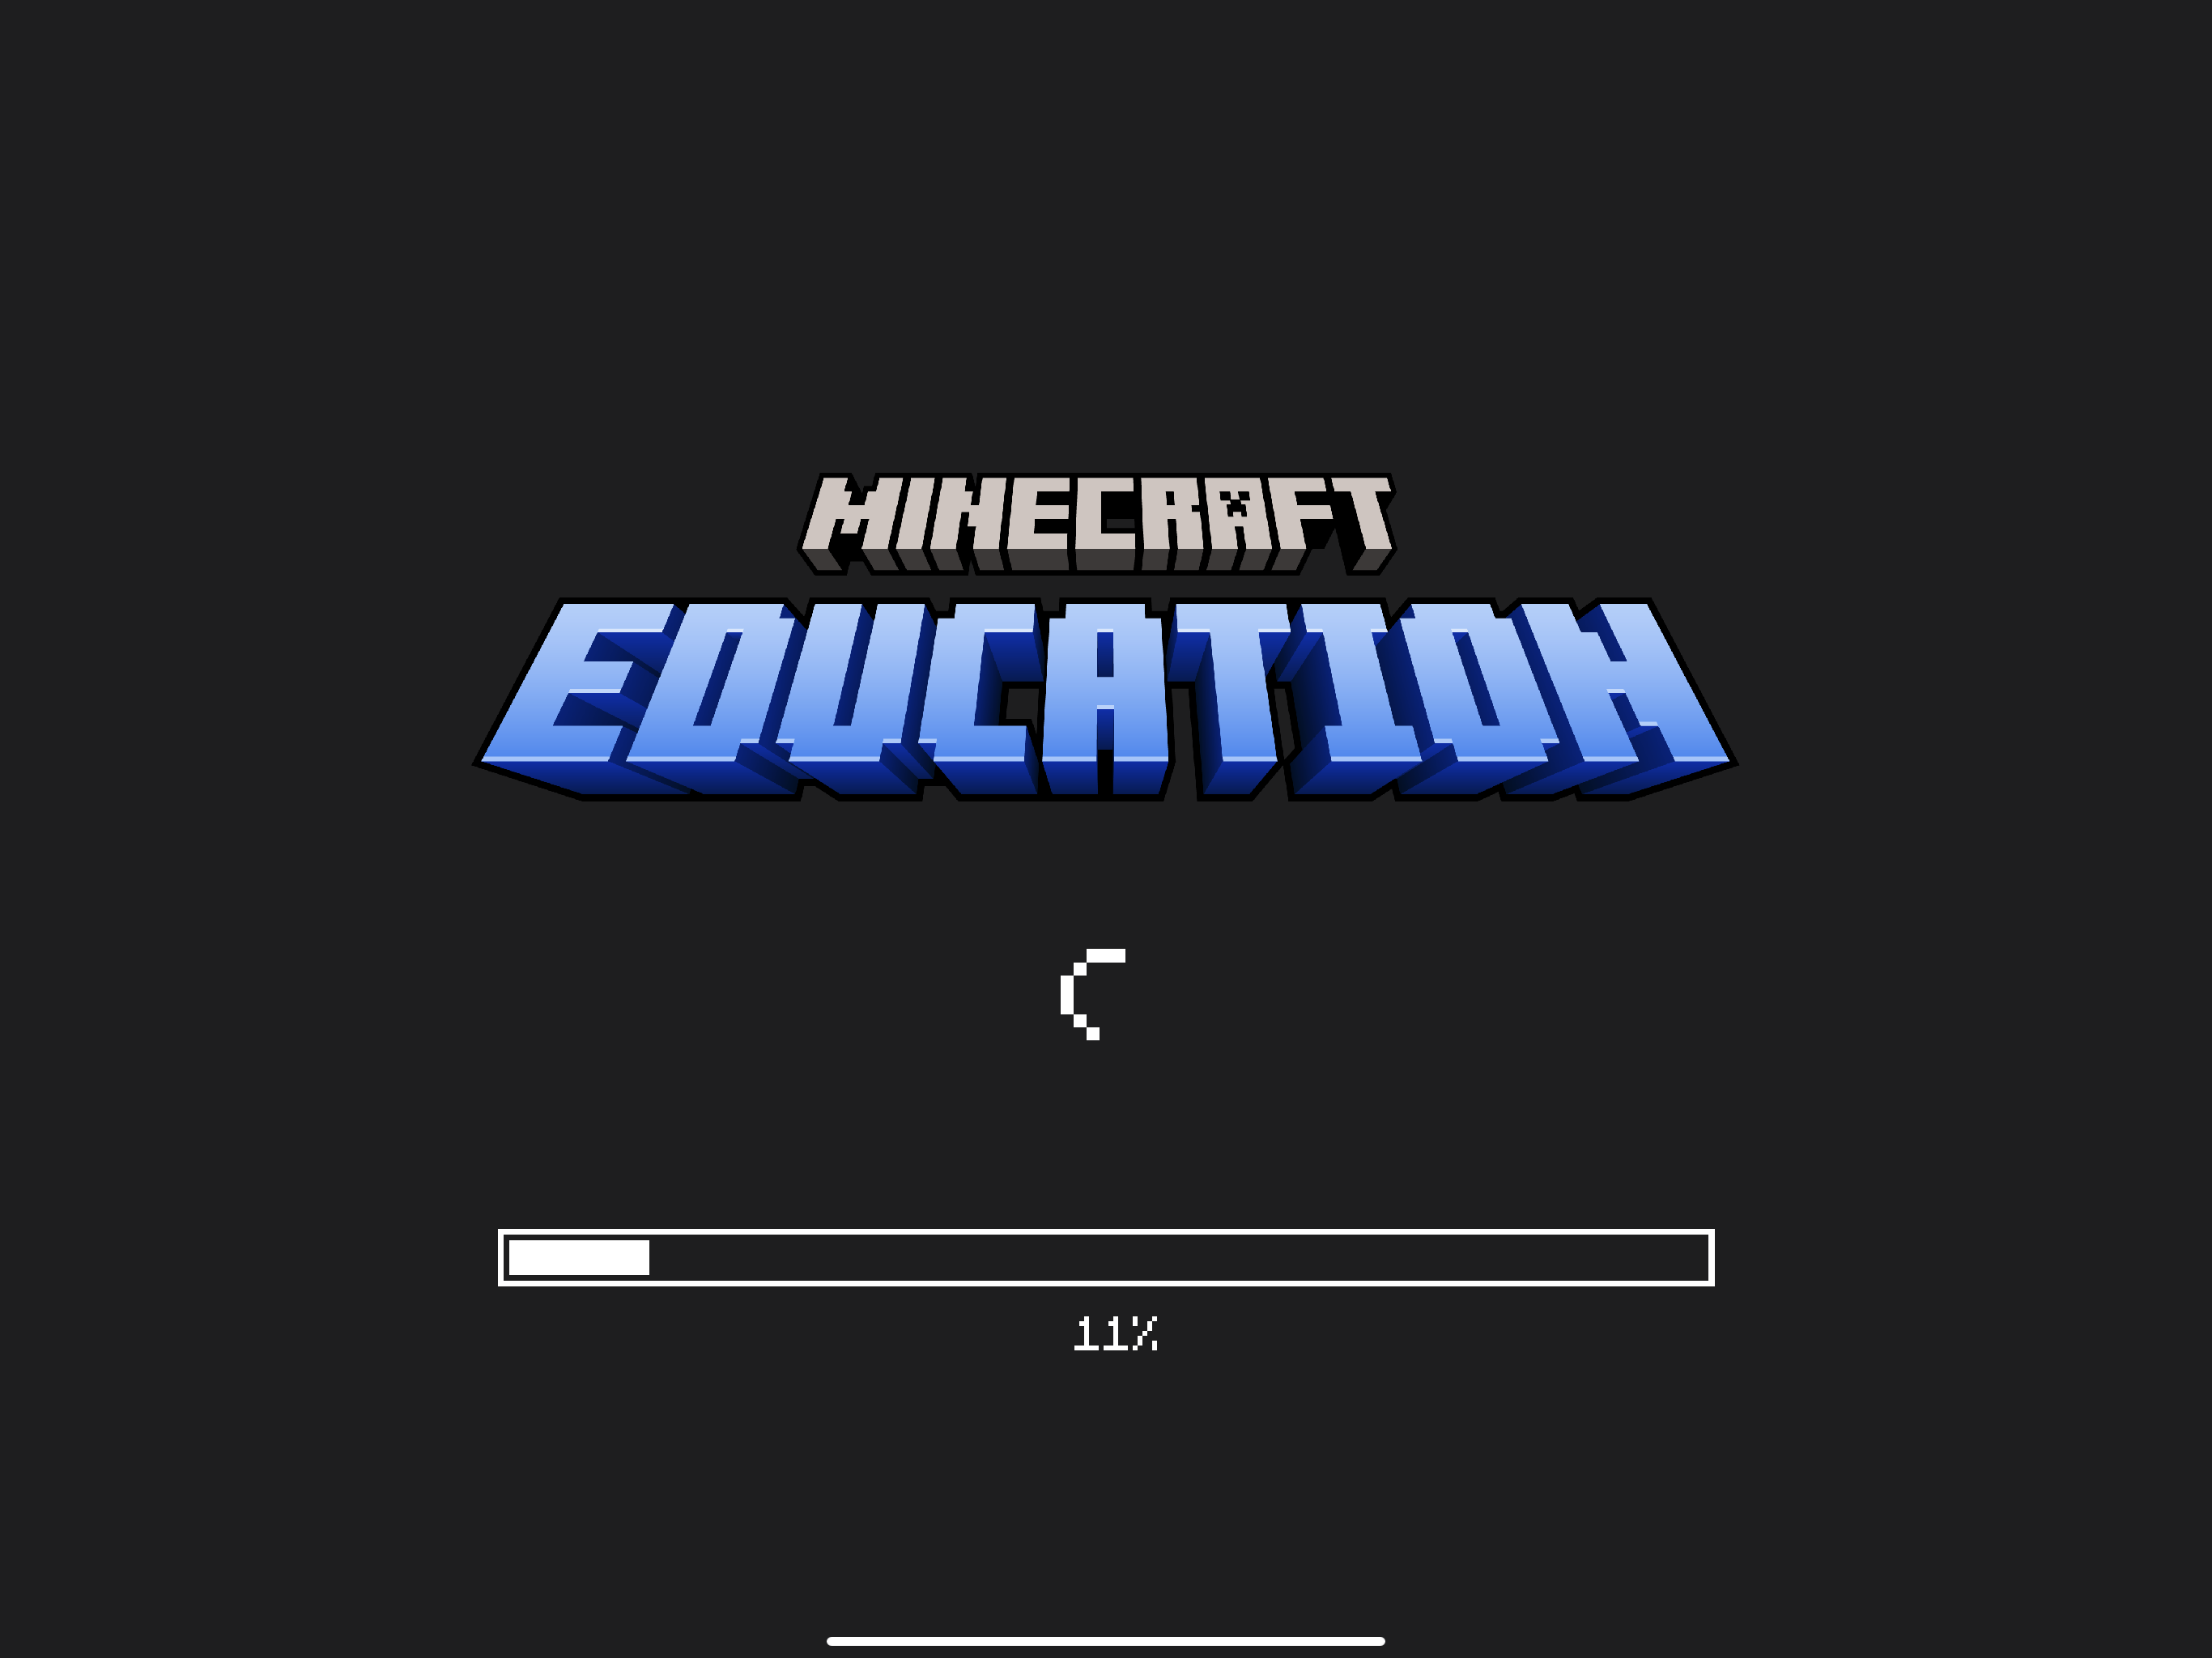
Step 4: Your iPad will automatically open the Minecraft Education app next.
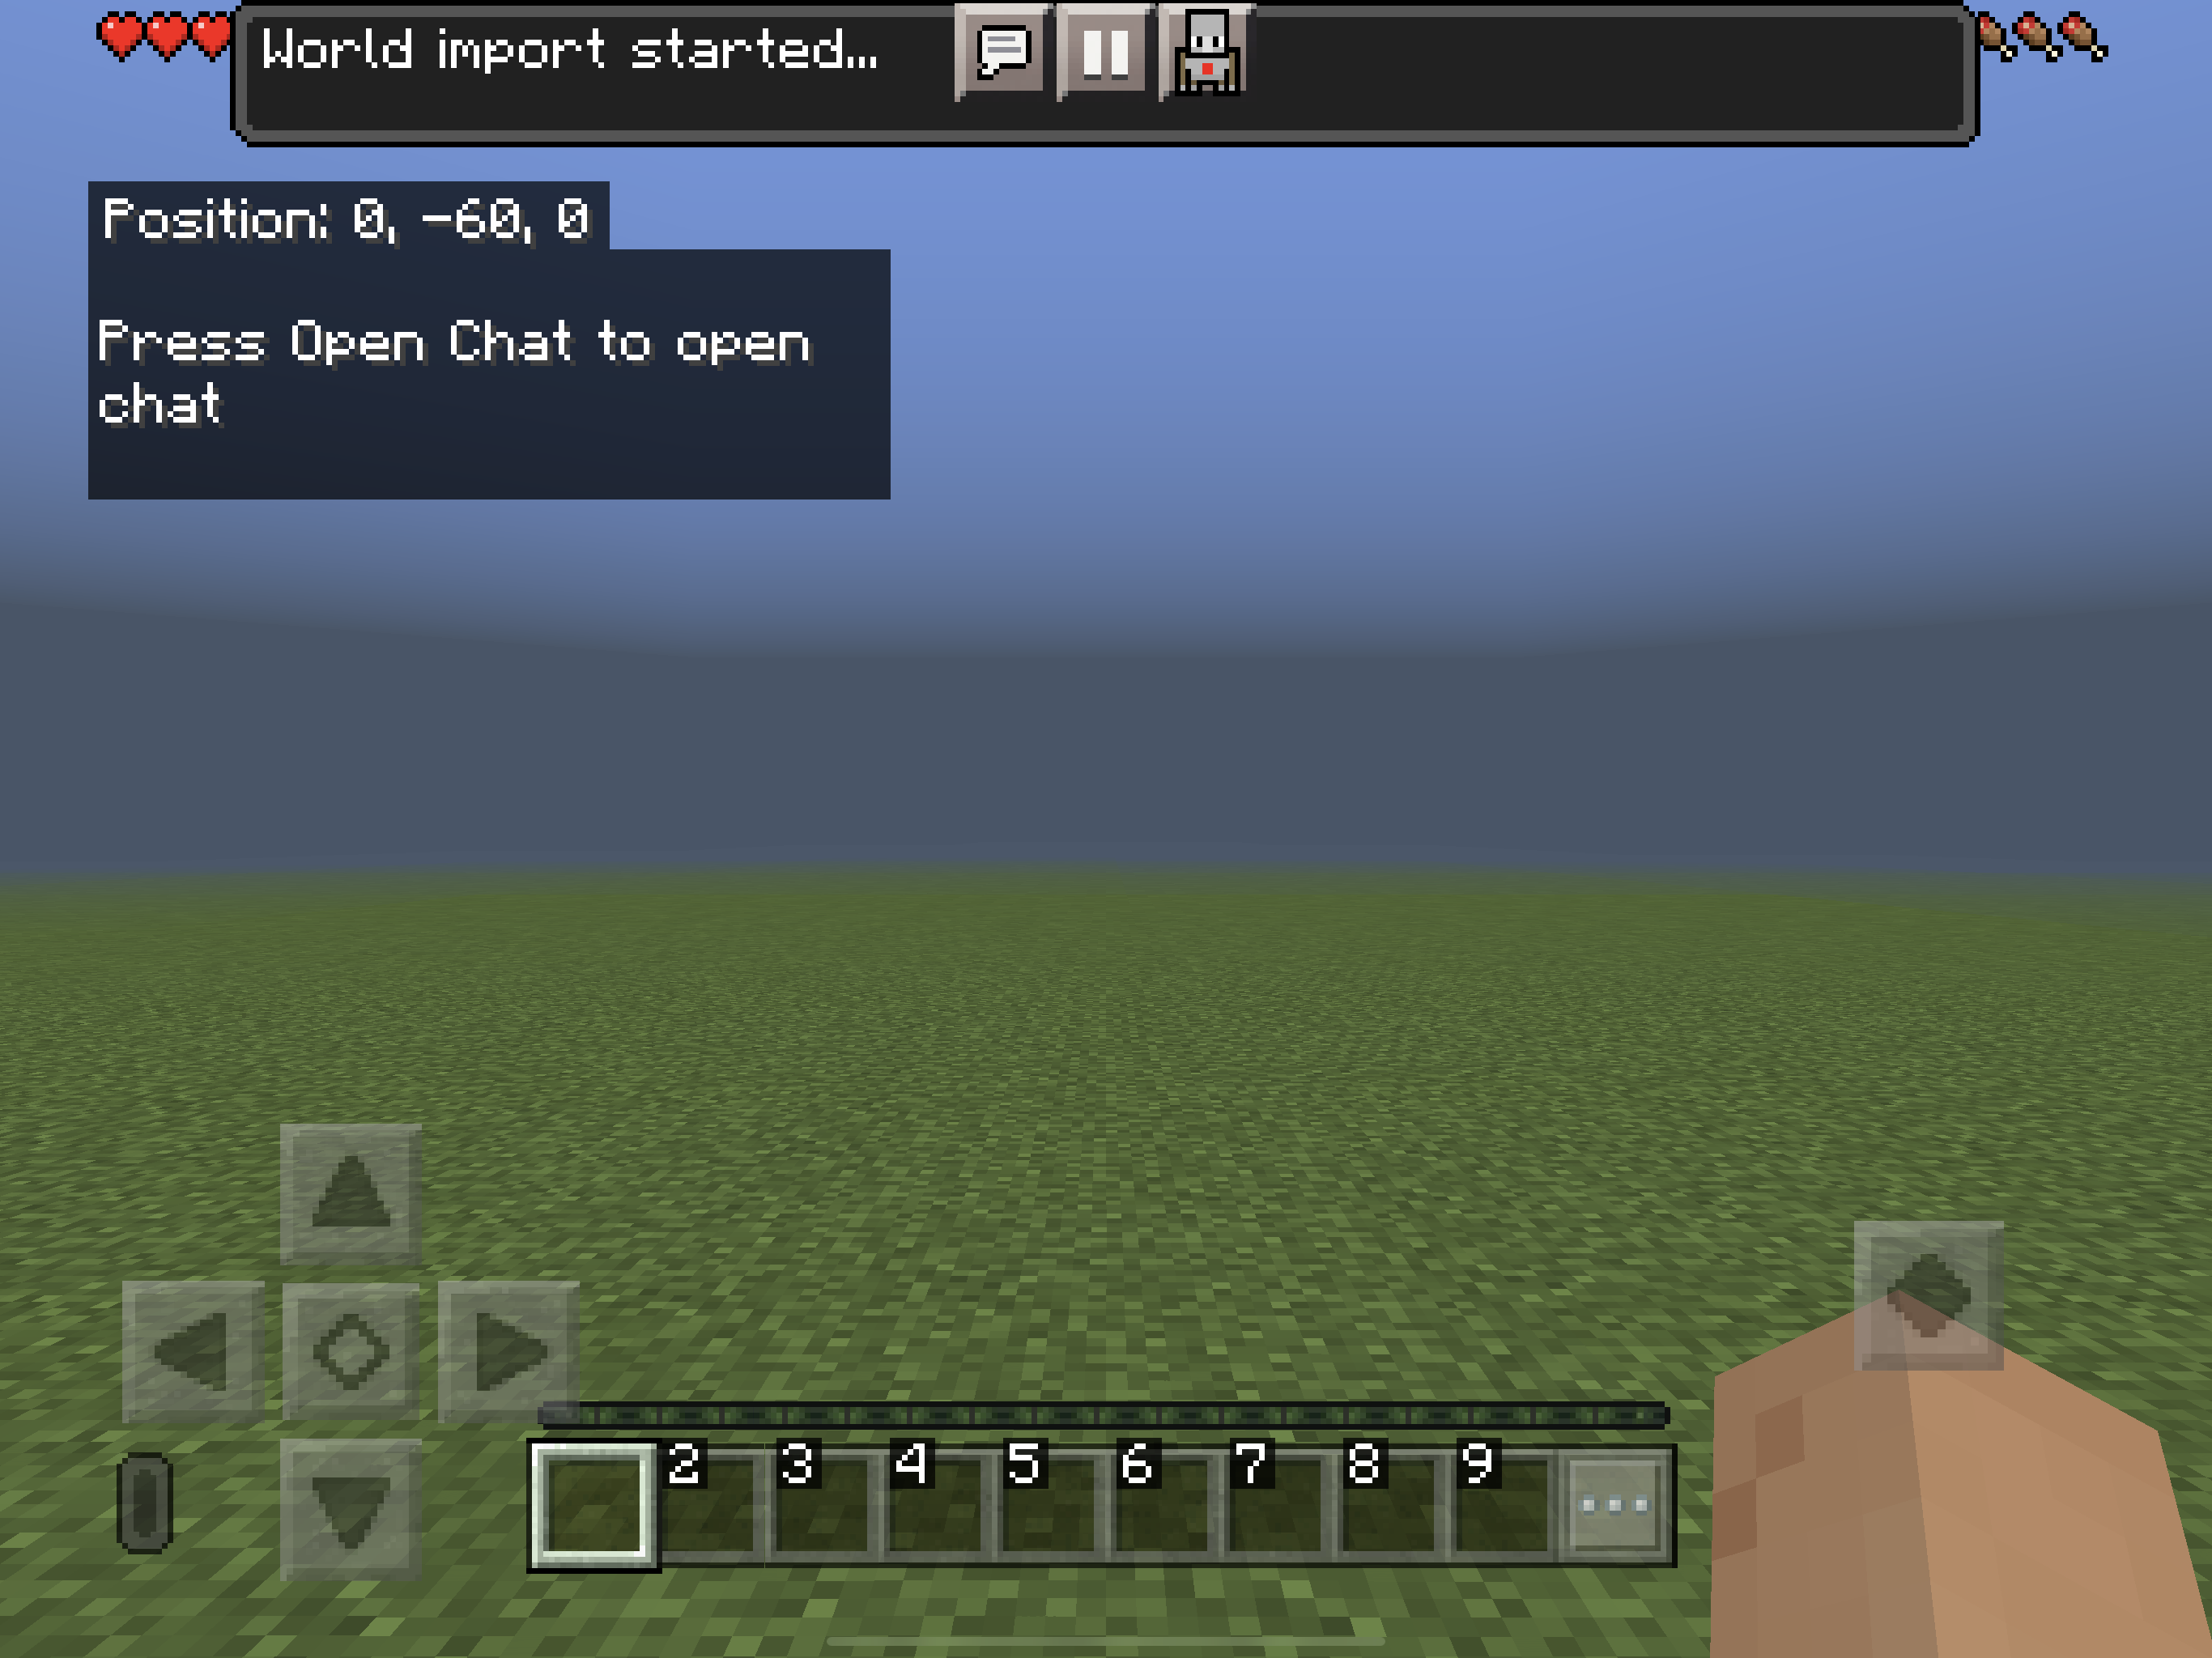
Step 5: Your world will now begin generating.
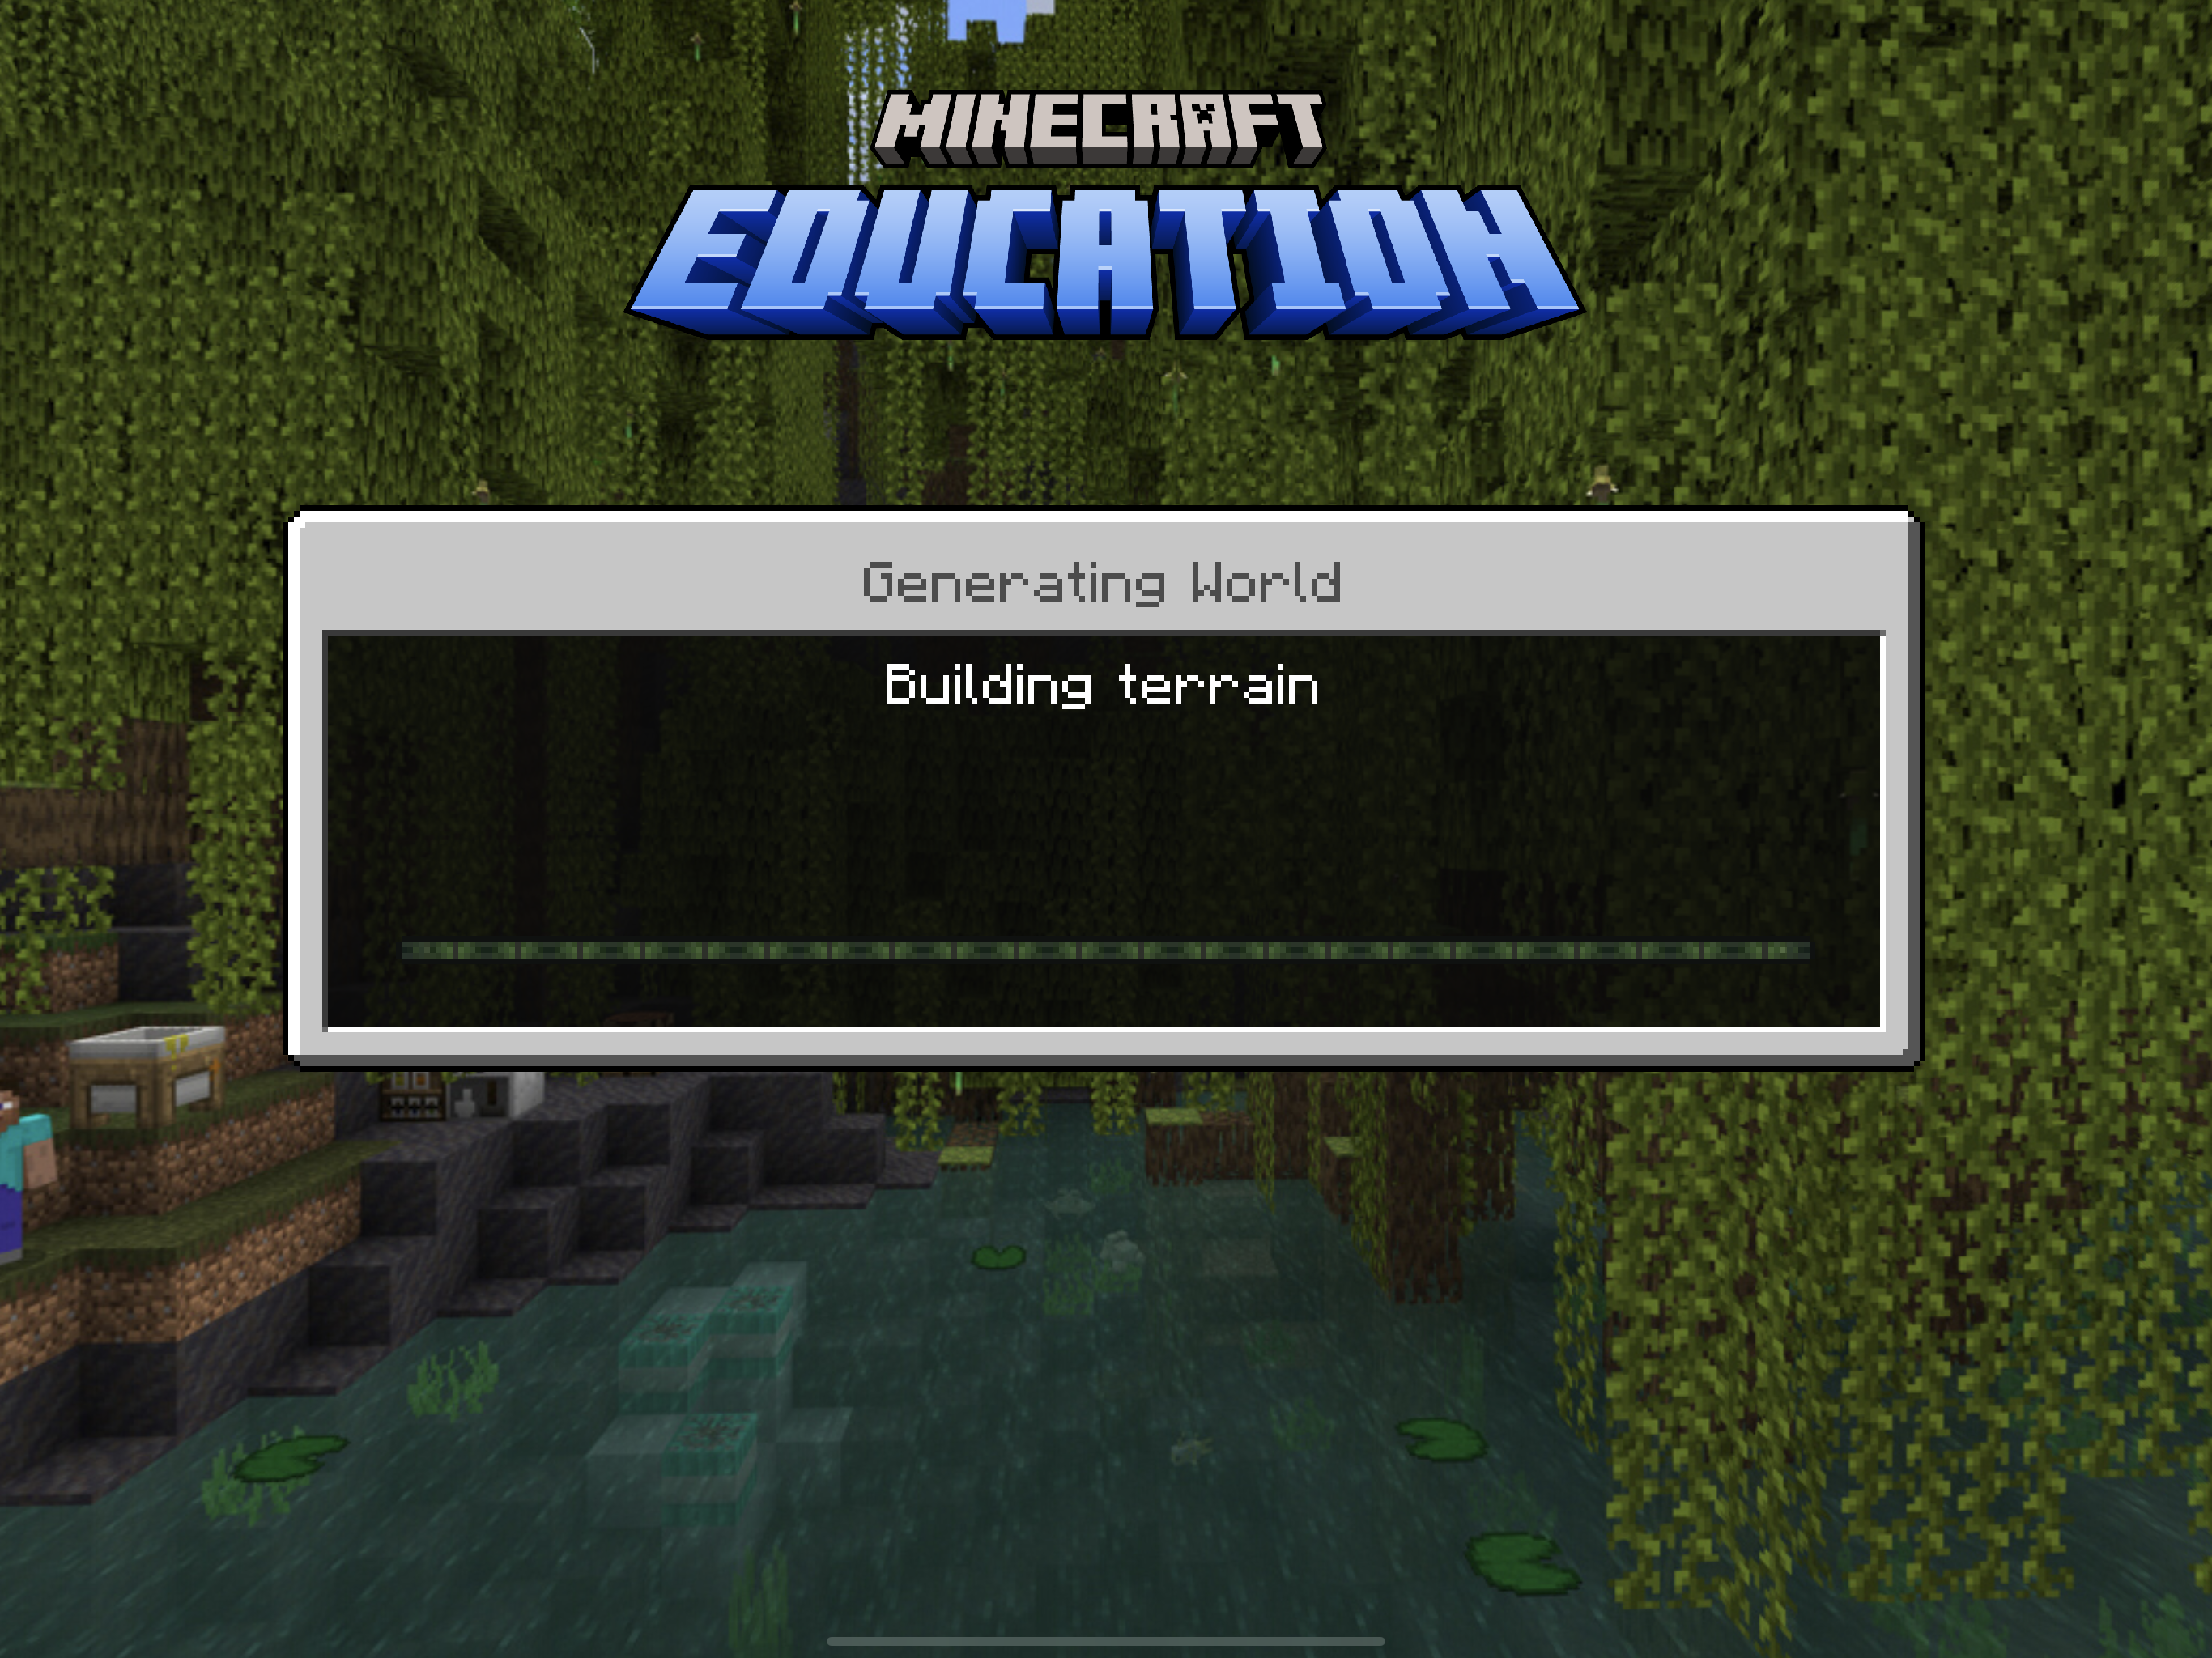
Step 6: When your world opens up, don't be surprised if it takes a couple of seconds for it to load - especially if it's a bigger world.
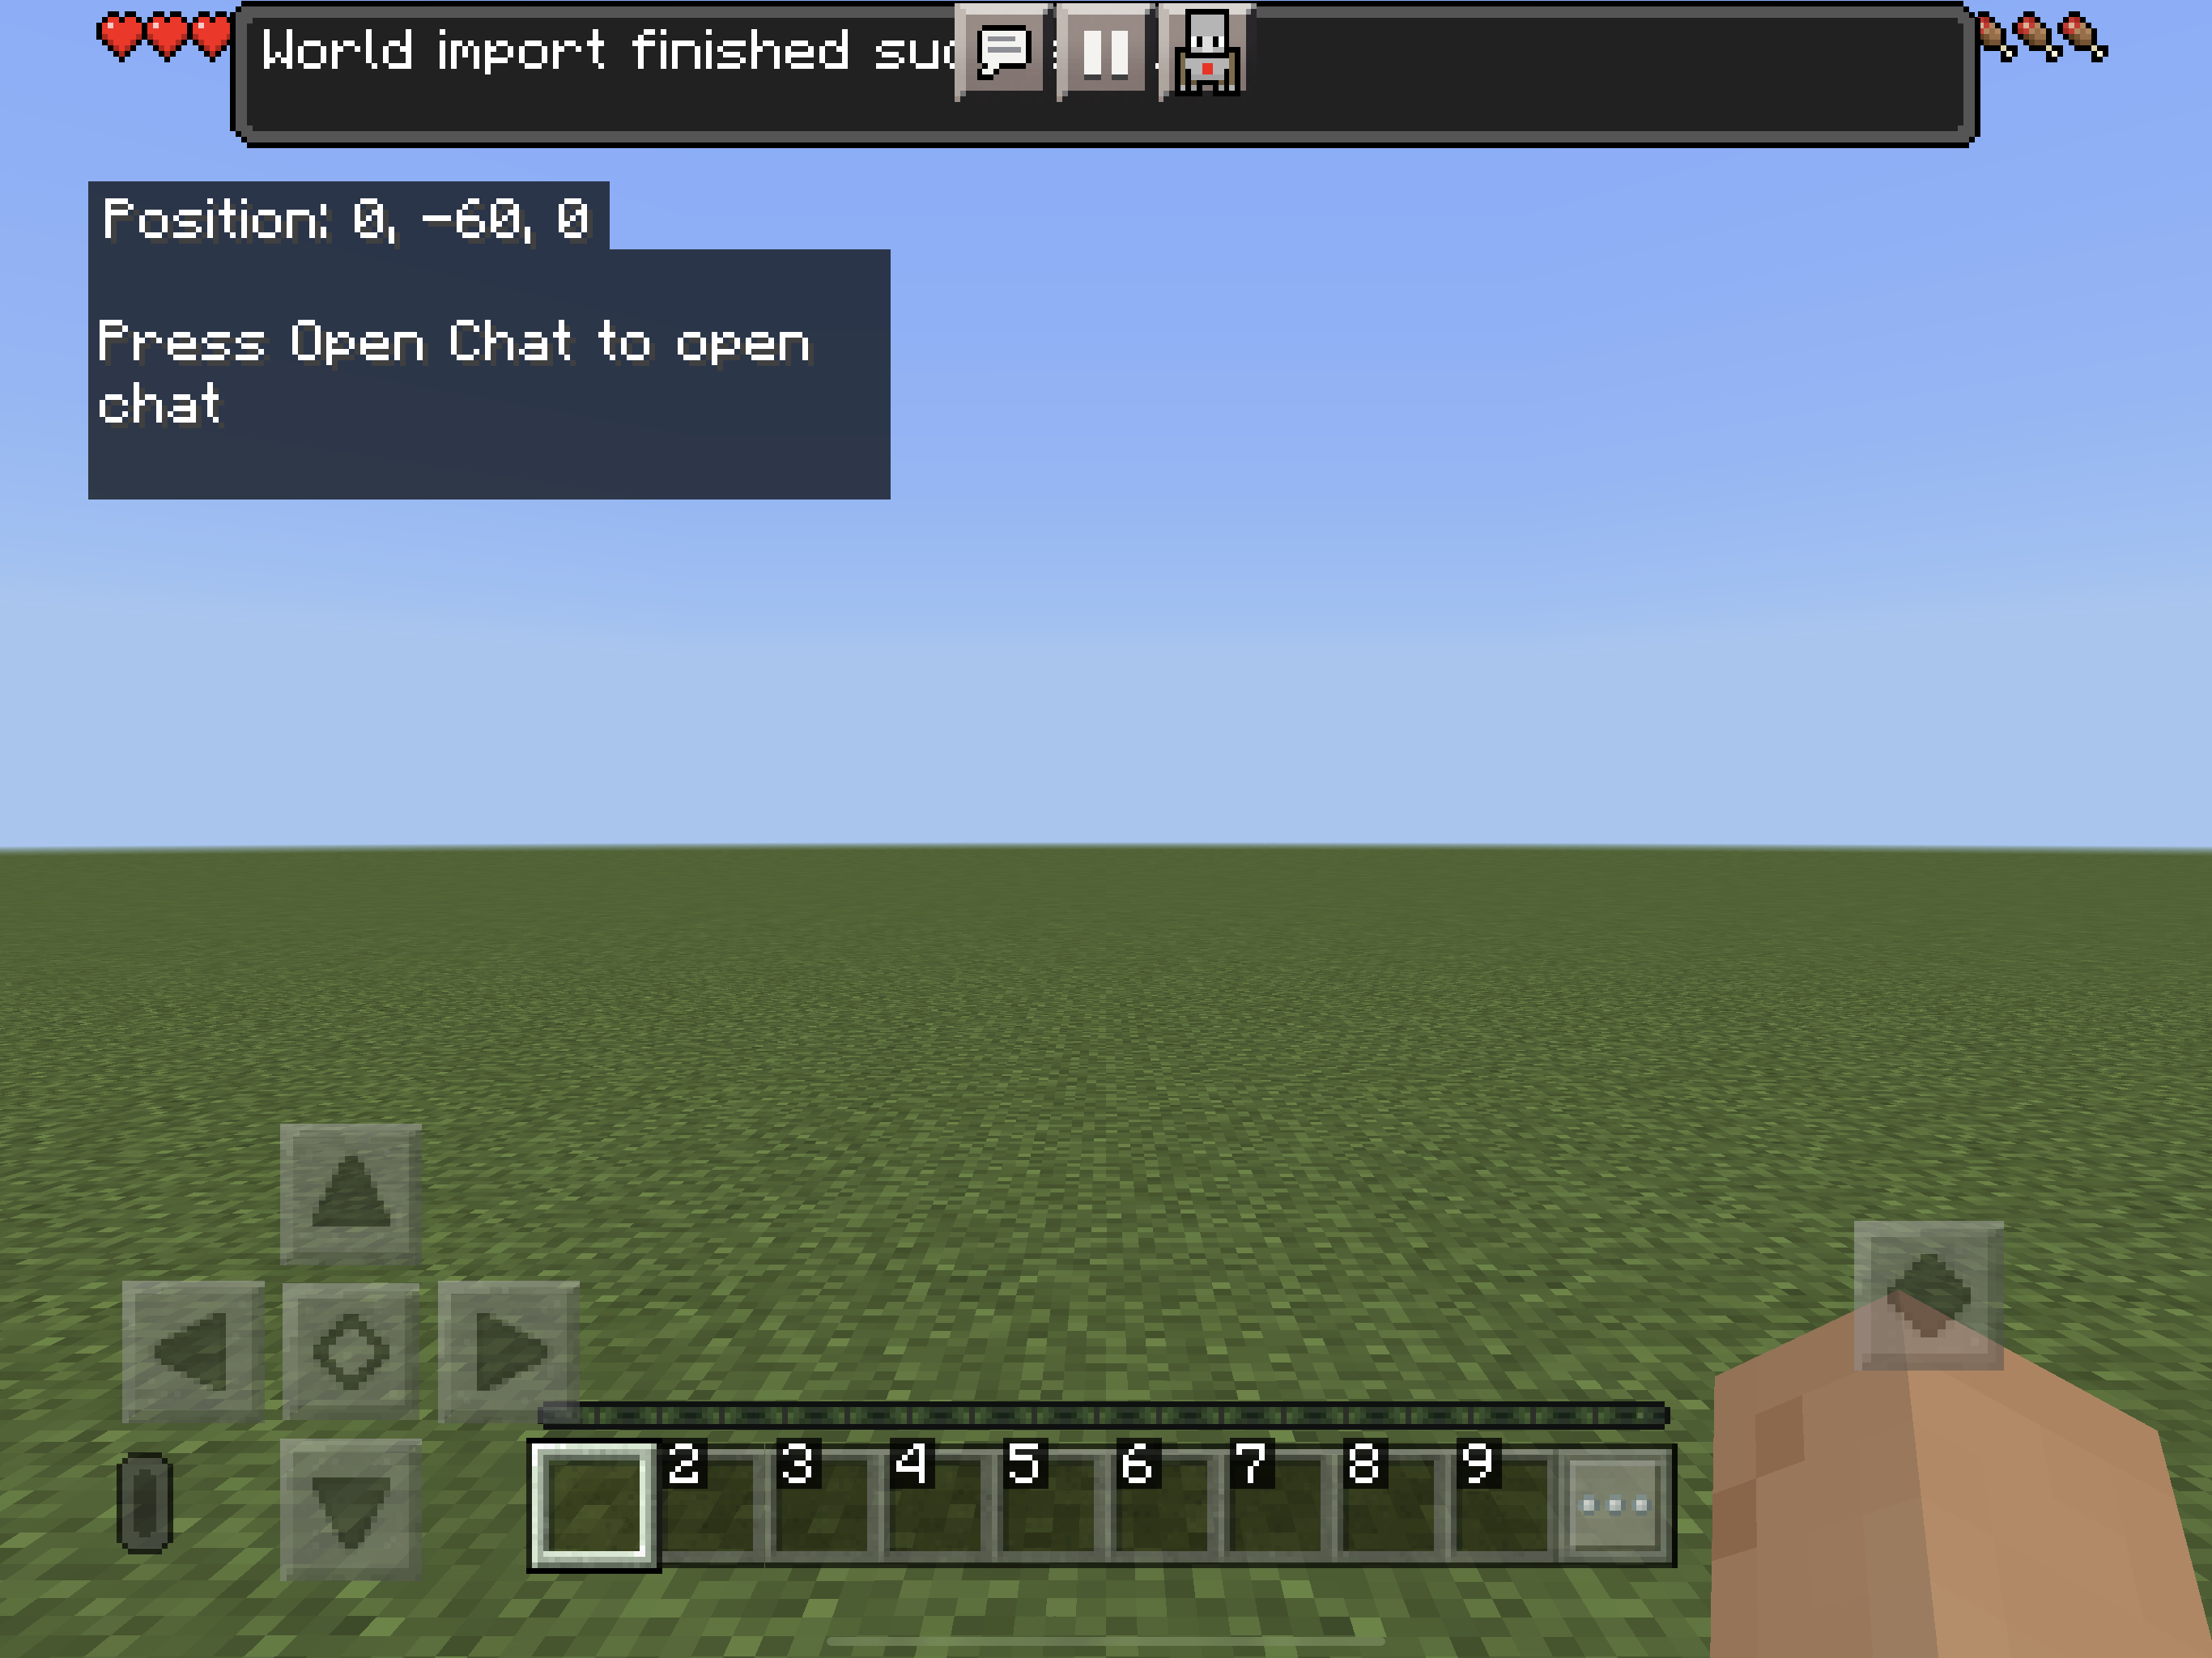
Step 7: When your world is completely downloaded, you'll see a message at the top that says "World import finished successfully." Enjoy!
