Paper Rocket Machine
Later this year I hope to put more detailed instructions for people to make their own version of what I've made below - a paper rocket launching machine. This machine is designed to withstand incredibly high pneumatic pressures and not experience any catastrophic loss of pressure (blowing up). It also has a built in safety feature that bleeds off pressure so that the device cannot remain pressurized for more than ~30 seconds. Using a simple Ryobi inflator, this device will shoot a paper rocket between 500-1000+ feet using a very minimal pneumatic charge.This is a great tool to teach the physics of rocketry to students!
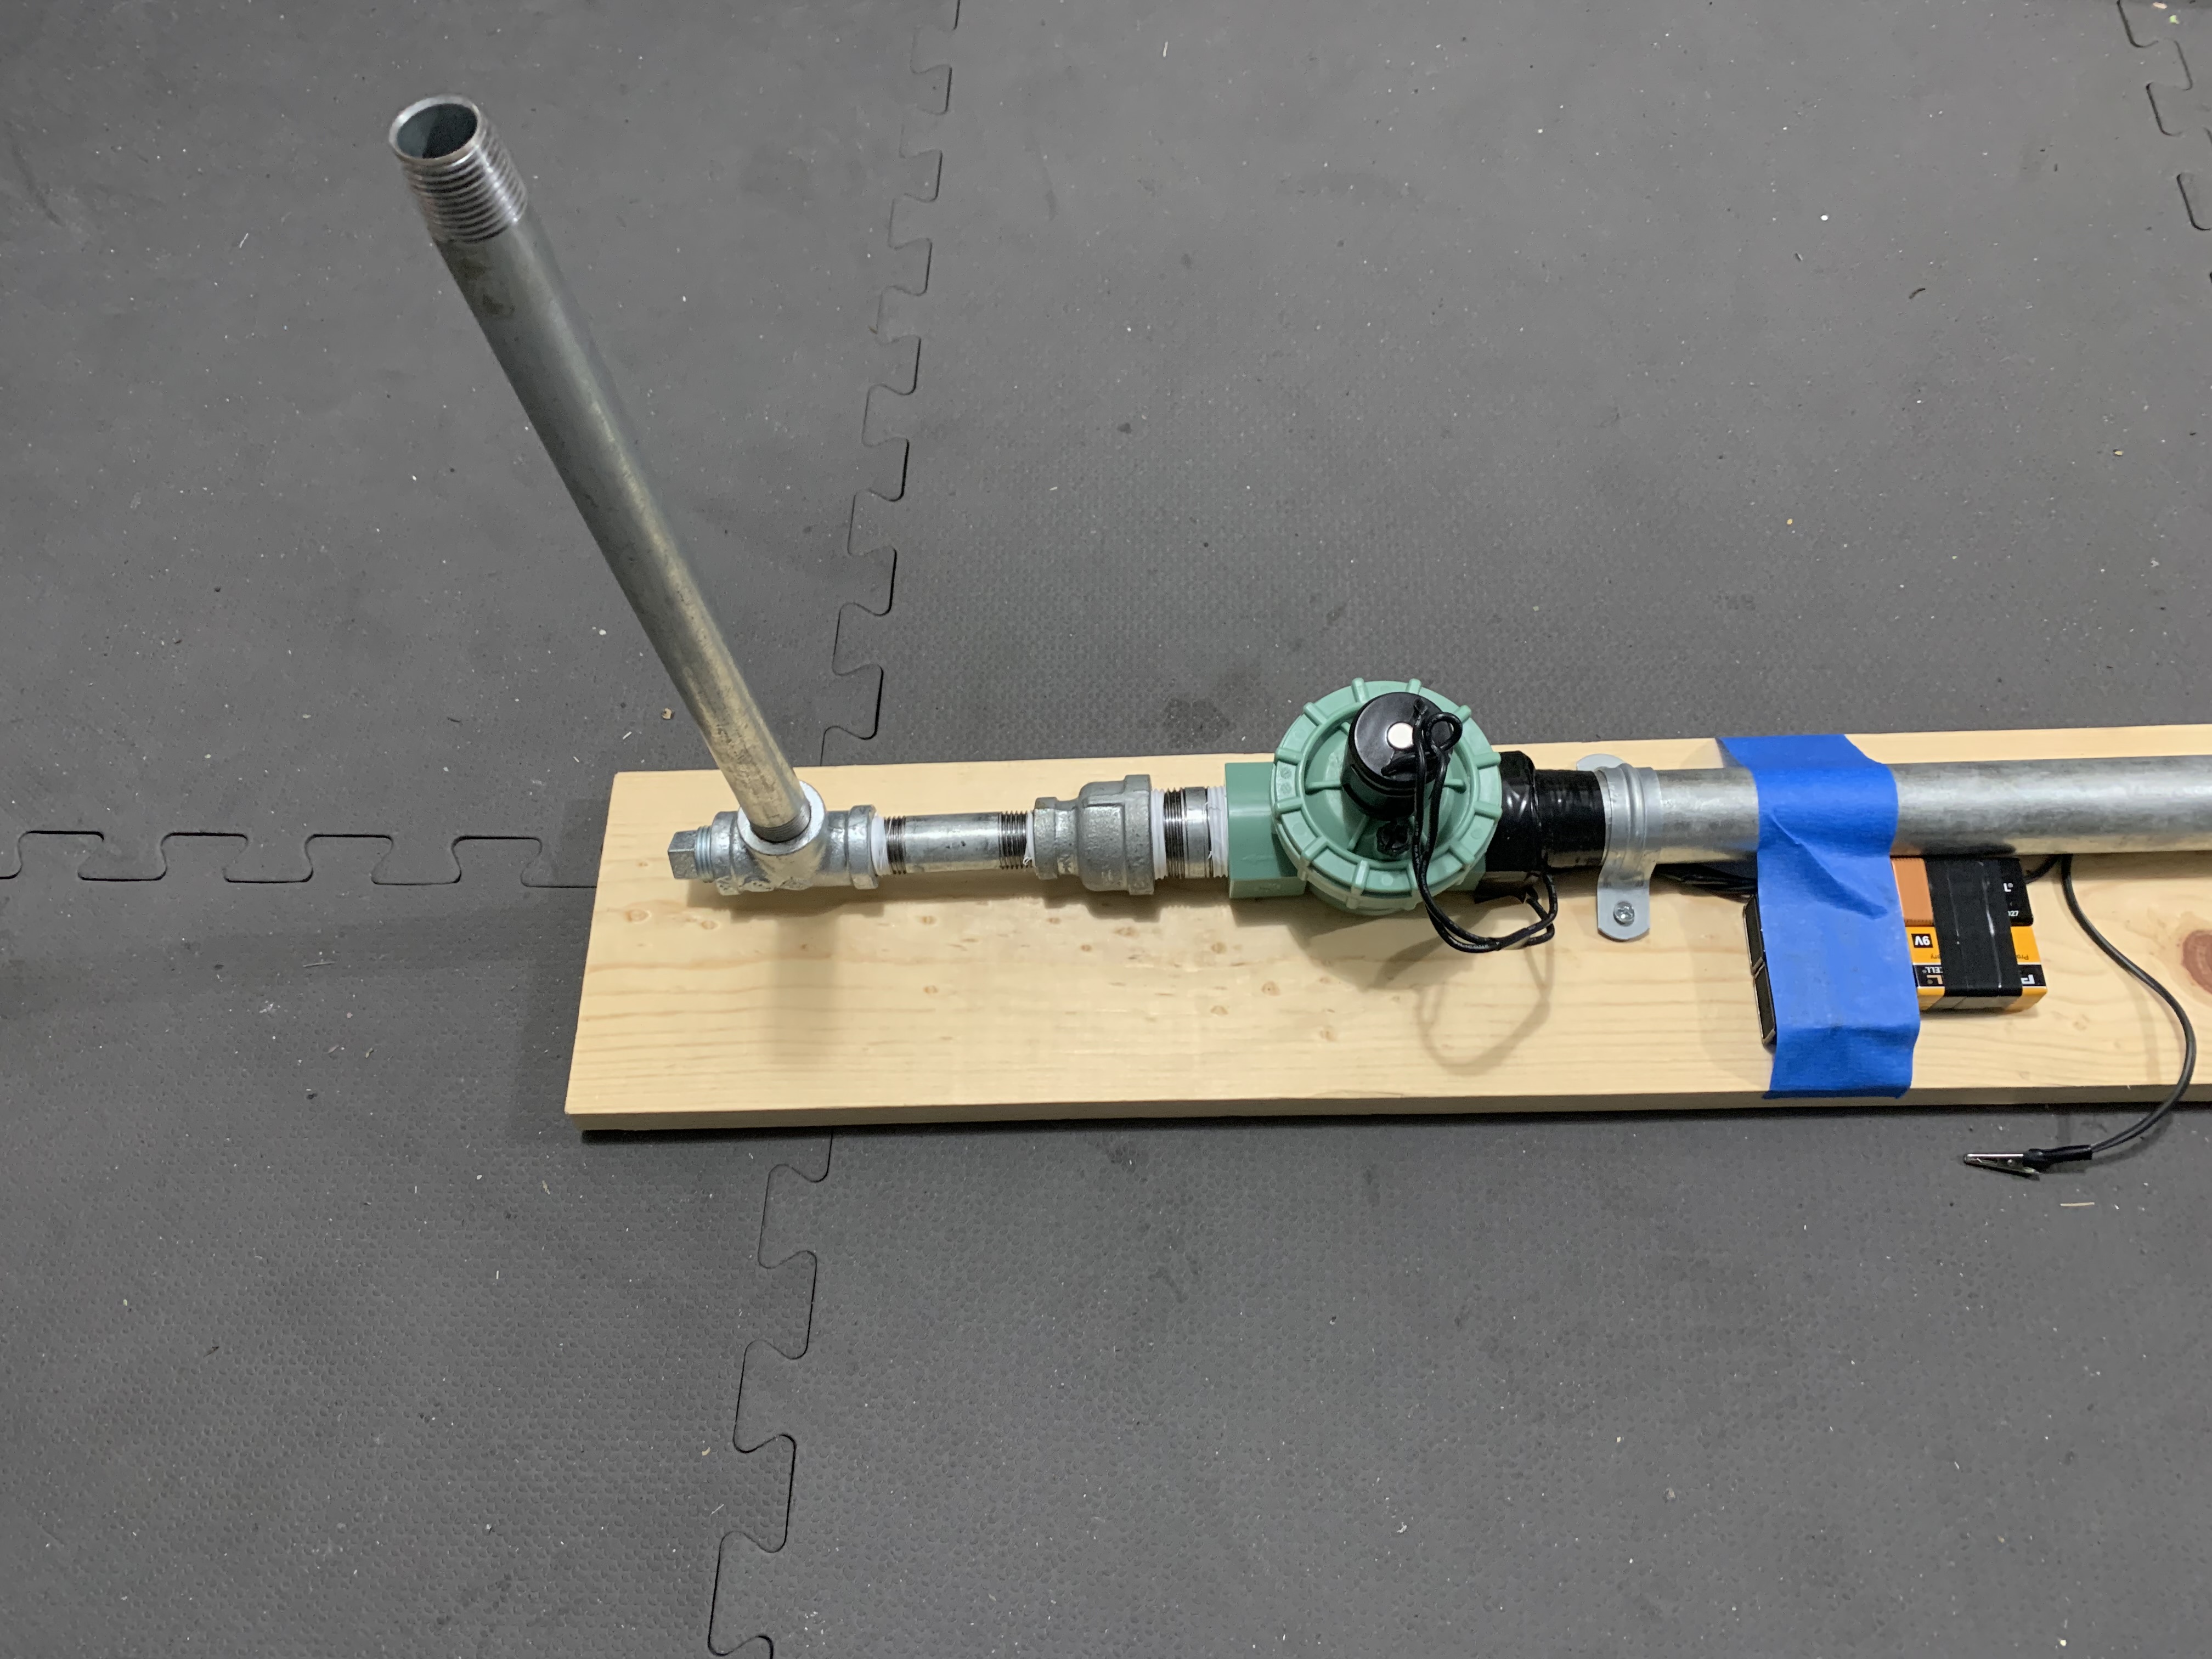
This machine can launch rockets vertically or horizontally, by simply switching out the end cap and the pipe attachments.
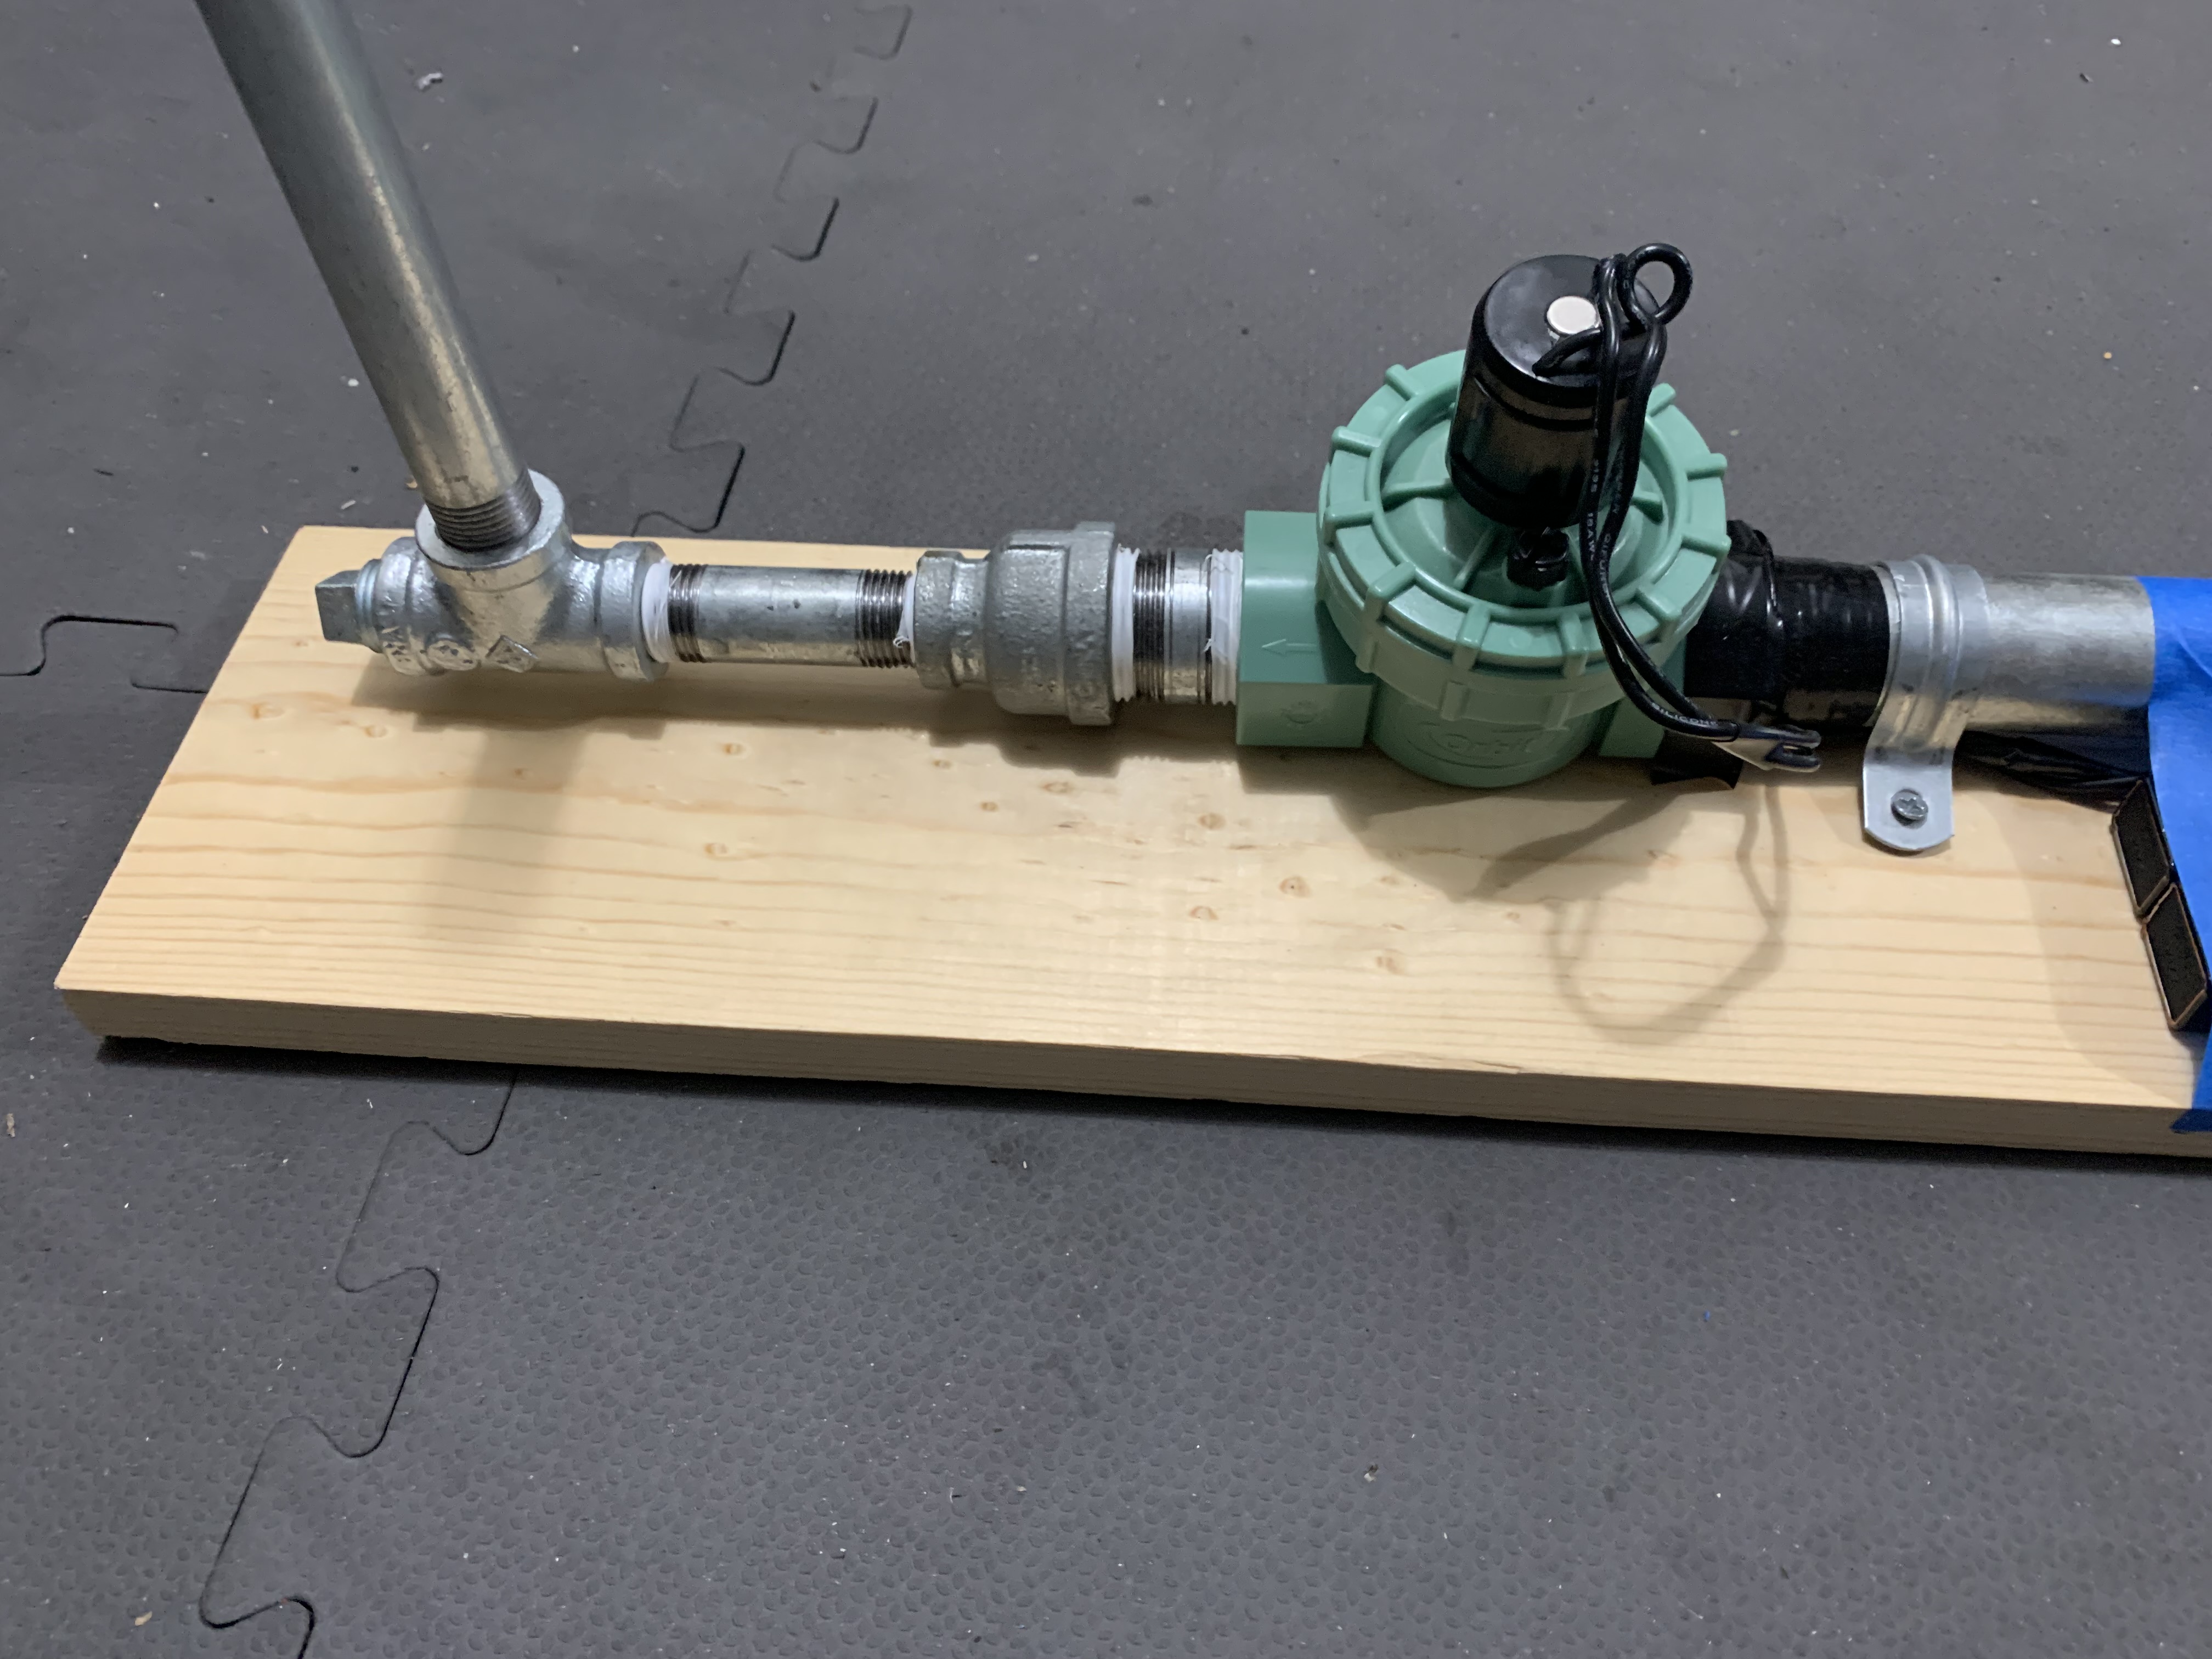
The "release" feature on this rocket is electronically controlled with a 24v sprinkler solenoid valve (Jar Top Valve). This type of valve can be powered open or powered shut. If you wire the entire thing up and it will not hold air, you've wired them backwards!
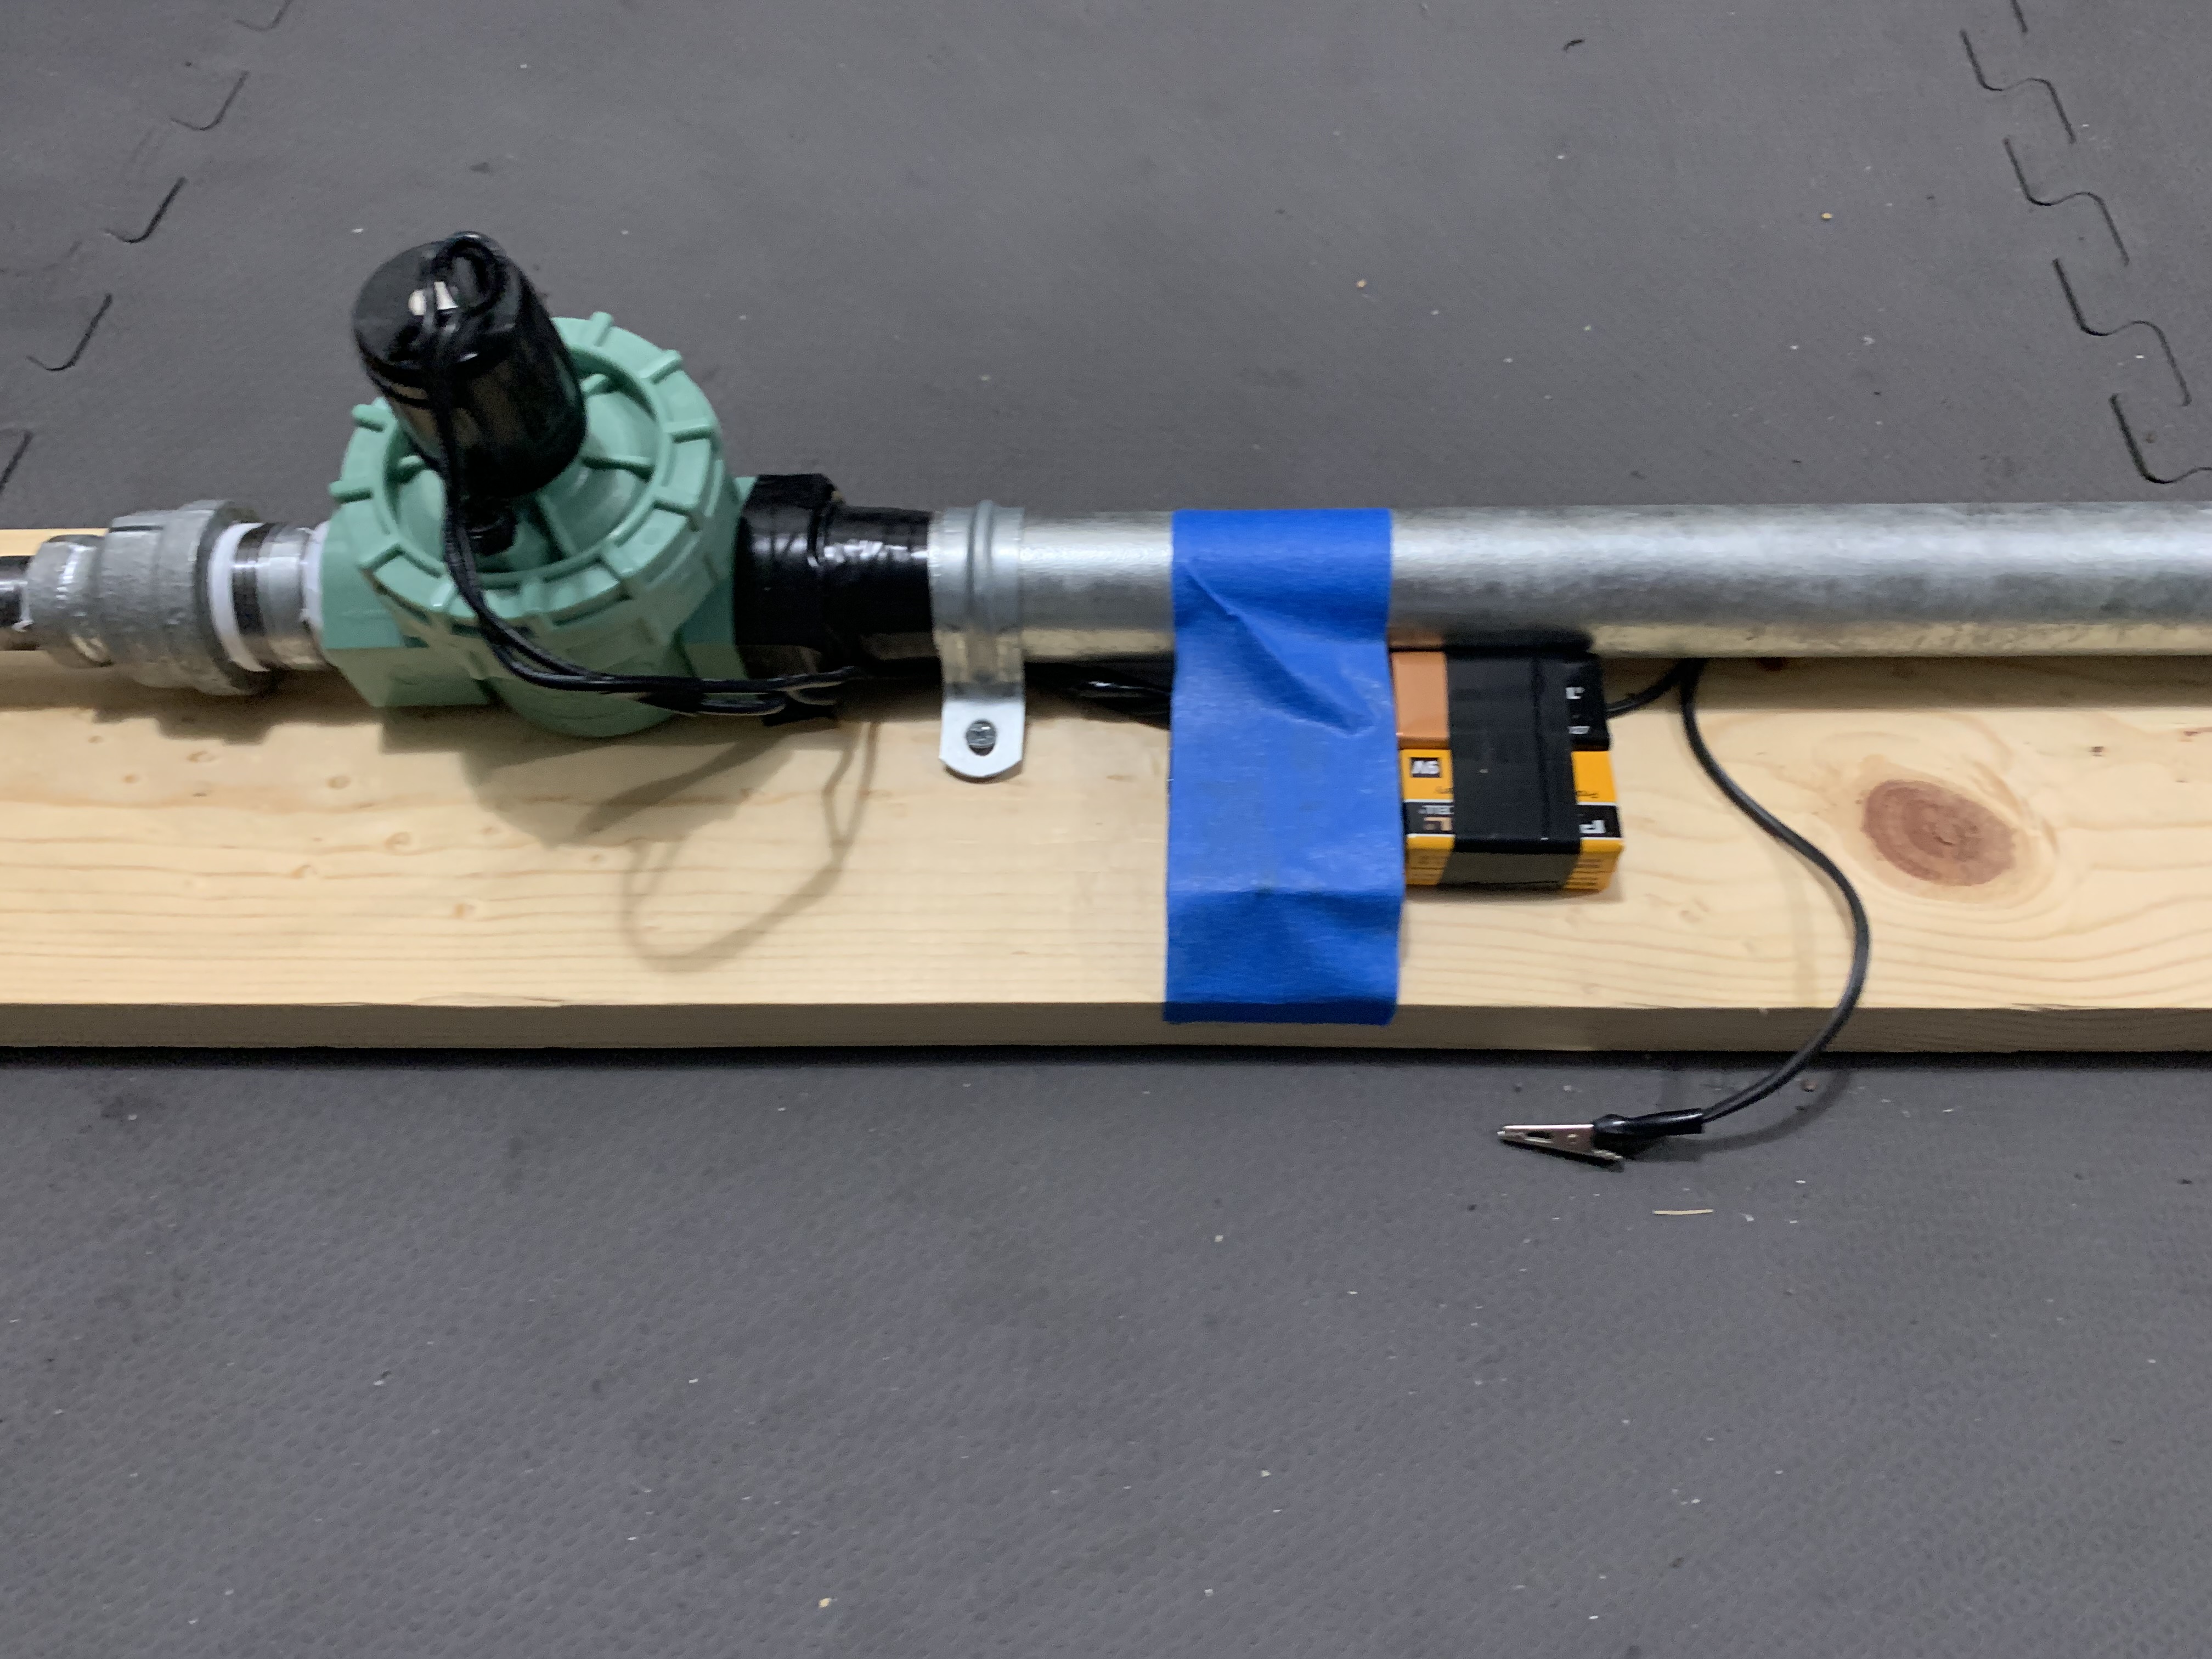
To power the solonoid valve I have (behind the tape - check out the next few images) four 9-volt batteries chained together in parallel. This means that I'm getting a combined 36 volts (enough to power my 24 volt solonoid). I could only use three 9-volt batteries, but 9-volt batteries have poor power density and don't share the load equally, so if I don't use rechargable batteries, I sometimes have to throw a fourth one on there to make sure it lasts through a whole class of students. You'll notice I have taped over the electrical wires of this set up with electrical tape for insulation and left no wires exposed. I've also taped the batteries down with painters tape to loosely secure them to the board.
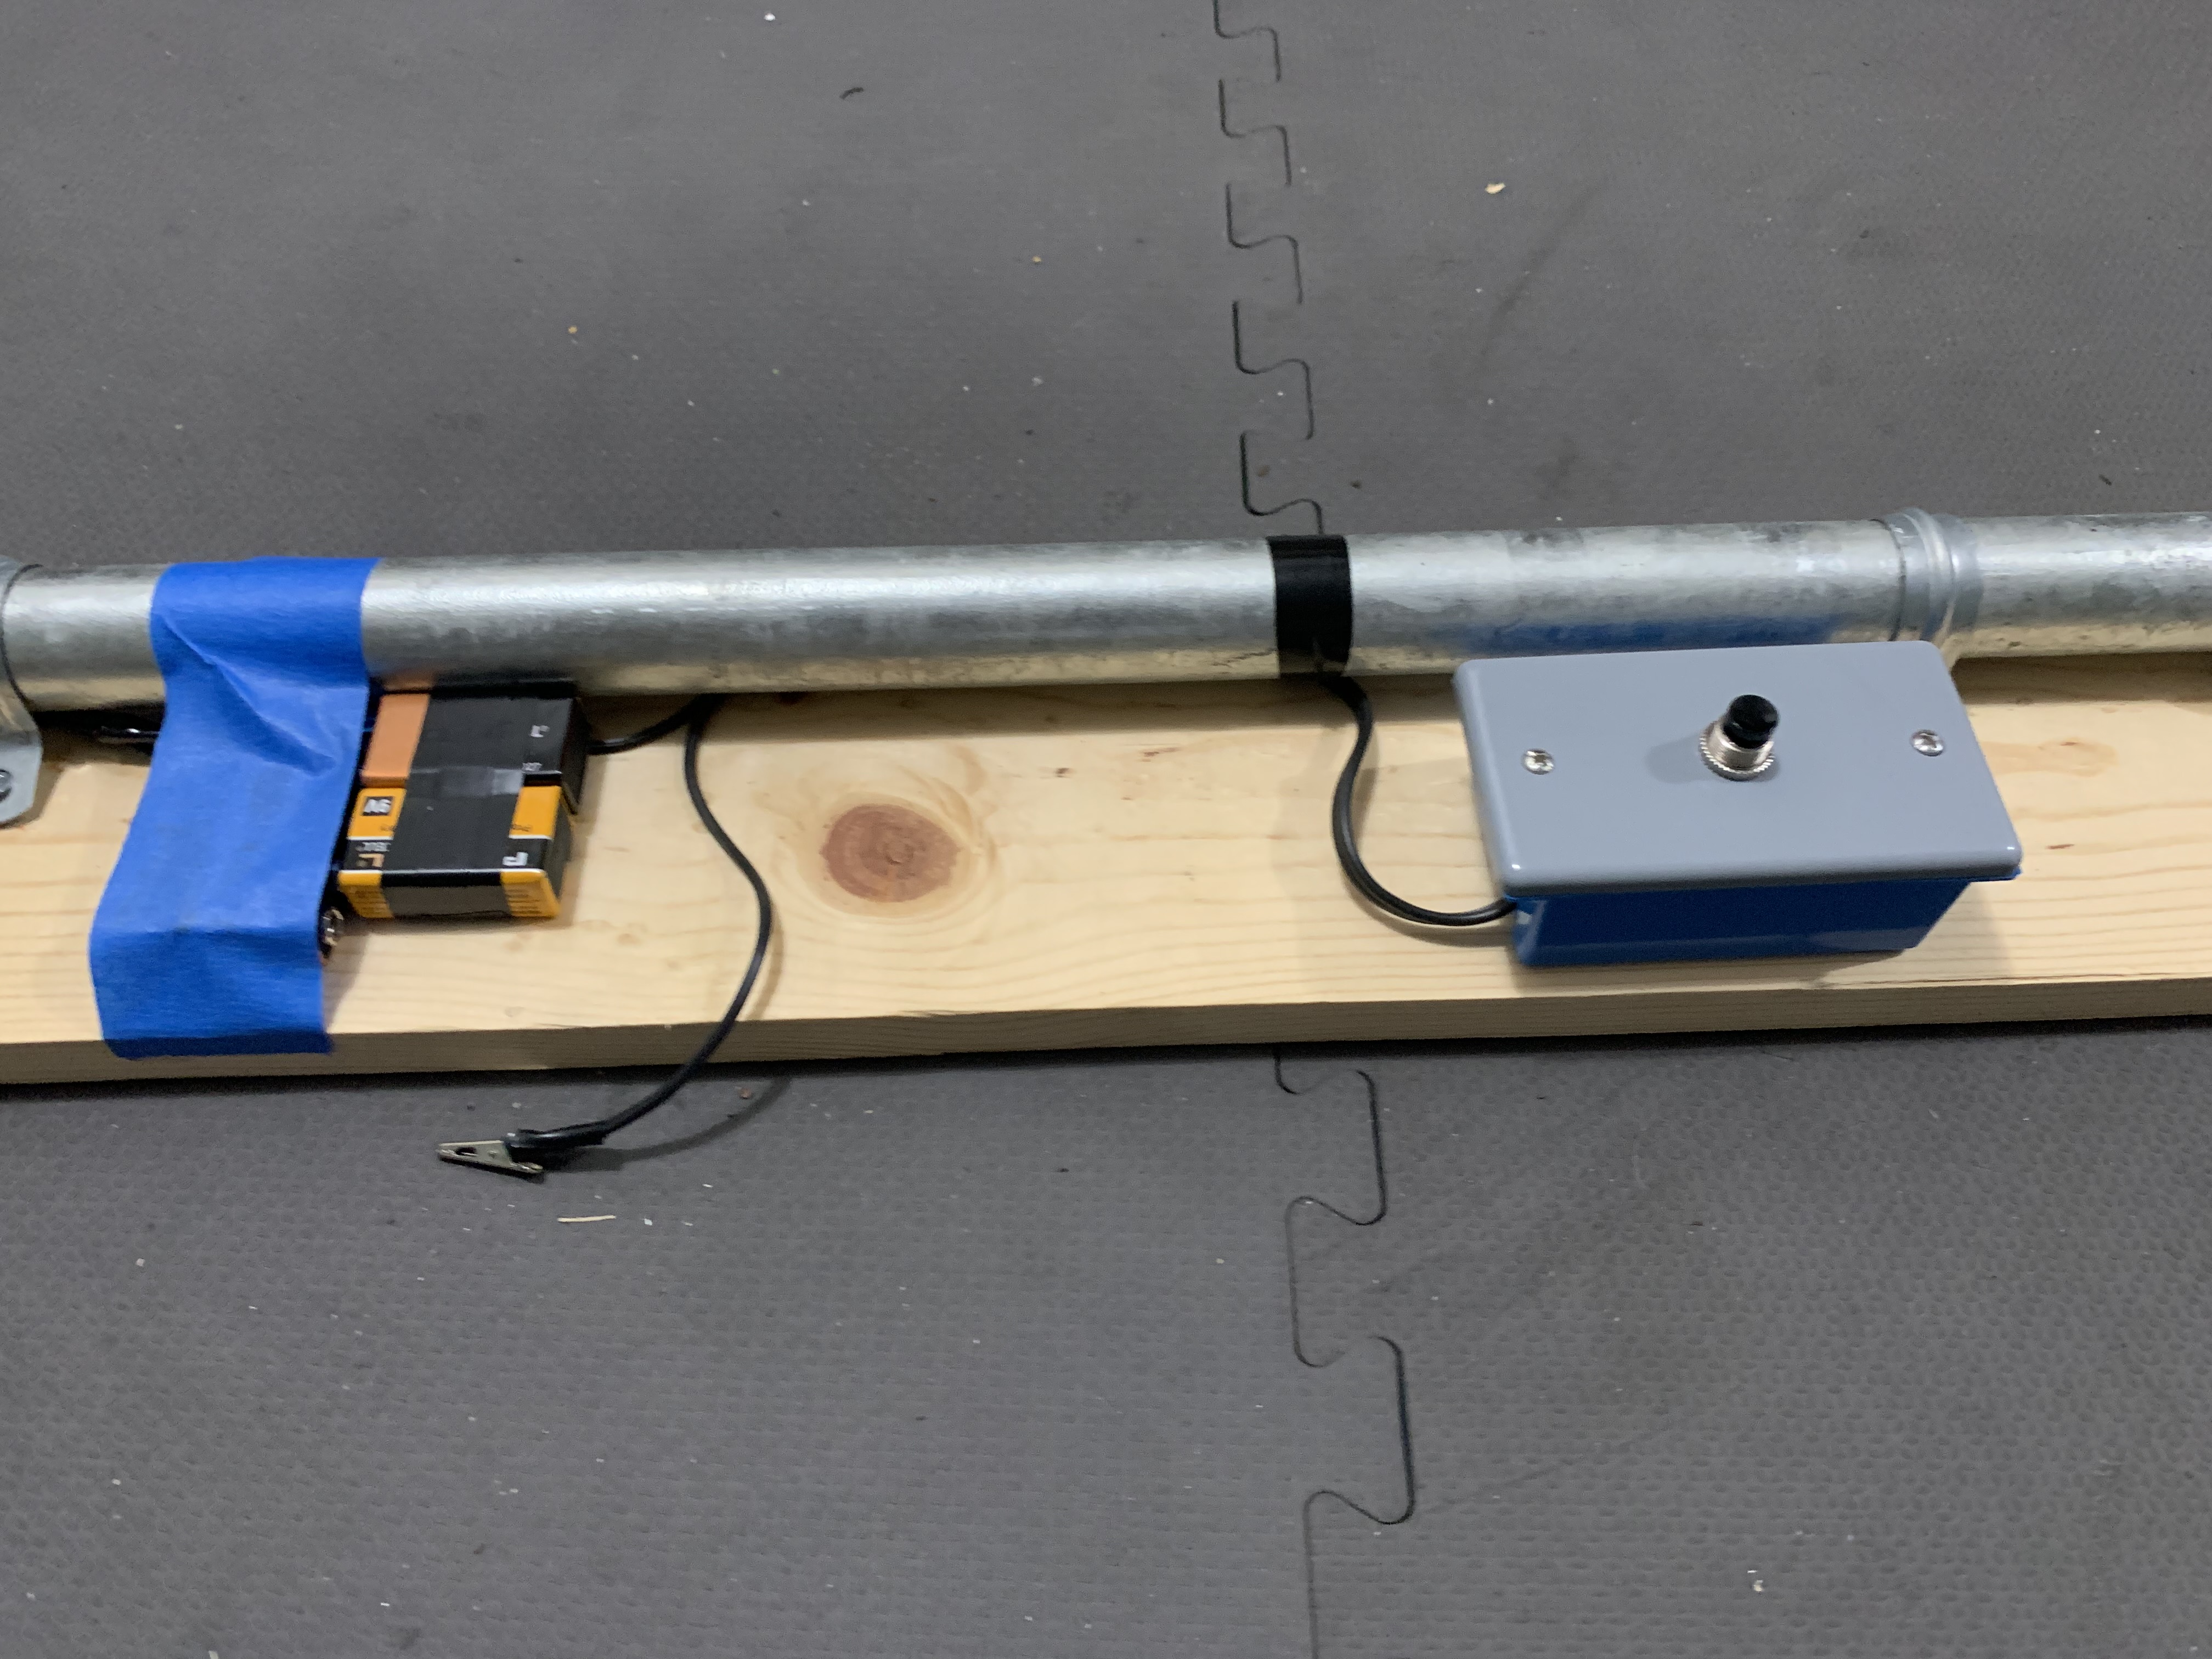
The device releases the rocket when you press the black button on the gray box. Initially I designed this system with a toggle switch that would launch the rocket, but I noticed my younger students didn't have the hand strength to toggle the switch effectively. I have two complaints about the simple push button switch. 1) It's very easy (and tempting) for a child to see it and absolutely blap it with their whole hand (in which case it might break if you didn't wire it securely) and 2) I haven't found one that's giant and red and says "SEND IT" yet.
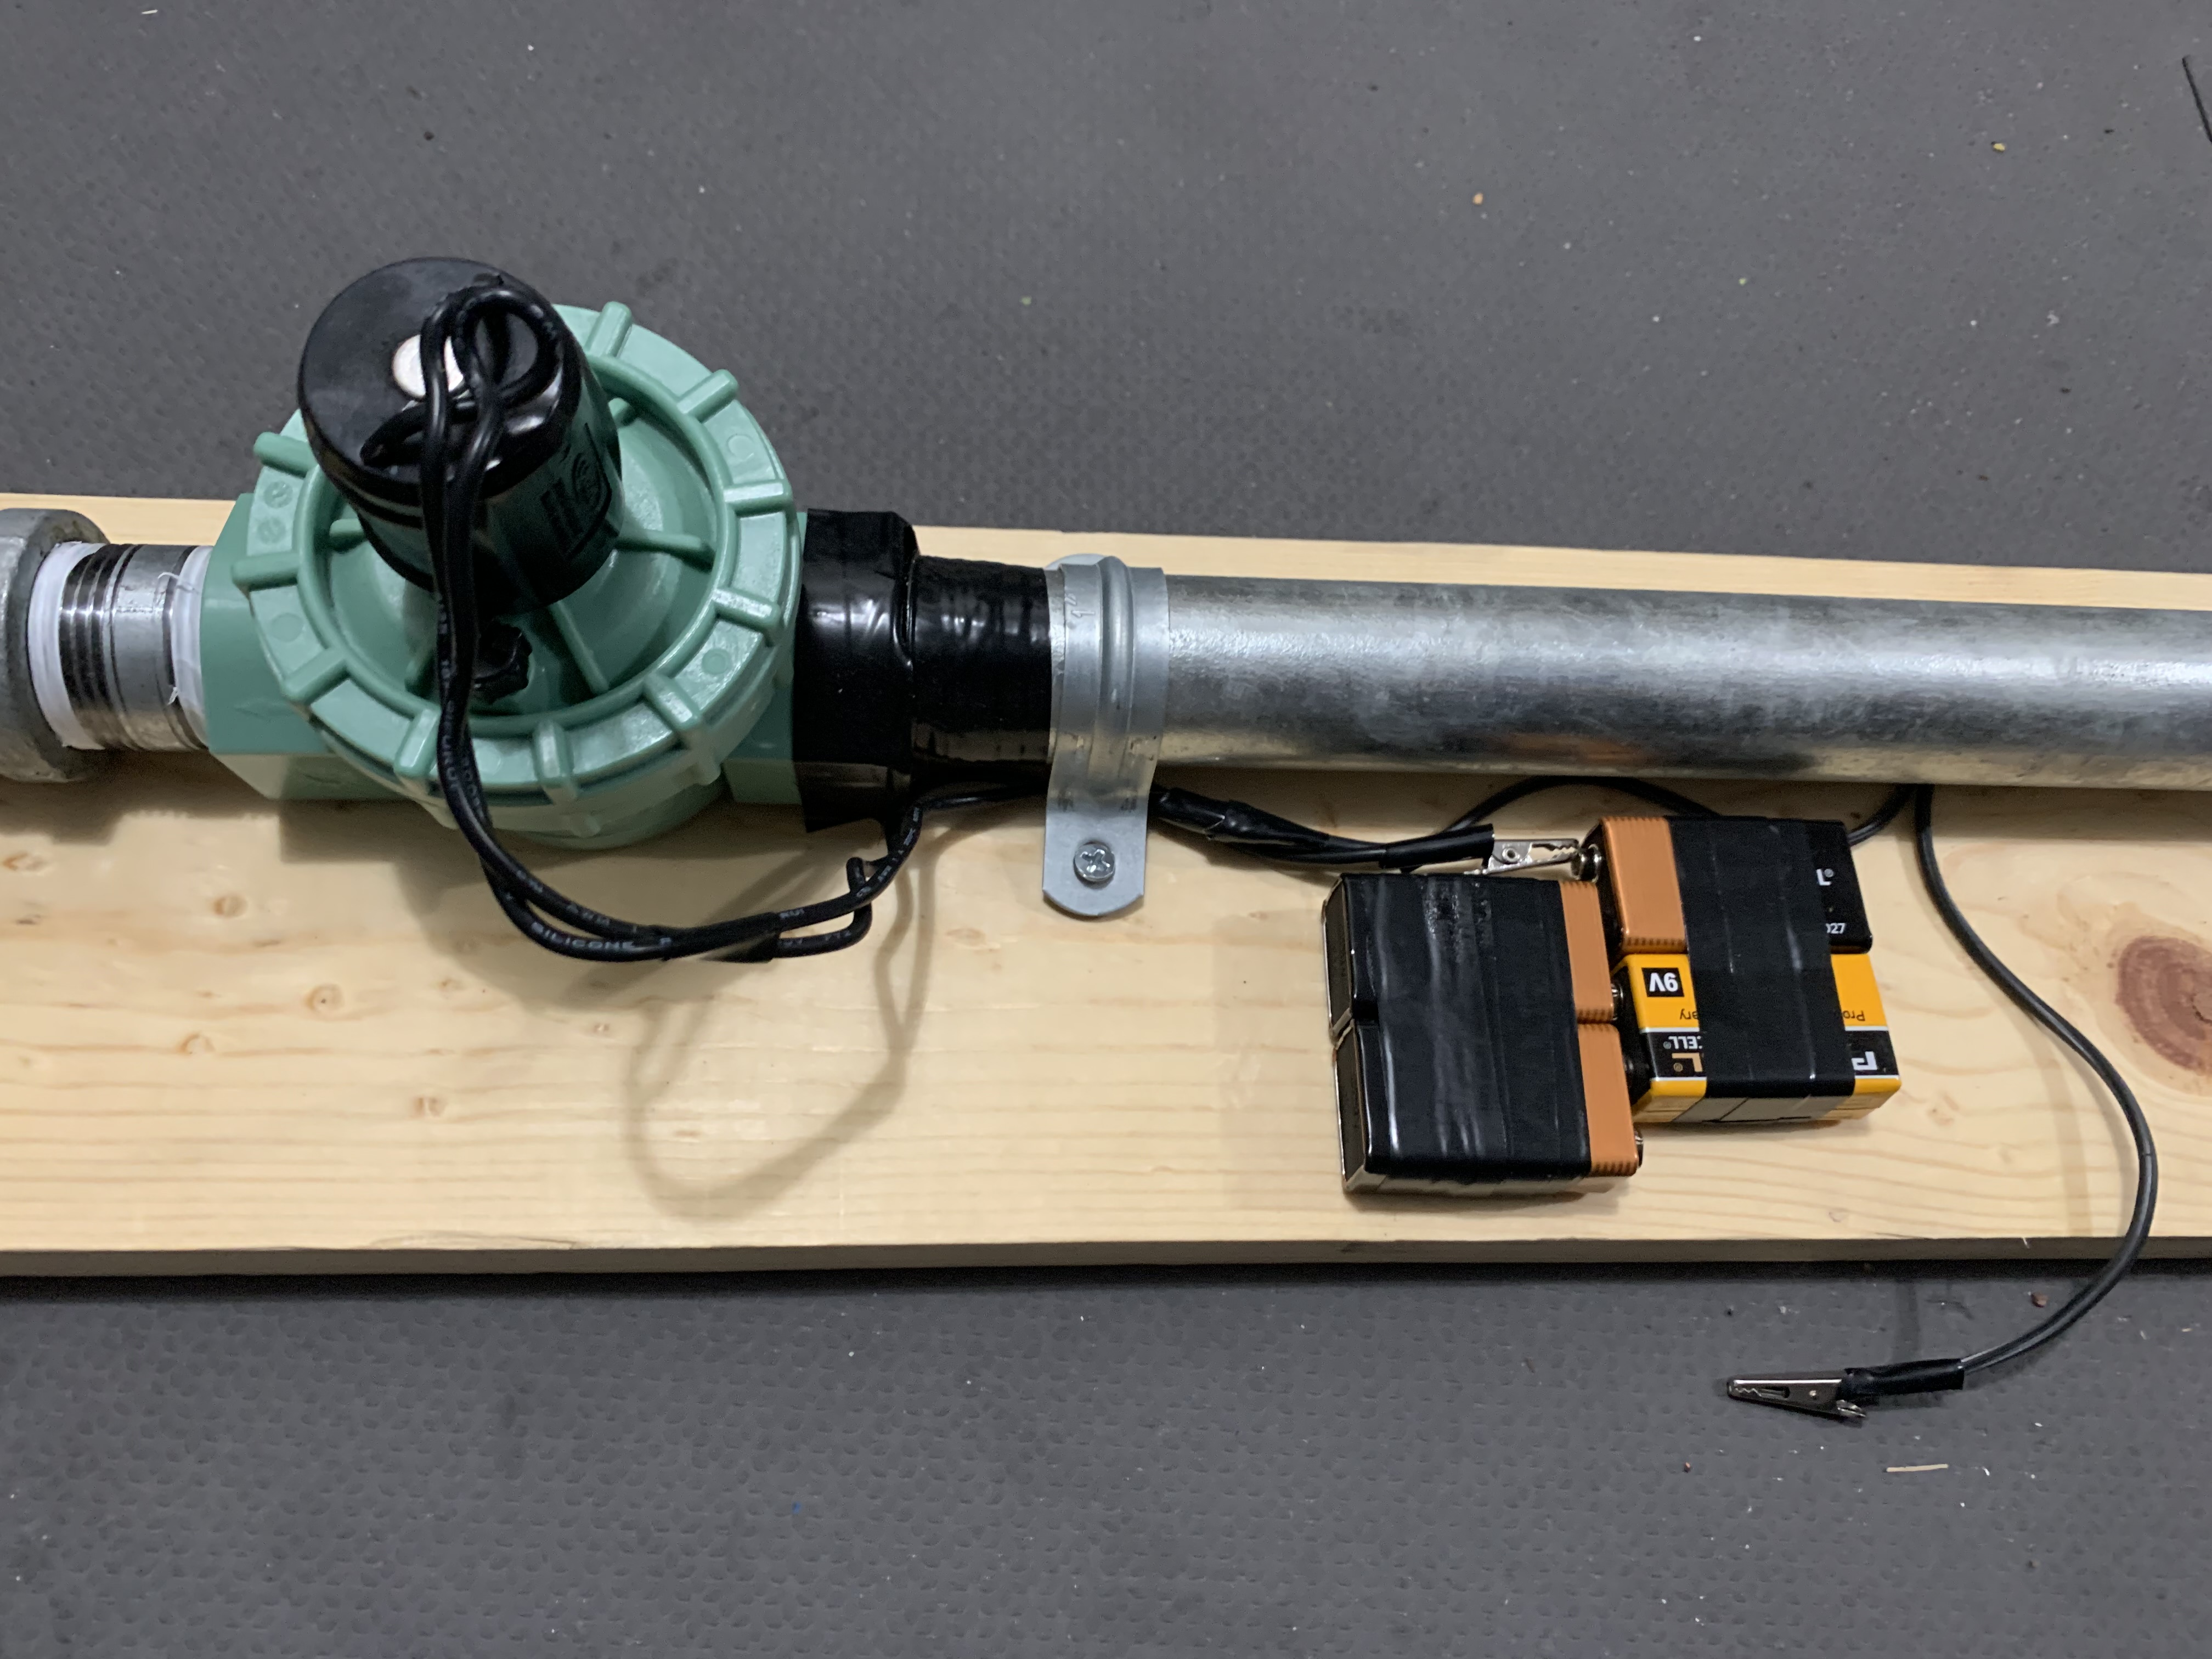
Here you see all of the batteries in parallel. I've used electrical tape to help secure them together and alternated leads on them to run them in parallel.
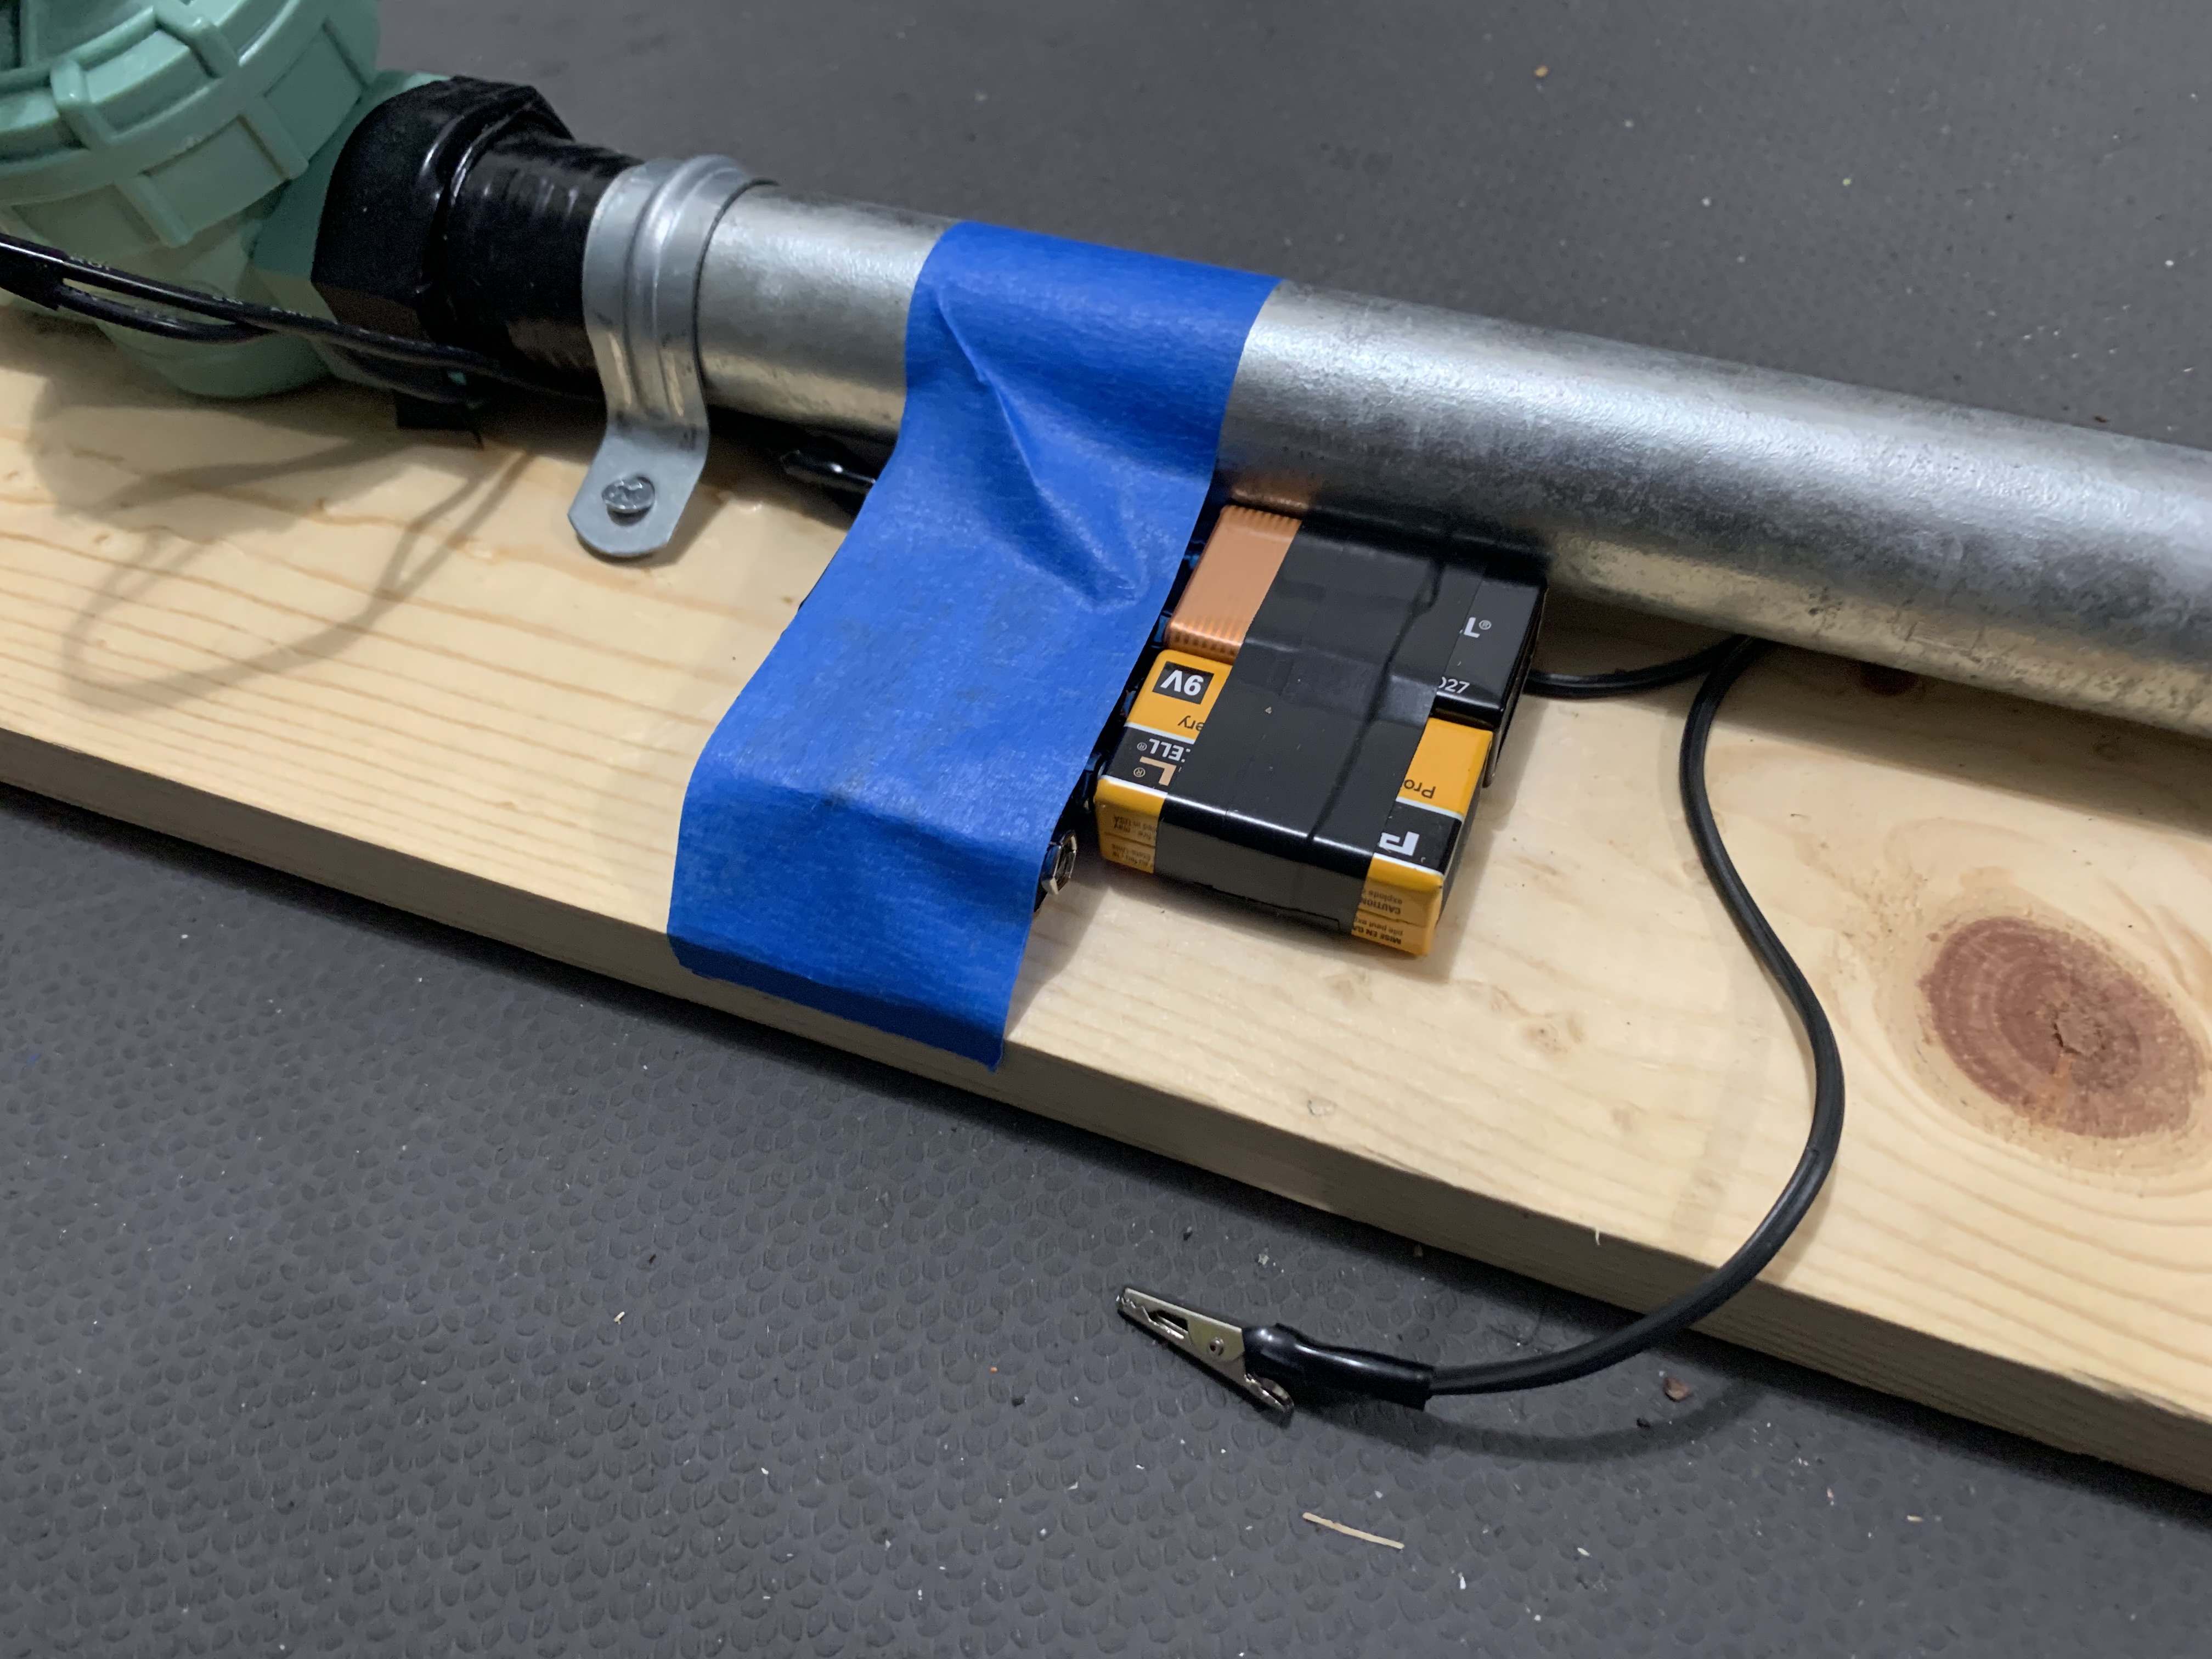
When not in use, or during transport, the batteries are disconnected.
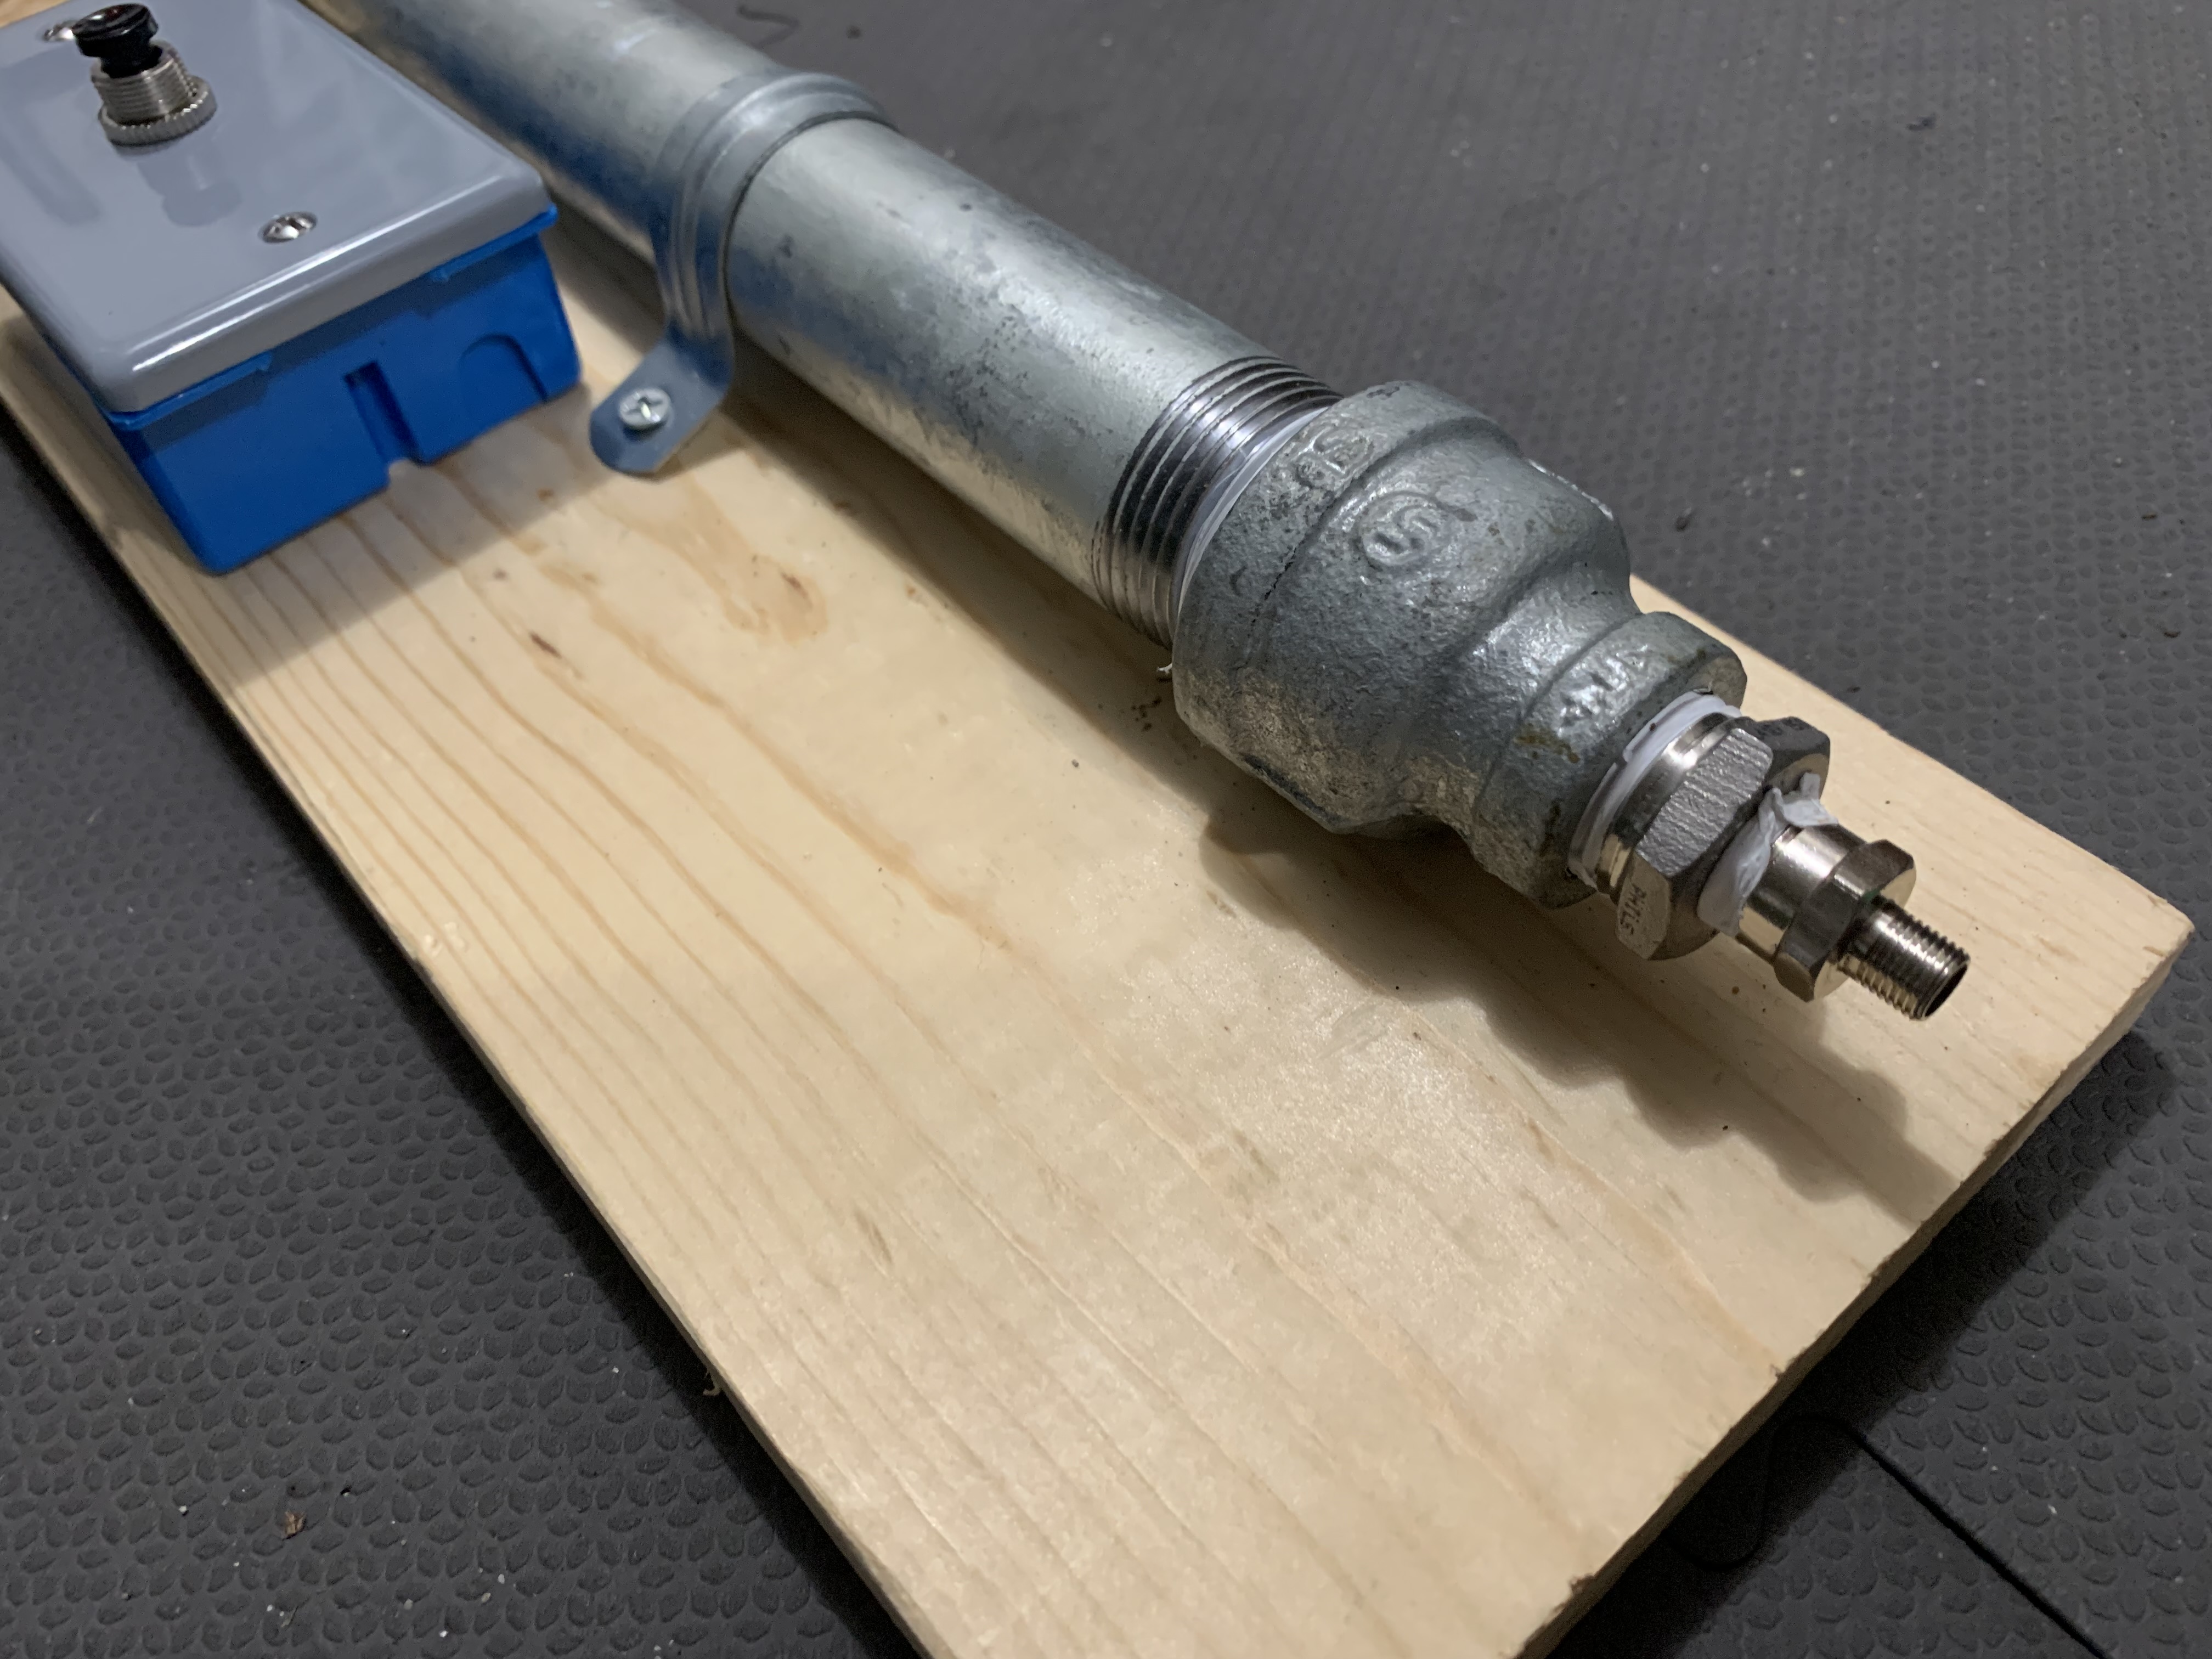
At the very end you have a schrader valve for your inflating tool to charge the device with air.
The first rocket design did not use a whole sheet of paper - it used only a small portion of a full sheet. After many Rapid Unscheduled Disassemblies and a few very sad students, I discovered that rolling up an entire sheet of paper was a much more stable rocket body. Click Here to download the Parkade Rocket Template that I used at school (LINK COMING SOON).